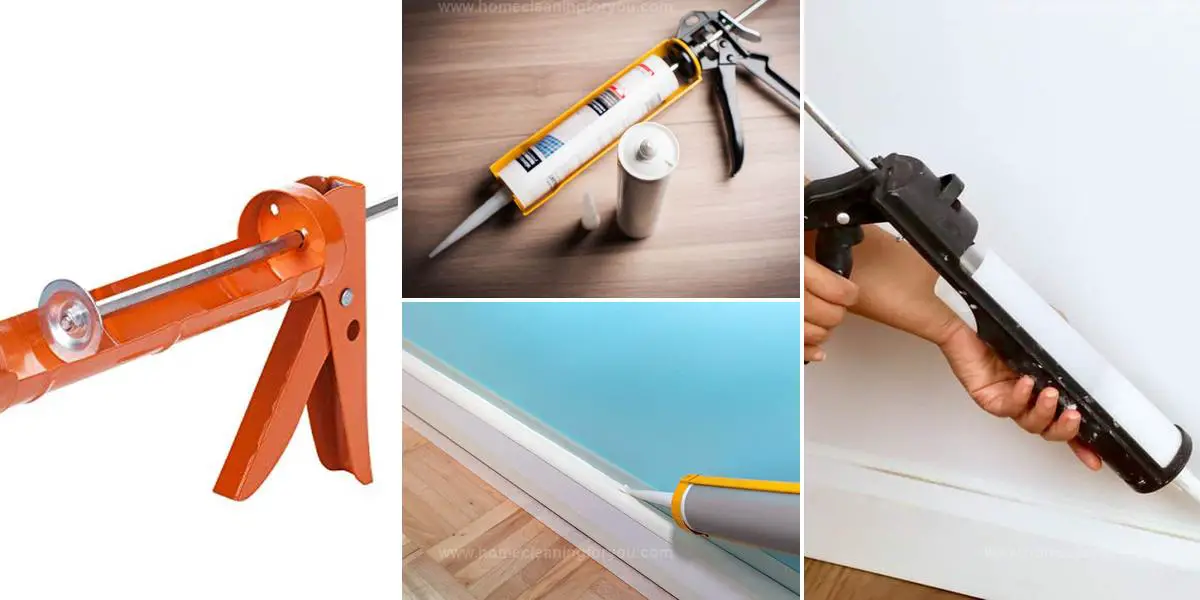
6 Effective Steps To Stop Caulk From Coming Out from The Gun
A caulk gun should be precise, but sometimes, it feels like a never-ending mess.
Extra caulk oozes out, making projects frustrating instead of smooth.
Controlling the flow requires a simple fix, not a wrestling match with the tube.
A few quick adjustments can turn that chaotic application into a seamless finish.
Why Does Caulk Leak Out of the Gun?
Pressure plays a critical role in how caulk behaves during and after use.
Forgetting to release the pressure nozzle can lead to unwanted oozing, which is frustrating when you're trying to keep things tidy.
A simple push on the locking plate lever will instantly stop any further flow, helping you maintain control over your project.
The consistency of your caulk also matters; watery formulas tend to leak more than thicker options, so choosing a quality product makes all the difference.
Some guns come equipped with non-leak technology, yet occasional spills may still occur.
How Can I Prevent My Caulking Gun from Dripping?

Air bubbles trapped inside the caulking gun can lead to leaks, causing frustration during a project.
Excessive pressure in the bottle often prevents proper control over the product.
Managing this situation requires releasing that extra air and pressure from the gun.
Start by checking for any visible air pockets and gently squeeze to expel them before using it again.
Ensuring a smooth flow of caulk will enhance your work quality significantly.
Proper handling of these tools can make all tasks easier and more efficient for everyone involved in DIY projects or repairs.
Remove the Caulk Tube from the Gun
Removing the tube of caulk from the gun requires a few careful steps.
Start by securing the lid on your caulk to prevent any leaks.
Covering the release hole at the tip is also wise, as it stops any excess product from oozing out unexpectedly.
Taking these precautions helps save materials and keeps your workspace tidy.
Get a Sharp Knife or Cutter
Finding the right knife is essential after removing caulk from your gun.
A pocket knife works well due to its manageable size and precision.
A sharp blade allows for careful cutting, preventing large holes that can waste product or lead to messy applications.
Taking a moment to select the perfect tool ensures a clean and effective caulking process.
Cut the Tip of the Caulk Tube (If Sealed) and Attach the Nozzle
Starting with a new caulk tube requires a simple yet essential step.
Cutting the tip ensures that you can apply it precisely where needed.
A removable nozzle is often included, so take care to detach it before making any cuts.
Without a cover for the opening, keeping your caulk fresh between applications becomes challenging.
Use a Knife to Puncture the Inner Seal 3-4 Times
Cutting tiny holes at the bottom of a sealed caulk tube provides an innovative solution to manage your project.
By spacing these cuts evenly, you can control the flow when you're ready to use it.
A minor leak may occur initially, but this won’t be an issue once the nozzle is reattached to your caulk gun.
This method not only preserves your material but also allows for precise application right when you need it most.
Insert the Caulk Tube Back into the Gun
After making small holes at the bottom of the caulk tube, it's time to reinsert it into the gun.
Expect a little leakage initially from those new openings; that’s perfectly normal.
Once positioned in the gun, any leaking from both ends should cease promptly.
This simple adjustment helps maintain control and precision during your caulking tasks.
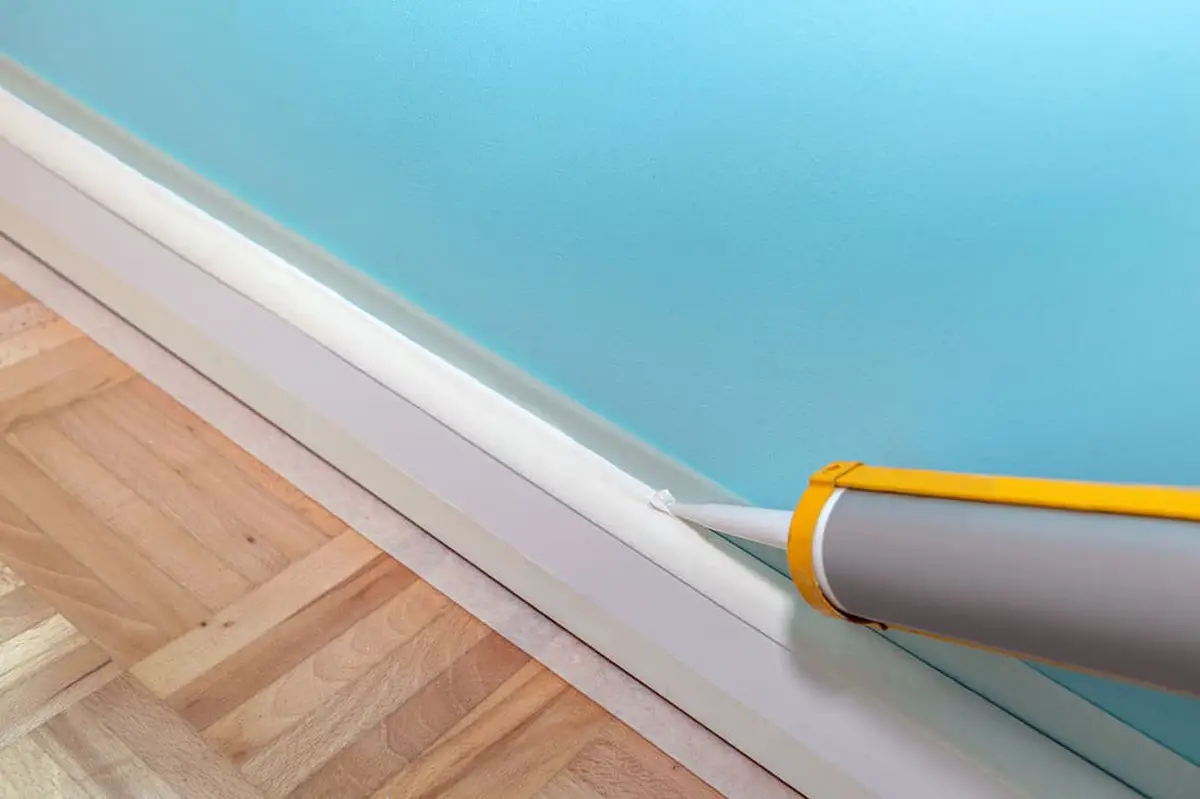
Test the Caulk Flow, Stop the Gun, and Check for Drips
Testing your caulking gun is straightforward.
Start by removing the nozzle from the caulk and applying pressure as you would during regular use.
Once you've finished, release the pressure lever and clean off any excess from the tip.
Minimal leaking indicates that everything is working well; if there's still leakage, it might point to a faulty gun or subpar caulk quality.
For extra guidance, check out this helpful video tutorial on YouTube to ensure you're on track with these steps!
How Should You Properly Use a Caulking Gun?
Using a caulking gun can be straightforward with a few simple steps.
Start by pressing the release trigger at the back to loosen the steel rod, allowing it to slide back easily.
Next, position your caulking tube so that its nozzle faces away from you; remember to check for any built-in piercing rods and tip cutters before insertion.
After placing the tube in position, pierce it with the metal rod; this action should feel effortless as it punctures through.
To finish up, cut off the tip of your caulk carefully since this will determine how wide or narrow your bead will be when applied.
Bates-Style Caulking Gun
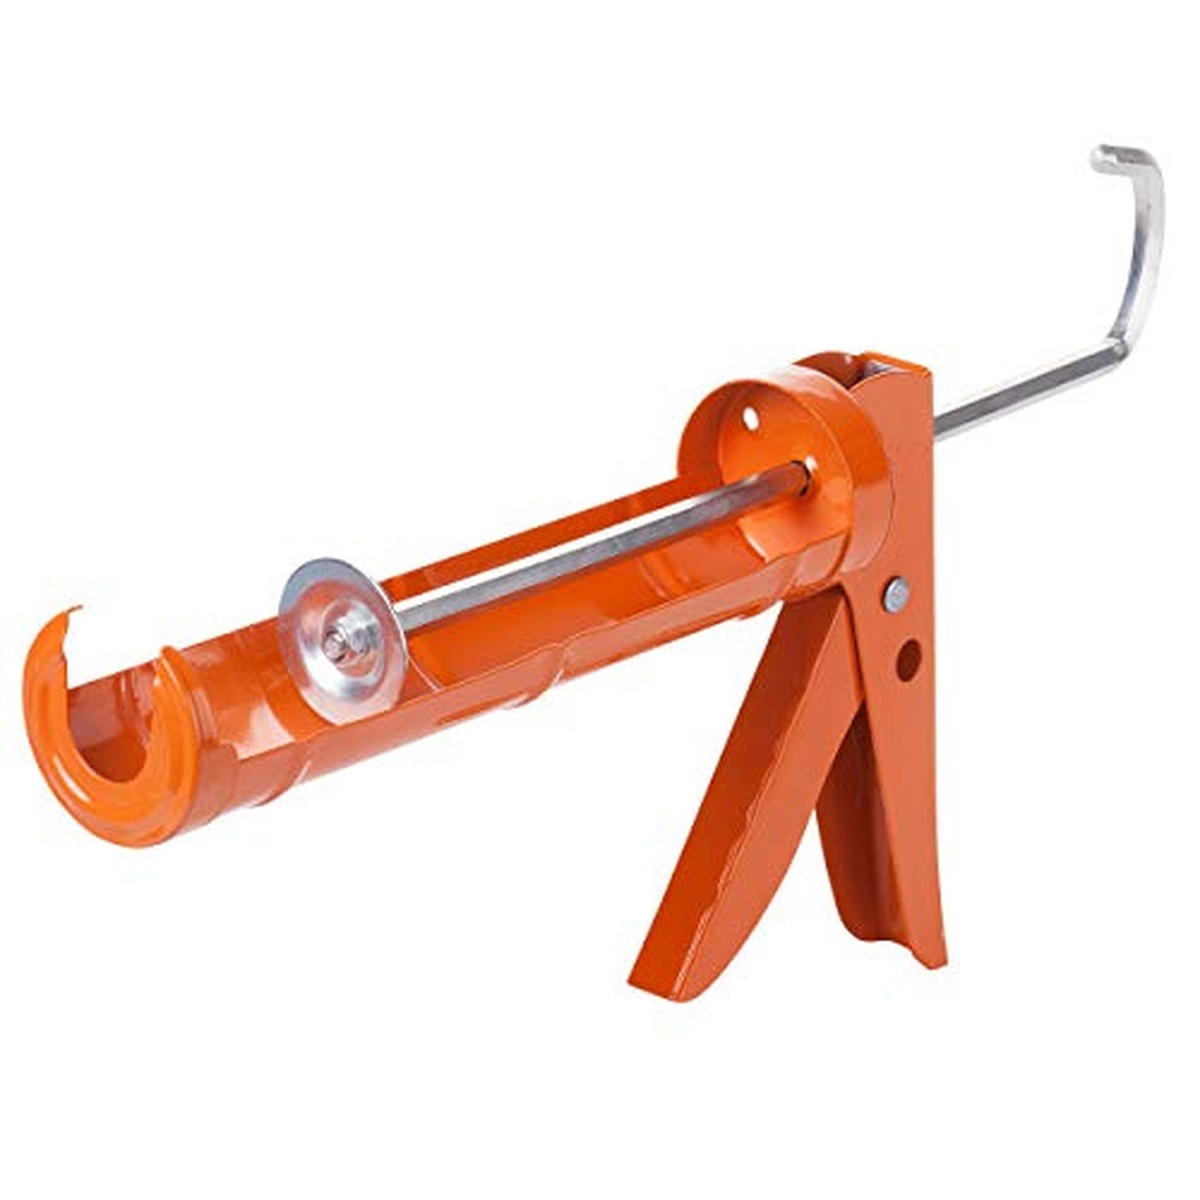
With excellent online customer reviews, this caulking gun impresses many users.
A smooth pressure rod enhances control during use, allowing for precise application.
The design prevents drips, ensuring a clean workspace.
Capable of working with silicone and other materials, its versatility stands out.
The 10:1 thrusting ratio delivers powerful performance while making tasks easier and more efficient.
What Makes a Caulking Gun Dripless?
Dripless caulking guns represent a significant advancement in home improvement tools.
With an automatic pressure release feature, these models prevent unwanted excess caulk from oozing out during use.
Maneuverability improves as well, allowing for precise application in tight spaces without the mess typical of traditional guns.
Experts note that conventional models require more force to operate effectively, often resulting in uneven lines and less control.
Investing a bit extra into a dripless option can elevate the quality of your work and enhance overall results on your projects.
Will Any Caulk Cartridge Fit into a Caulking Gun?
Shopping for caulk and a gun together can save time and prevent mistakes.
A standard caulking gun usually fits a 28-ounce tube, while smaller models may only accommodate ten-ounce containers.
Many people prefer the 28-ounce size, making it an excellent starting point for your search.
Checking the size of your gun before buying caulk is essential to ensure compatibility.
Some DIYers mistakenly purchase mismatched sizes, which complicates their projects unnecessarily.
Bundled packs that include both items simplify this process and help you work more efficiently on any task at hand.
Will Caulk Harden Inside the Gun?
Storage issues often plague users of caulking guns.
Finding a reliable way to seal the tube after use can feel like a chore.
Professionals suggest inserting a nail into the nozzle and securing it with tape, ensuring that you choose electrical or masking tape to prevent slippage.
The original caps that come with caulking tubes are designed for this purpose, allowing you to cut the nozzle and replace the cap afterward for easier storage.
This simple method keeps your workspace tidy while maintaining your materials in good condition for future projects.
Kevin Jones
Founder & Chief Home Organization Strategist
Expertise
Home Organization & Decluttering, Efficient Cleaning Methods & Stain Removal, Sustainable Cleaning Practices, DIY Home Maintenance & Repairs, Space Optimization & Storage Solutions, Budget-Friendly Home Care Strategies
Education
University of Texas at Austin
Kevin Jones is the Founder and Chief Home Organization Strategist at HomeCleaningForYou.com.
He earned a Bachelor of Science in Interior Design from the University of Texas at Austin, focusing on space planning and sustainable design. Specializing in home organization, decluttering, and budget-friendly home care, he helps homeowners create functional and stylish spaces.
Kevin has been featured in lifestyle publications and has collaborated with eco-friendly brands on home organization solutions. He shares his expertise through DIY guides, workshops, and online tutorials. Passionate about minimalism, he enjoys testing new organization methods and exploring sustainable living ideas.