
Smart Methods For Whitewashing Laminate
Whitewashing adds a rustic, airy touch to furniture, but laminate surfaces need special care to achieve the look.
Unlike wood, laminate doesn’t absorb paint the same way, requiring the right prep work for a lasting finish.
A proper technique ensures smooth, even coverage without peeling or streaking.
With a step-by-step approach, creating a fresh, modern appearance becomes simple.
What Is Whitewashed Wood?
Whitewashing offers a fresh, bright finish to various surfaces, perfect for those looking to revitalize their space.
This technique works beautifully on both laminate and wooden furniture, giving it an inviting rustic charm.
A weathered appearance adds character while seamlessly blending with existing decor styles.
The soft hues of white can brighten up darker areas in your home and create an airy feel throughout the room.
You might find that whitewashed pieces become focal points that draw admiration from guests and elevate your interior design effortlessly.
What Sets Whitewash Apart from Limewash?
Whitewashing transforms surfaces with a bright, clean finish, offering an appealing vintage charm.
The process can utilize various materials beyond lime or limestone, allowing for creative expression in color and texture.
While whitewash typically maintains a pure white hue, limewash opens doors to a palette of subtle shades that can enhance any environment.
Durability plays a role too; while both techniques provide protective benefits against the elements, limewash often boasts superior breathability and longevity.
Understanding these differences allows you to choose the right technique for your project needs with confidence and style.
Whitewashed Finish Explained

Versatility shines through with this product, suitable for both smooth and rough surfaces.
Application is straightforward, and it dries quickly, allowing for efficient project completion.
Ideal for wood or faux wood materials, this option caters to a range of crafting needs.
Users can achieve a satin or matte finish by simply adjusting the amount of whitewash applied.
The ability to customize the look adds an exciting dimension to creative endeavors.
Whether revamping furniture or adding flair to decor, options abound with each brushstroke you take.
Understanding Limewashing
Hypoallergenic properties set this material apart, thanks to its elevated pH level.
Outdoor furniture benefits significantly from its enhanced weather resistance, ensuring durability even in harsh conditions.
When working with surfaces like brick, drywall, stone, and plaster, this option excels as a reliable choice.
Minimal maintenance is another appealing trait; it rarely needs frequent touch-ups.
You can enjoy the beauty of your space without constant upkeep or worry about allergens in the air.
This combination of resilience and convenience makes it an exceptional selection for various applications around your home or outdoor area.
How Much Does It Cost to Use Chalk Paint on Furniture?
Chalk paint offers a budget-friendly option for furniture makeovers.
For about $23 per quart, you can cover around 200 square feet of surface area with ease.
Smaller projects like stools or chairs can be tackled even more affordably with chalk spray paint, priced at approximately $8.50 per can.
Professional services provide convenience but come at a higher cost, typically ranging from $40 to $100 per hour for their expertise.
Keep in mind that unforeseen challenges may lead to additional charges if you opt for expert help on your painting project.
Techniques of Whitewash Laminated Wood Furniture
Whitewashing laminated wood can be a straightforward project that adds a fresh look to your surfaces.
Start by preparing the whitewashing solution, which requires mixing three to four generous squirts of dishwashing detergent into a large bucket filled with warm or room-temperature water.
Stir this mixture well until it’s fully combined and bubbly.
Afterward, you’ll need clean rags or brushes for applying the solution evenly across your wood surface.
With this simple approach, transforming your laminated wood into something new becomes an enjoyable task you can tackle at home without needing any special skills.
Essential Items You’ll Need
Step-by-Step Cleaning Instructions
Move the laminate furniture outdoors, getting assistance if it’s heavy.
Rinse with a garden hose, then dry using a microfiber towel.
Lightly sand the surface with 120-grit sandpaper to help with adhesion.
Wipe away any dust using a clean microfiber cloth or rag.
Pour primer into a paint tray and use a roller to apply an even coat.
Allow the primer to dry completely before proceeding.
Clean the paint tray, then mix off-white paint with water until it reaches a smooth consistency.
Use a fresh roller to apply the diluted paint evenly over the furniture.
Let the paint dry for a full 24 hours.
Apply a protective layer of water-based latex varnish with a paintbrush.
Give the varnish another day to dry before moving the furniture back inside.
How to Achieve a Whitewashed Look with Chalk Paint
Whitewashing furniture with chalk paint can refresh your living space beautifully.
A lighter base color will yield a softer finish, while darker hues may not achieve the brightness you hope for.
Choosing a VOC-free option ensures safety when painting indoors, minimizing health risks associated with fumes.
Taking additional precautions like wearing a mask enhances your protection during the project.
Ready to see how this simple technique can transform your furniture?
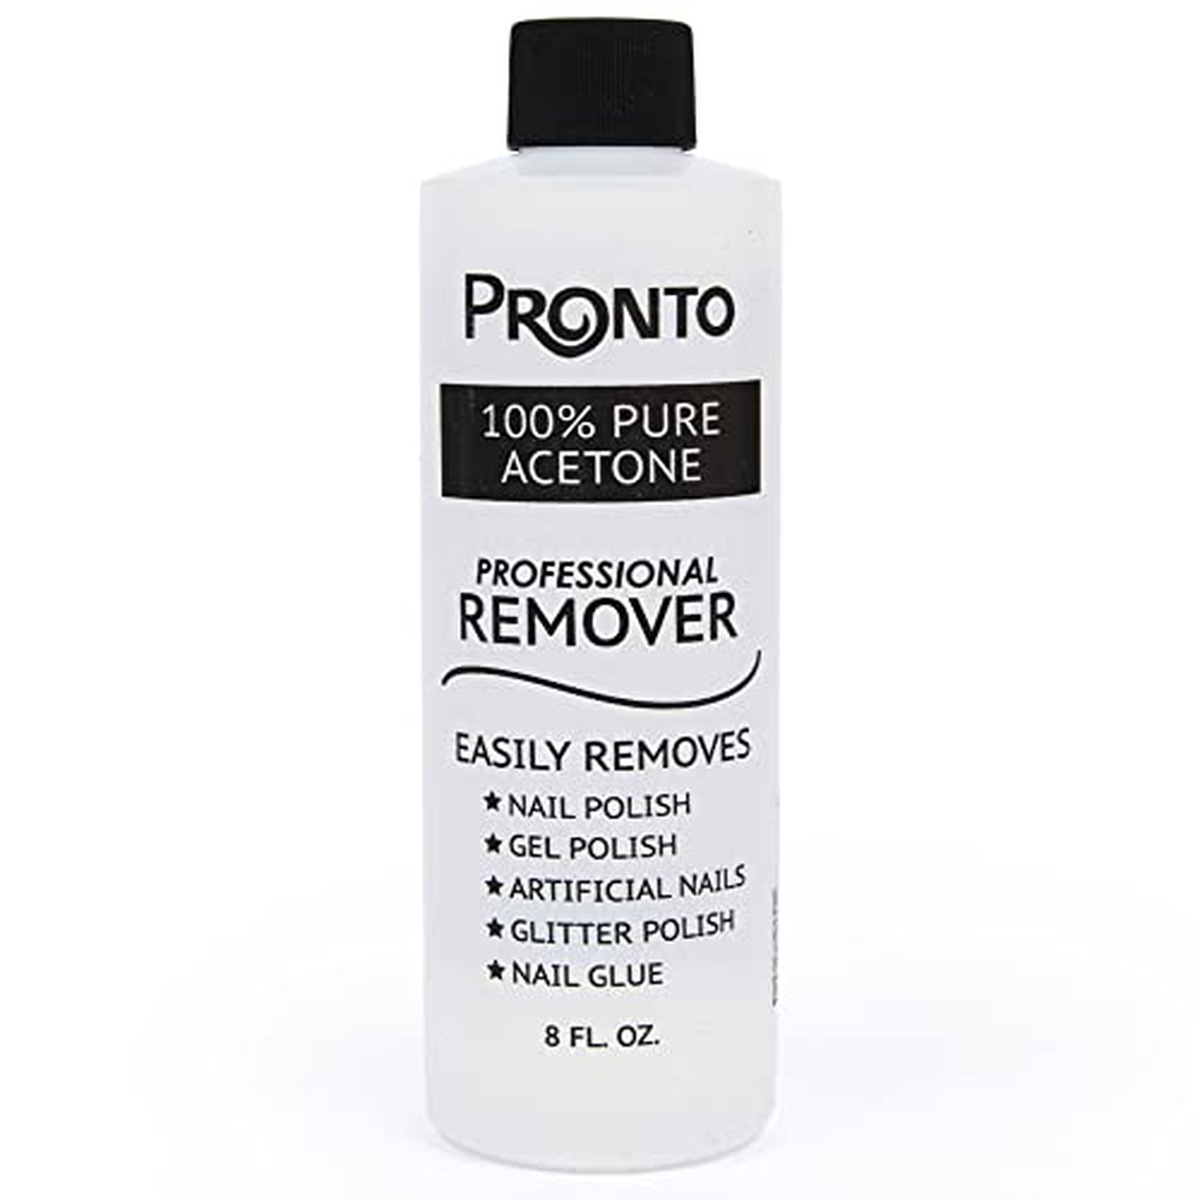
Removing Whitewash Residue from Laminate Surfaces
Whitewashing laminate offers flexibility, allowing you to change the look whenever you want.
If the first attempt doesn't meet expectations, simply repainting can lead to a fresh appearance.
Start by gently cleaning the surface with soap and water to remove any dust or grease.
A light sanding helps in creating a better bond for your new finish.
Finally, applying a new coat of whitewash allows for endless creativity in design while ensuring previous layers don’t linger longer than desired.
Kevin Jones
Founder & Chief Home Organization Strategist
Expertise
Home Organization & Decluttering, Efficient Cleaning Methods & Stain Removal, Sustainable Cleaning Practices, DIY Home Maintenance & Repairs, Space Optimization & Storage Solutions, Budget-Friendly Home Care Strategies
Education
University of Texas at Austin
Kevin Jones is the Founder and Chief Home Organization Strategist at HomeCleaningForYou.com.
He earned a Bachelor of Science in Interior Design from the University of Texas at Austin, focusing on space planning and sustainable design. Specializing in home organization, decluttering, and budget-friendly home care, he helps homeowners create functional and stylish spaces.
Kevin has been featured in lifestyle publications and has collaborated with eco-friendly brands on home organization solutions. He shares his expertise through DIY guides, workshops, and online tutorials. Passionate about minimalism, he enjoys testing new organization methods and exploring sustainable living ideas.