4 Best Steps for Silicone Caulk Removal From Acrylic Tub
Silicone caulk creates a strong, waterproof seal, but removing old layers from an acrylic tub can be tricky.
The wrong approach leads to scratches or damage, making the surface look worn.
Softening the caulk first allows for easier removal without harming the tub.
A careful technique ensures a smooth, clean result without unnecessary effort.
A few simple steps make the process quick and effective.
What’s the Cost of Re-Caulking a Bathtub?
Hiring a professional for bathtub re-caulking typically costs between $75 and $150, covering both labor and materials.
Expect the handyman to efficiently remove old caulk and apply a fresh layer, ensuring a clean finish.
Tackling this project yourself can be rewarding; spending around $40 to $75 on supplies is possible if you have some tools at hand.
The size of your tub and the quality of materials will influence your overall expenses.
This DIY approach not only saves money but also provides a sense of accomplishment once completed.
Is It Possible to Apply New Caulk Over Old Silicone?
Applying new caulk over silicone can lead to frustrating leaks.
The bond created may not hold effectively, leaving gaps along the edges where water can seep through.
Complete removal of the old caulk is essential for achieving a reliable seal that lasts.
Although this process demands time and effort, it ensures peace of mind and durability in your project.
Taking this step will ultimately save you from future repairs and headaches down the line.
How Long Does Silicone Caulk Typically Last?
Silicone caulk offers impressive durability, often lasting over 20 years when applied properly.
Its unique inorganic composition prevents degradation from moisture and temperature changes, making it a reliable choice for various household applications.
Unlike traditional caulks that may crack or shrink, silicone maintains its flexibility and adhesion throughout its lifespan.
This makes it ideal for areas exposed to water or significant movement, such as bathrooms and kitchens.
Choosing silicone ensures a long-lasting seal that stands up to the test of time while providing peace of mind in home maintenance projects.
4 Simple Steps to Remove Silicone Caulk from an Acrylic Tub
Removing silicone caulk from an acrylic tub requires care to avoid scratches or damage.
The right technique makes the process easier and more effective.
Gather the Required Tools and Materials
Isopropyl alcohol
WD-40
Hairdryer
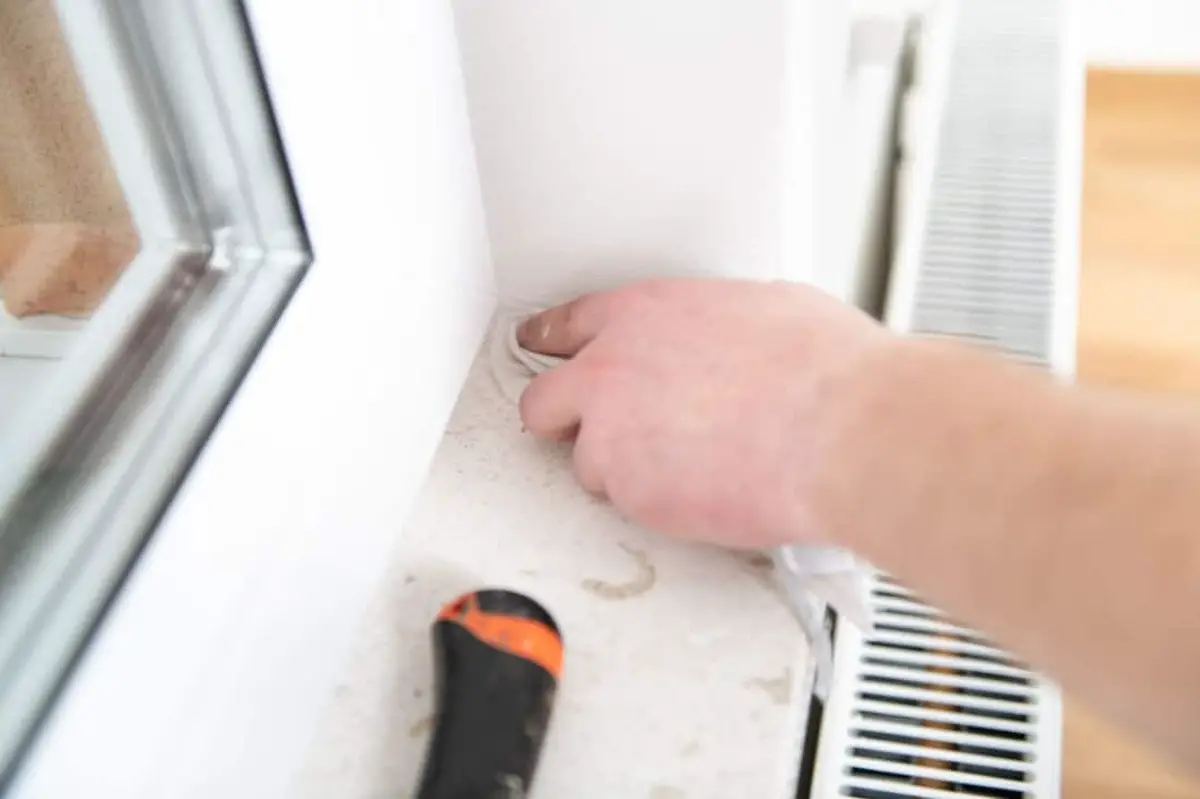
Loosen the Caulk for Easy Removal
Silicone caulk is incredibly durable, making it a reliable choice for sealing bathtubs and other surfaces.
Removing it can be quite the challenge due to its strong adhesion.
Softening the caulk simplifies this task significantly.
Isopropyl alcohol serves as an effective solution; applying it directly onto the silicone will help loosen its grip on surfaces.
A hairdryer offers another handy alternative if alcohol isn’t available; just ensure you keep it at a safe distance to avoid damaging your tub's surface.
Using WD-40 is a safe and effective way to soften silicone caulk before cutting it away with a knife.
The straw applicator allows for easy spraying on the caulk, making the task more manageable.
After applying WD-40, waiting a few minutes helps loosen the material for easier removal, and this product is also safe for use on acrylic surfaces.
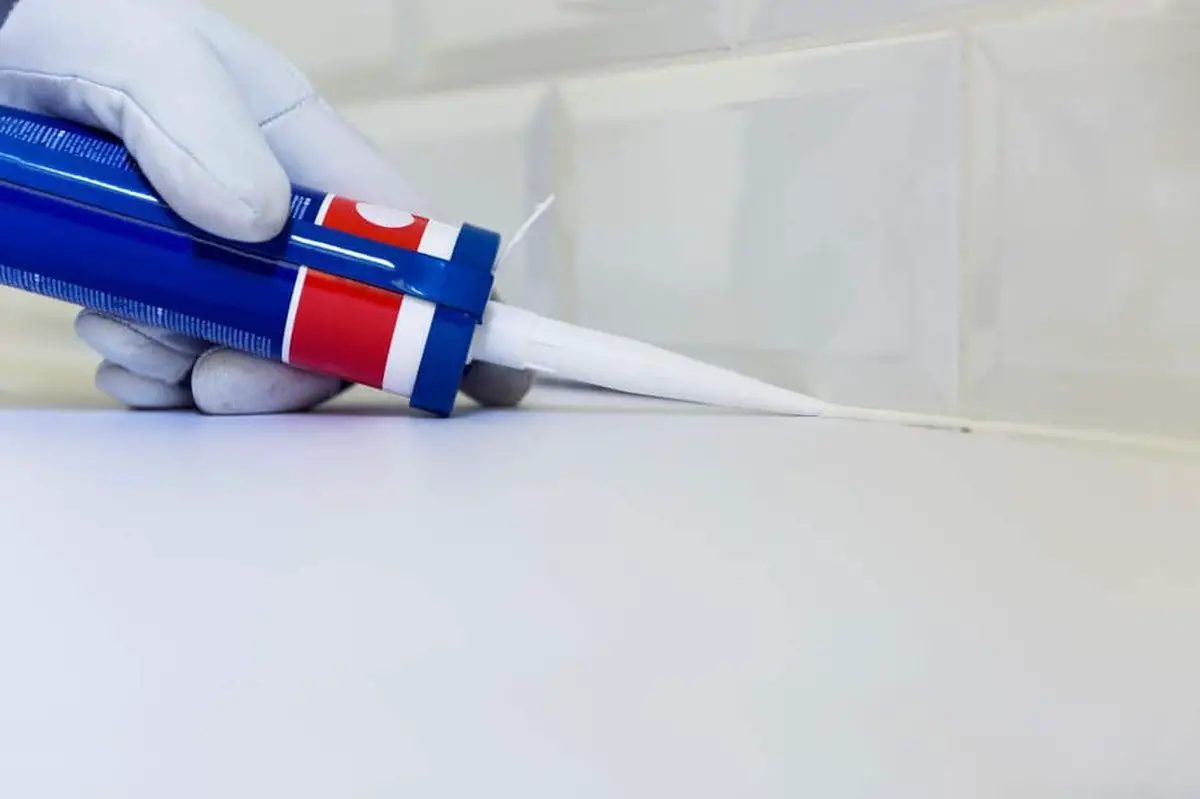
Cut Away the Old Caulk with a Blade
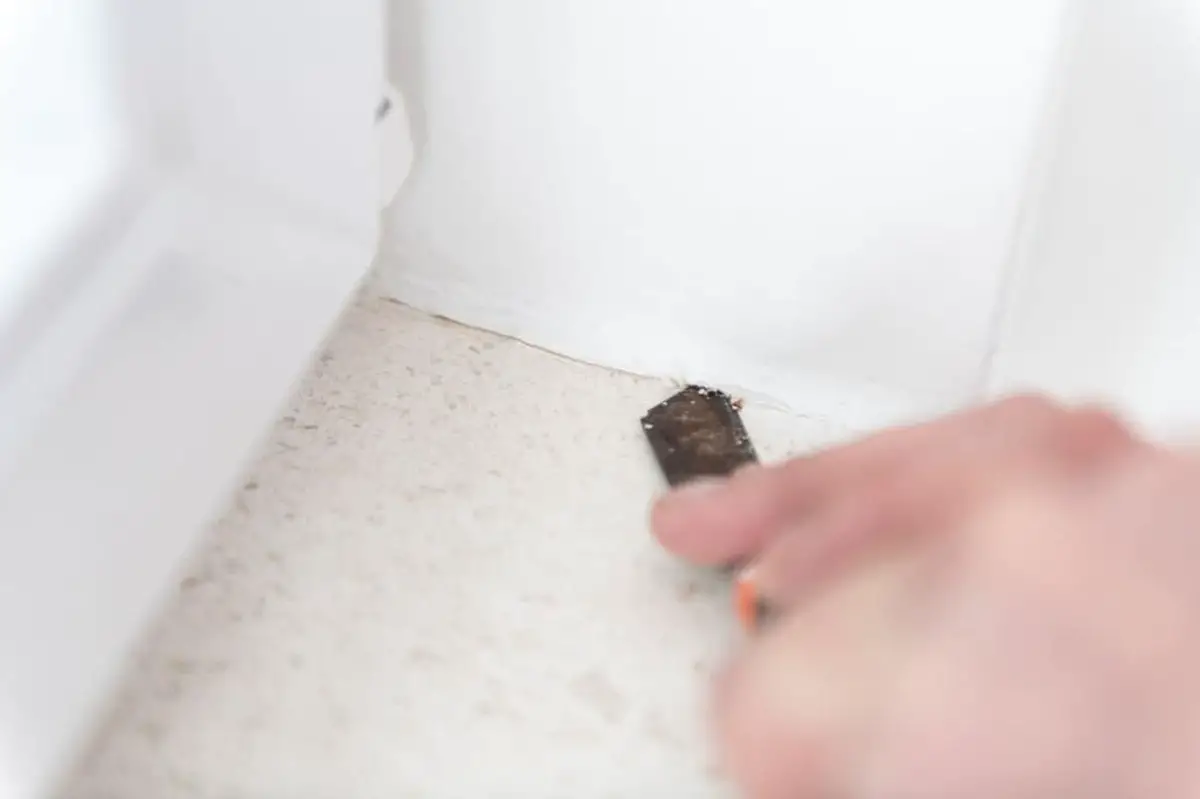
Removing silicone from an acrylic tub can be a delicate task.
Start by softening the silicone to make it easier to cut away without harming the surface.
Use a sharp edge and keep it parallel to the tub for precision, avoiding any unnecessary scratches.
Begin at each corner, gently cutting through before pulling the silicone away from its base.
If residue remains, address it carefully with your blade; otherwise, leave it for later steps in your cleaning process.
For those without tools on hand, options like utility knives or putty knives are readily available online; specialized caulk removal tools can also simplify larger projects significantly.
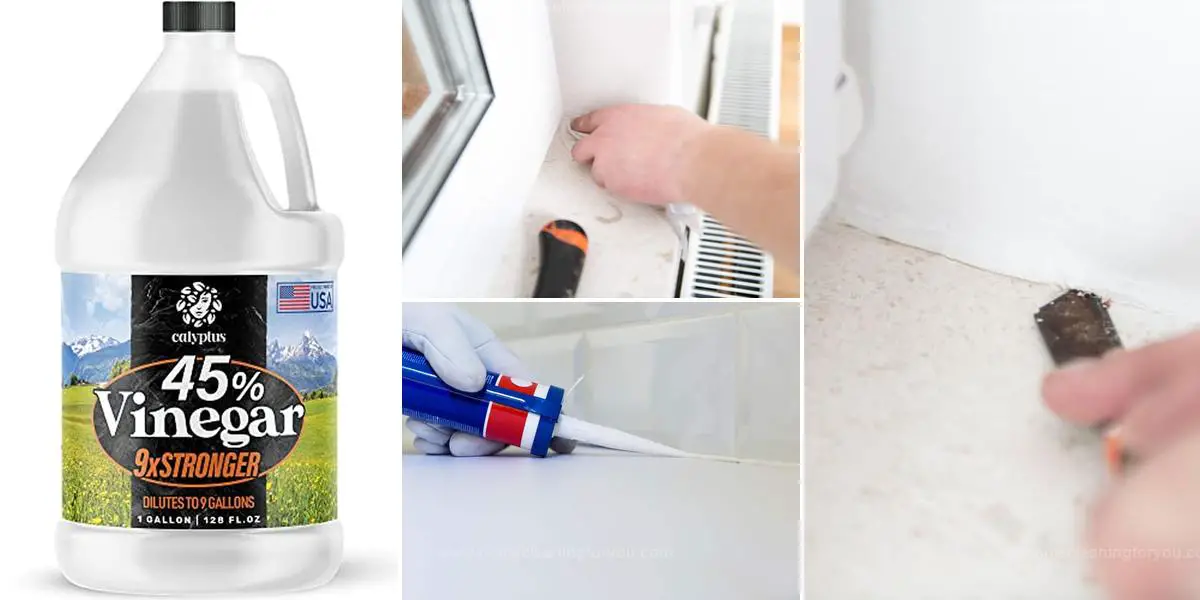
Use Acetic Acid to Remove Residue
Silicone residue can be quite stubborn, often clinging to surfaces despite your best efforts.
Removing this leftover material is essential if a fresh application of caulk is in your plans.
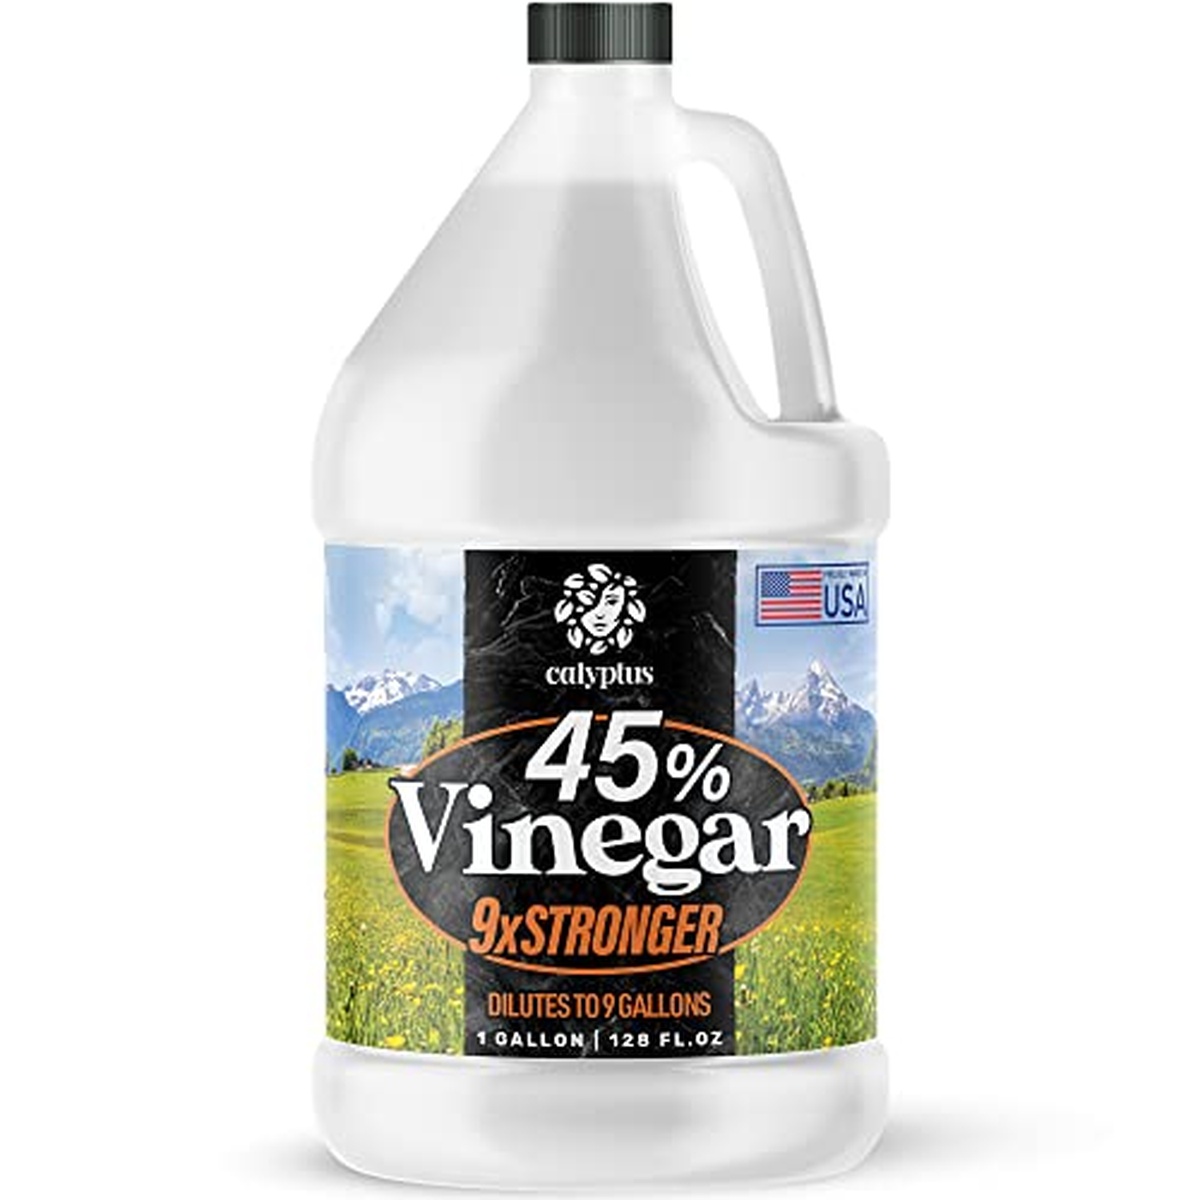
Household vinegar, containing about 4% acetic acid, serves as a handy first step in this cleaning task.
Simply grab a rag or cotton ball and apply the vinegar directly to the residue while pressing firmly for effective removal.
If that doesn't do the trick, consider using stronger acetic acid options available online for tougher jobs.
Unfortunately, there arent any safe-for-home solvents or chemicals that can dissolve silicone caulking.
Instead, silicone solvents digest the silicone caulking.
Essentially, when these products are applied to the silicone, it permeates the material enough for it to hold liquid.
Then, the silicone puffs up enough to loosen the bond with the surface.
However, please keep in mind that most of these digesting products are not safe to use on an acrylic tub.
They are so powerful that they can damage the bathtubs acrylic layer, which is hard to repair.
Instead, use one of the products listed above to soften the silicone enough that you can cut it away from the surface."
Clean the Area Completely
Cleaning the space after tackling residue is crucial for a fresh start.
Dust and grime can linger, making it essential to address every corner of the area.
A clean environment not only looks appealing but also promotes better health.
Remember to use appropriate cleaning supplies that suit different surfaces to avoid damage.
Pay attention to high-touch areas, as they often harbor germs and bacteria.
This thorough approach ensures that your space feels refreshed and inviting once again.
Kevin Jones
Founder & Chief Home Organization Strategist
Expertise
Home Organization & Decluttering, Efficient Cleaning Methods & Stain Removal, Sustainable Cleaning Practices, DIY Home Maintenance & Repairs, Space Optimization & Storage Solutions, Budget-Friendly Home Care Strategies
Education
University of Texas at Austin
Kevin Jones is the Founder and Chief Home Organization Strategist at HomeCleaningForYou.com.
He earned a Bachelor of Science in Interior Design from the University of Texas at Austin, focusing on space planning and sustainable design. Specializing in home organization, decluttering, and budget-friendly home care, he helps homeowners create functional and stylish spaces.
Kevin has been featured in lifestyle publications and has collaborated with eco-friendly brands on home organization solutions. He shares his expertise through DIY guides, workshops, and online tutorials. Passionate about minimalism, he enjoys testing new organization methods and exploring sustainable living ideas.