5 Quick Steps to Remove Grout from Bathroom Tiles
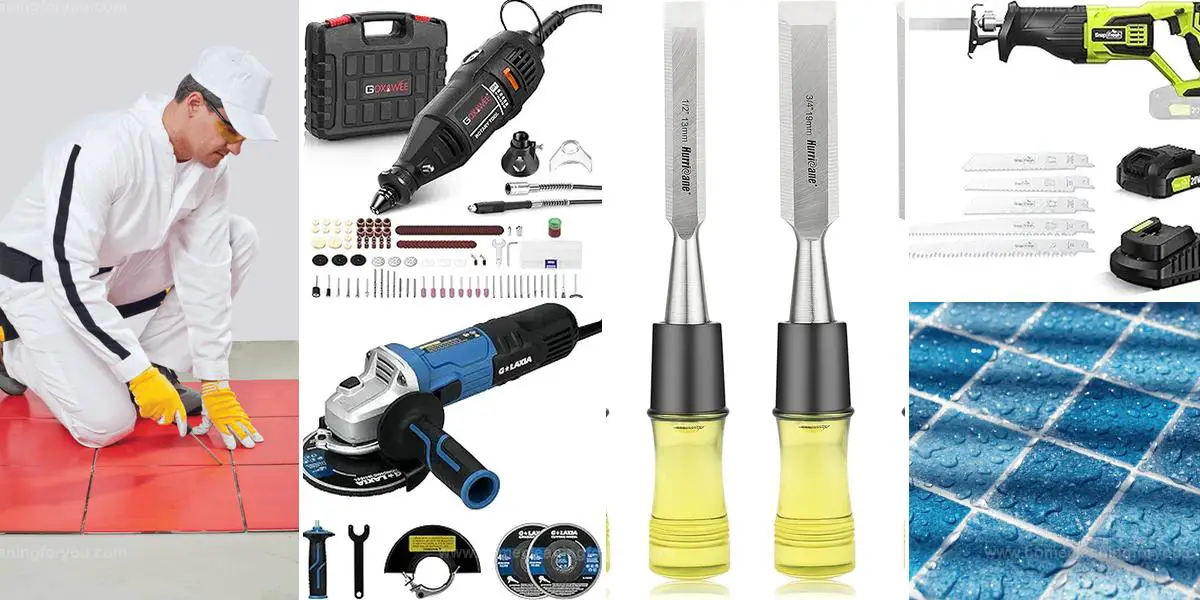
If your bathroom grout is over a decade old, you might notice it looking worn, discolored, or even cracked. Over time, grout can loosen, stain, and lose its durability, making it necessary to remove and replace it.
But how do you get rid of old grout without damaging the tiles? The good news is that the process is simple with the right tools and techniques.
Whether you're refreshing your bathroom’s look or preparing for new grout, I’ll guide you to 5 easy steps to safely remove old grout and get your tiles ready for a fresh update.
Easy Steps to Remove Grout from Bathroom Tiles
Old or damaged grout can make bathroom tiles look worn out and unattractive.
Removing it properly ensures a clean surface for regrouting without damaging the tiles.
Follow these simple steps to get rid of grout safely and efficiently:
Prepare What You’ll Need
Removing or replacing tile grout is a task that almost anyone can manage without expert help. You don’t need advanced skills to tackle this project successfully.
Let’s explore an efficient method for completing it.
To get started, gather these essential items:
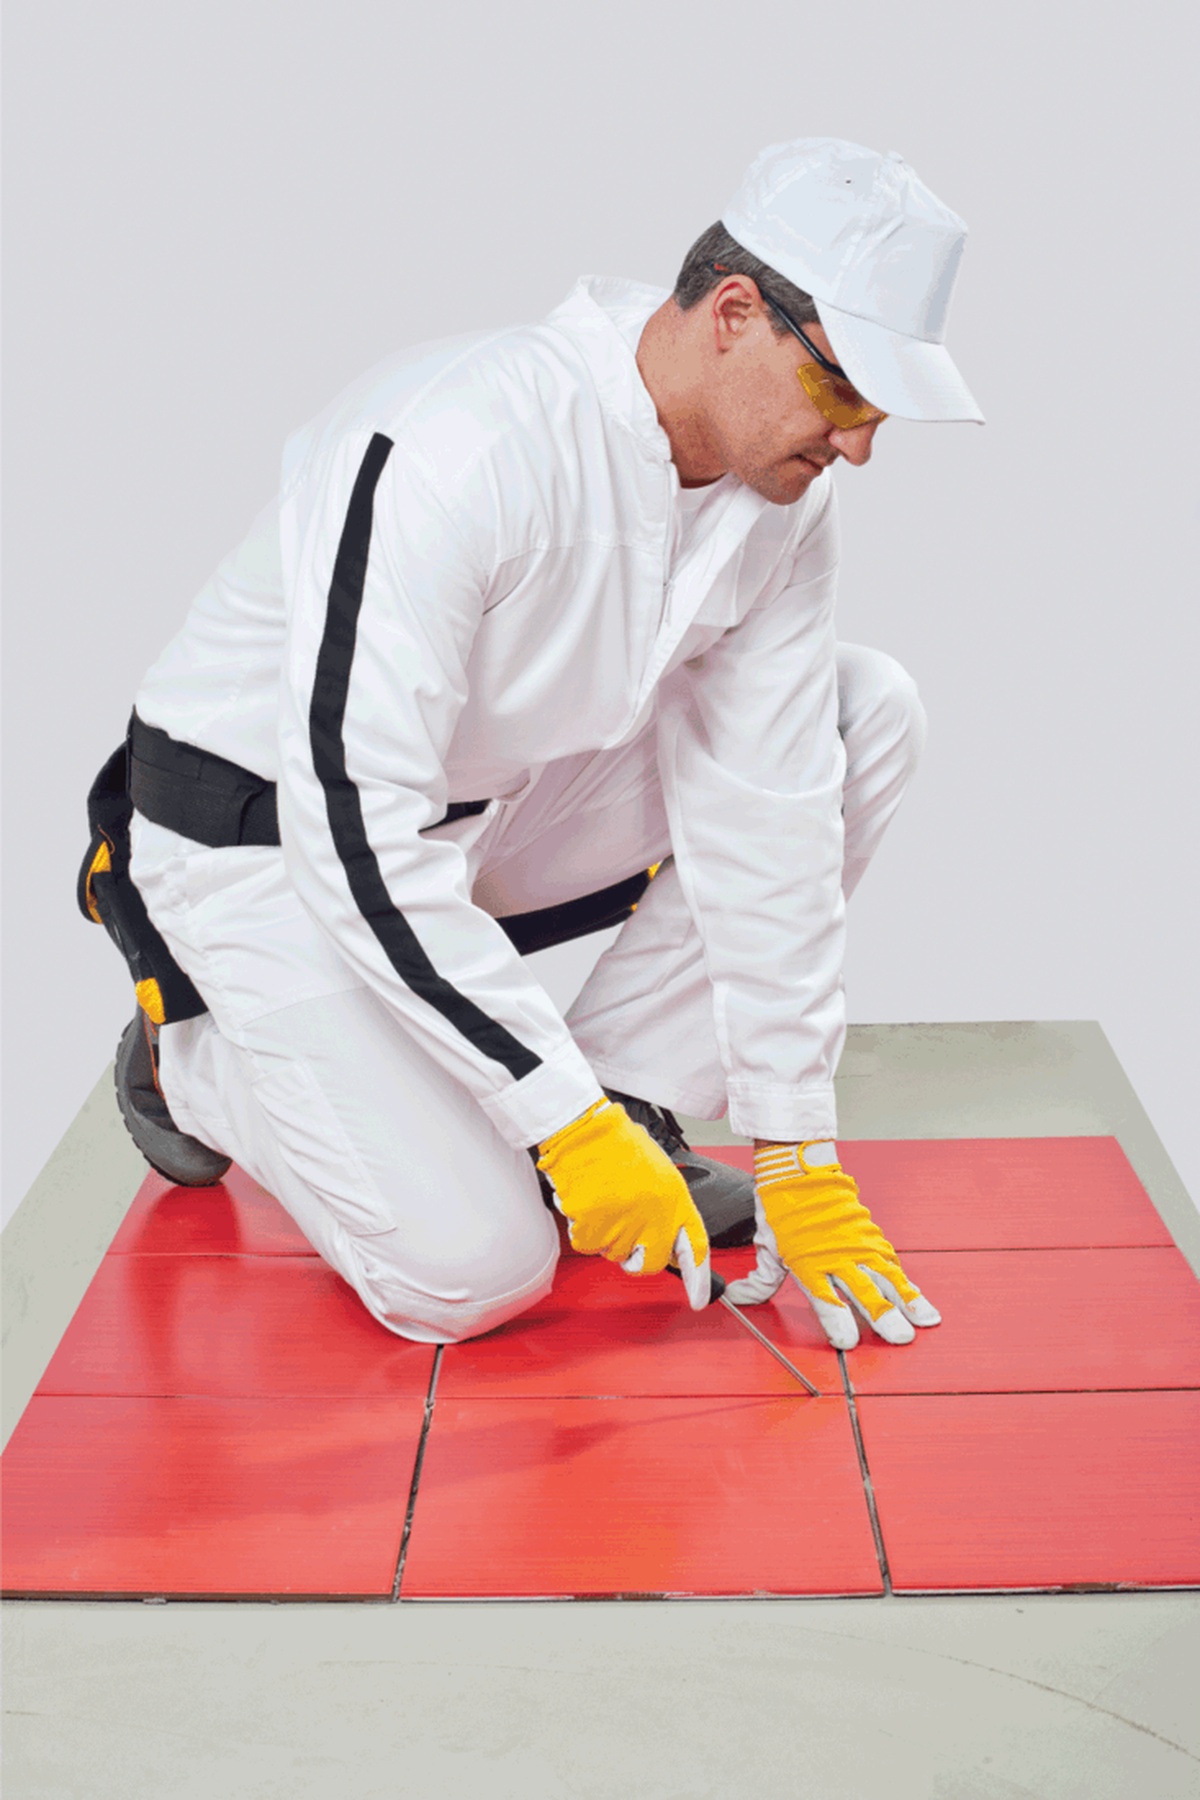
Begin by ensuring your safety before tackling grout removal.
Wearing safety goggles shields your eyes from flying debris, while gloves safeguard your hands during the task with a utility knife. With protective gear in place, gather all necessary tools and arrange them on the bathroom floor near where you'll be working.
To prevent any scratches to surrounding tiles, consider applying painter's tape along their edges ahead of time. Once you're set up and prepared, you can dive into removing that old grout effectively using an oscillating tool or utility knife for precision.
If you're looking for a reliable utility knife option to assist you in this project, take a look at what Amazon offers; it might have just what you need to get started efficiently.
Take Off Any Old Caulk
Removing old caulk from a tile wall can be straightforward with the right technique. Grabbing your utility knife and focusing on the left edge of the caulking.
Carefully insert the corner of your blade beneath the caulk, taking care to avoid scratching any tiles nearby. As you work along this line, you'll typically find that after loosening a few inches, you can easily lift off larger sections using just your hand.
Keep going until all traces of caulk are cleared away completely for a fresh start in your bathroom or kitchen renovation project. Remember to always position the blade at an angle so it only targets the caulking without damaging those beautiful tiles you've worked hard to maintain.
Clear Away Loose Debris
Begin by clearing away any dirt or old caulk from the grout line. Utilizing a broom or a handheld vacuum makes this task straightforward and effective.
A handheld broom can also be an excellent choice for this job, as it allows you to reach tight spots easily. If you're interested in exploring options, consider checking out various models available on Amazon that might suit your needs perfectly.
Keeping those lines clean sets the stage for further maintenance tasks ahead.
Cut Through the Grout with a Knife or Tool
Removing grout can be a straightforward task with the right tools and technique. You can select either an oscillating tool or a utility knife for this project.
If you opt for the oscillating tool, position it about one-eighth of an inch deep into the grout line on the left side of your tiled wall. Steady hands are crucial here; ensure that you keep it aligned to prevent damaging nearby tiles as you work downward through each section.
Should you choose to use a utility knife instead, apply vertical strokes methodically across the grout area while exerting enough pressure to break up any stubborn bits without harming surrounding surfaces. It's wise to proceed slowly during initial attempts until you're comfortable with how much force is needed for effective removal.
In both cases, patience pays off when removing old grout cleanly and efficiently while safeguarding your tile's integrity throughout this process.
Finish by Cleaning the Area
Cleaning up after removing grout from bathroom tiles requires careful attention to detail. Grab your shop vacuum or broom and thoroughly sweep the floor as well as inside the bathtub, making sure no remnants are left behind.
Focus on inspecting the edges and corners of walls near the bathtub since small bits can easily hide there. Investing in a reliable handheld vacuum can make this task easier; you might find some great options online that fit your needs perfectly.
Taking these steps will help maintain a clean workspace while prepping for any further renovations or cleaning tasks ahead.
What Are the Best Tools for Grout Removal?
Using the right tools makes grout removal easier and prevents accidental tile damage.
From manual scrapers to power tools, different options work for various grout types.
Here are the best tools to use for effective grout removal:
Hand Tools for Manual Removal
Grout removal can often feel like a daunting task. Many individuals encounter the challenge of using manual tools that typically feature a handle paired with a blade designed for scraping grout off tiles.
While these tools serve their purpose, they vary significantly in design and ergonomic comfort, which may impact your experience during use. Despite this range, the process remains labor-intensive and can be exhausting over time.
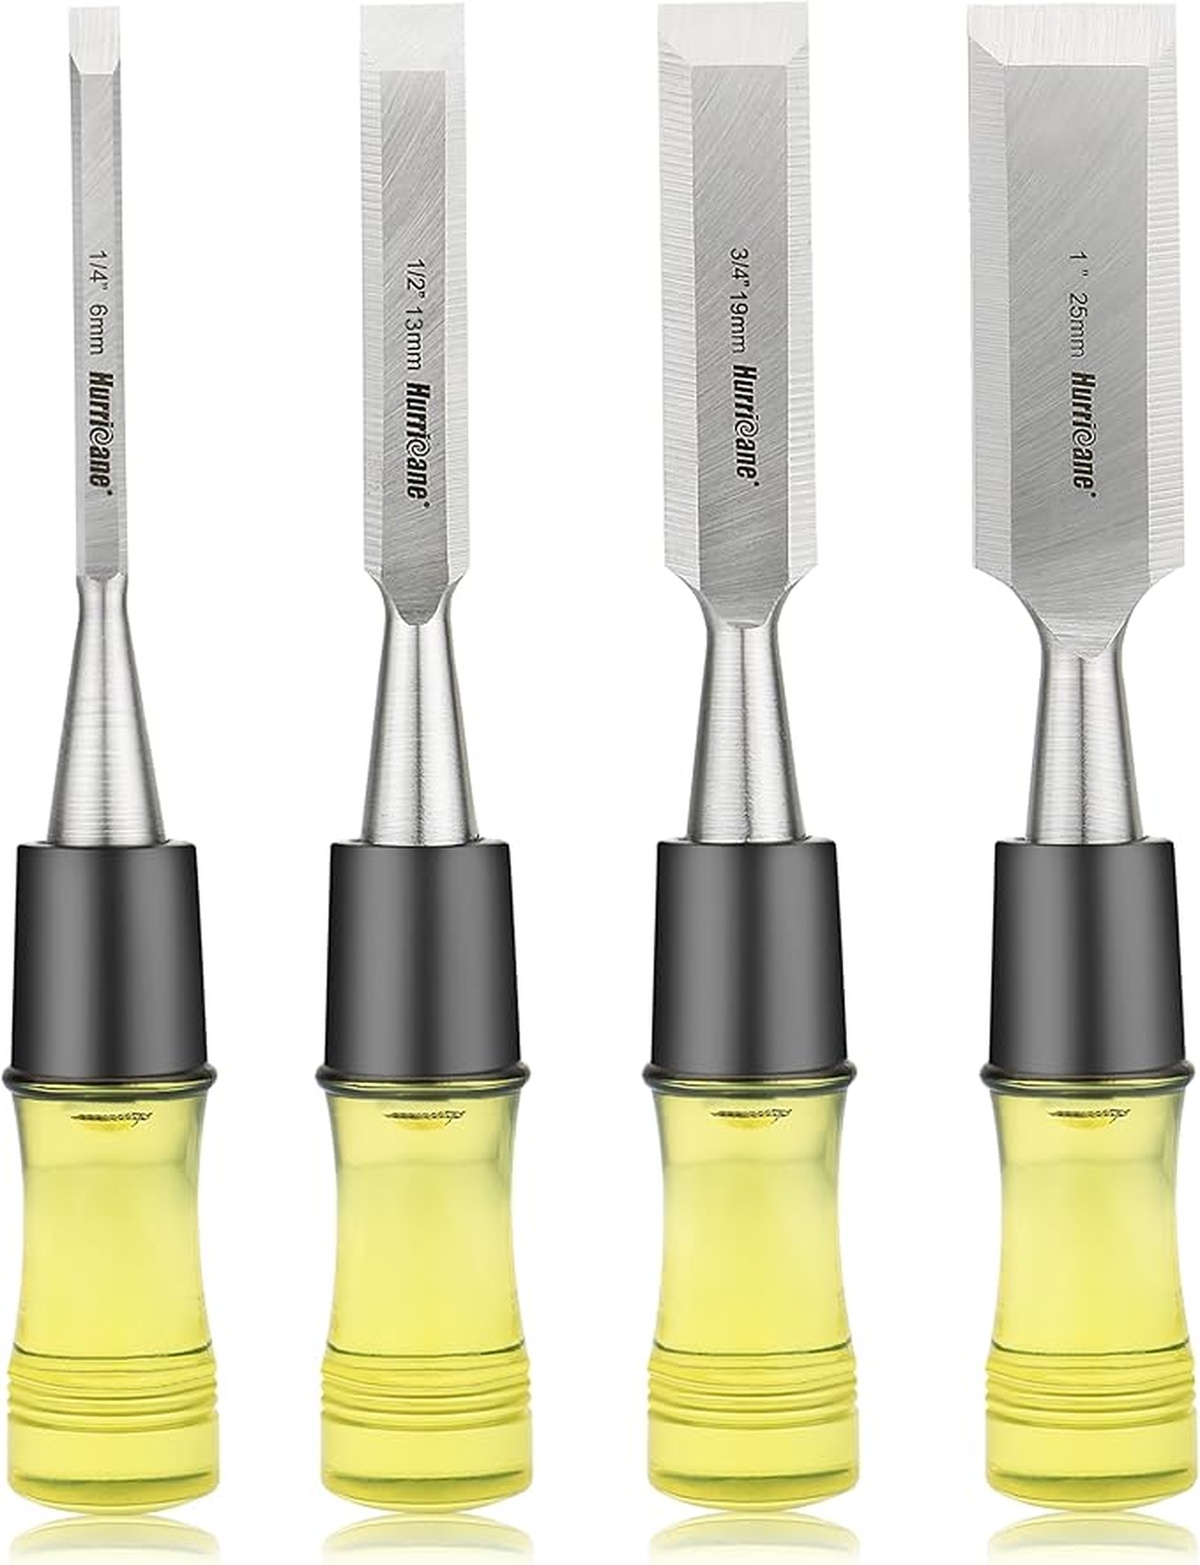
For those who favor traditional methods over electric options, alternatives such as utility blades or chisels offer effective solutions too.
Reciprocating Saw for Tough Jobs
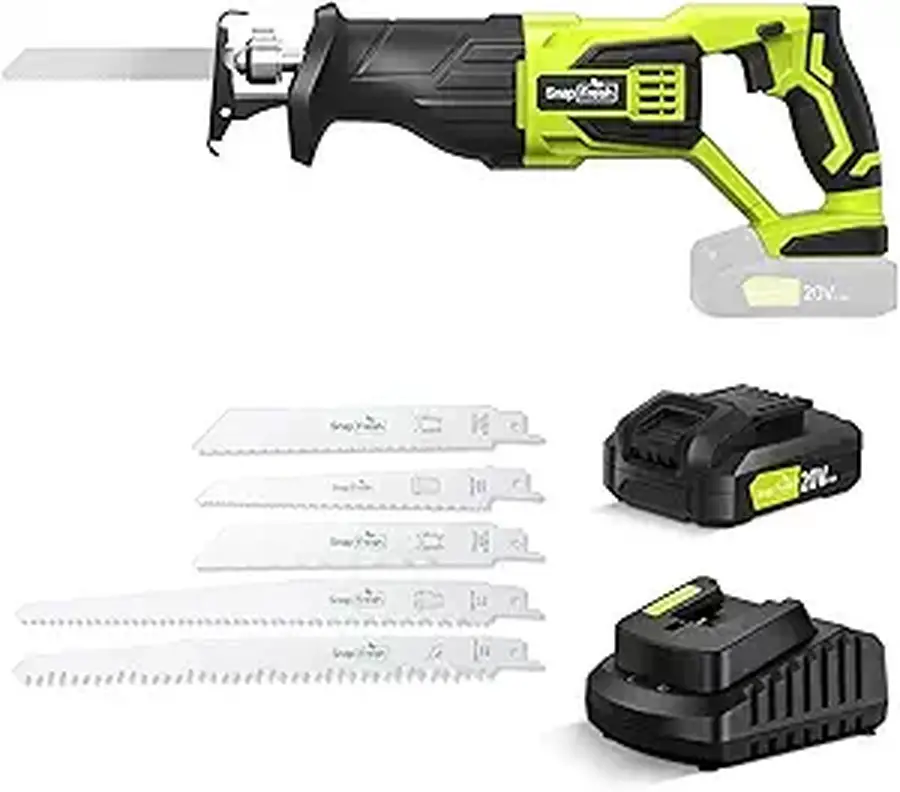
Removing shower tile grout becomes a lot easier with the right tools, and using a reciprocating saw equipped with a grout blade is one of the most effective methods. These saws excel at cutting through tough materials like epoxy and sanded grouts swiftly.
It's essential to familiarize yourself with how these powerful tools operate before diving into your project, as they can easily slip during use if not handled carefully. Taking your time when you first start will help prevent any unintended damage to your shower walls or surrounding areas in the bathroom.
If you're interested in this tool, take a look on Amazon for options that suit your needs.
Angle Grinder for Fast and Smooth Cutting
When tackling grout removal, angle grinders emerge as an incredibly effective tool. This powerful device allows for efficient work without the need to constantly adjust your arms around tiles, making it particularly useful for reaching corners on walls or floors.
Angle grinders can handle various types of grout including unsanded, sanded, and even epoxy-covered varieties with ease. Utilizing a spinning disk mechanism similar to other rotary tools, it's essential to maintain at least 1/8-inch distance from wall tiles during operation in order not to damage them accidentally.
While these grinders excel at their task, one downside is the considerable dust generated throughout use. Prioritizing safety by wearing a dust mask and goggles becomes crucial when working with this equipment; protecting yourself from inhaling fine grout particles is vital.
Oscillating Tools for Precision Cutting
When it comes to grout removal, oscillating tools emerge as an excellent choice. Equipped with specialized blades for this task, they significantly streamline the process of getting rid of old grout.
Unlike manual methods that require considerable effort and time, these motorized devices operate at high speeds, making short work of stubborn materials in just seconds. Though their price tag may exceed that of traditional tools, investing in one can be beneficial if you value efficiency and convenience.
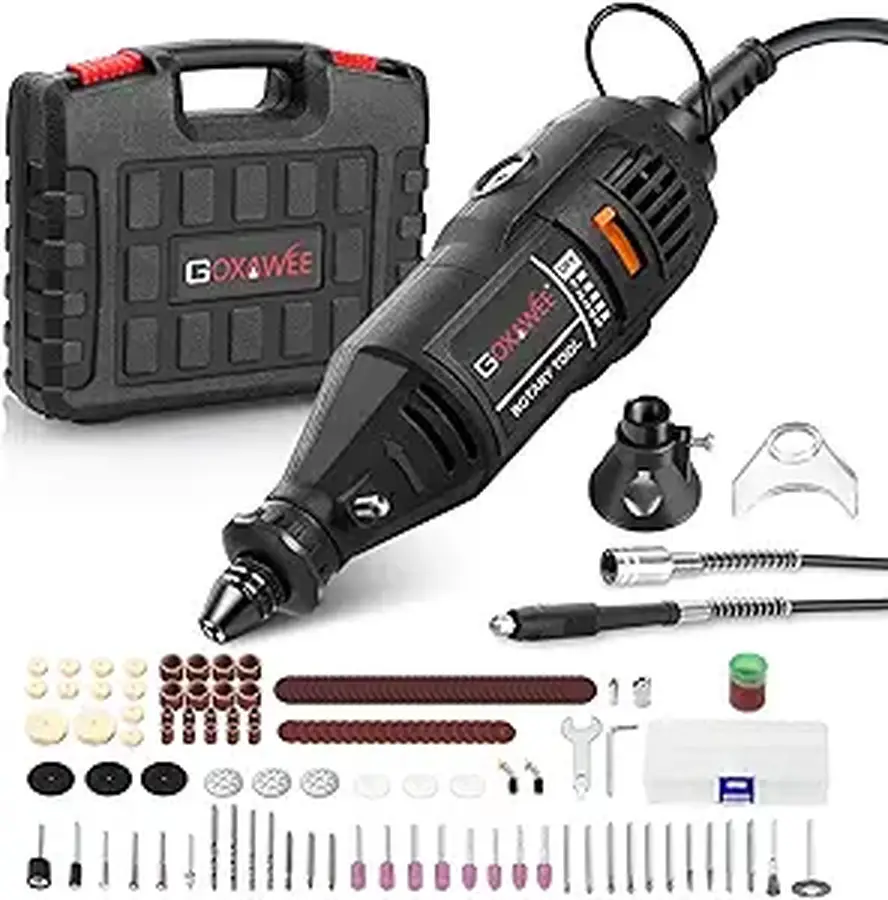
If you're curious about what these powerful gadgets can do, take a look at Dremel options for effective solutions tailored to your needs.
Is Removing Tile Grout a Difficult Task?
Tackling this project may seem daunting, but it mainly demands time and effort, particularly in a spacious bathroom. Utilizing an oscillating tool can simplify the task significantly compared to using a utility knife.
This handy device minimizes the force needed to eliminate grout effectively. Precision is essential during this process; careful handling is crucial regardless of whether you opt for a utility knife or an oscillating tool.
Be cautious while working because it's easy to inadvertently scratch nearby tiles if you're not attentive to your technique. Taking these steps will lead you toward achieving great results without unnecessary damage.
Can You Touch Up Grout Without Replacing It?
When you notice tiny sections of grout crumbling or forming cracks, refreshing them with new grout is often a viable option. You don’t have to remove all the existing grout; just take out some if it's too high on the tile surface.
Prior to applying fresh grout, ensure that you clean the old material thoroughly for better adhesion. This simple step can enhance durability and appearance, keeping your tiled areas looking neat and well-maintained over time.
Regular upkeep helps prevent further damage while ensuring your surfaces remain visually appealing without needing an extensive overhaul every time minor issues arise.
Can You Apply New Grout Over Old Grout?
Applying new grout over existing grout is achievable, but a few factors come into play. If the old grout measures under 1/8 inch in height, you can proceed with this method.
Prior to starting, ensure that you clean the surface of the old grout meticulously; doing so allows for better adhesion of the new layer. For an even thinner application option, consider using epoxy grout as it provides excellent bonding and durability while minimizing thickness.
This technique not only saves time but also enhances your tile's overall appearance without requiring complete removal of existing materials.
Does a Dremel Tool Work for Grout Removal?
Dremels prove to be excellent tools for tackling grout removal, making it easier to address extensive areas effectively. Before diving into the task, understanding the correct operation of this tool is crucial.
Using a Dremel without proper knowledge might lead to unintentional harm to your tiles surrounding those grout lines. Taking time to familiarize yourself with its features ensures you’ll achieve clean results while keeping your surfaces intact.
Always prioritize safety and precision when handling such power tools; they can make a challenging job much more manageable if used correctly!
What Are the Most Common Mistakes to Avoid When Removing Grout?
Removing grout from bathroom tiles requires careful attention to avoid common pitfalls that can lead to damage or unsatisfactory results:
Final Steps
I trust this guide has clarified the process of eliminating grout from your bathroom tiles.
For those aiming to finish the task efficiently and with minimal effort, utilizing a powered oscillating tool proves more effective than relying on traditional manual methods.



Samantha Lee
Head Cleaning Expert
Expertise
Professional Home Cleaning, Green Cleaning Techniques, Stain Removal & Fabric Care, DIY Home Maintenance & Organization, Sustainable Cleaning Products, Home Care for Busy Lifestyles
Education
University of Denver
Samantha Lee is the Head Cleaning Expert at HomeCleaningForYou.com, specializing in eco-friendly home care. She holds a Bachelor of Science in Environmental Science from the University of Denver, focusing on sustainable cleaning solutions.
With expertise in green cleaning, stain removal, and DIY home maintenance, she helps homeowners keep their spaces fresh and chemical-free. Samantha has been featured in lifestyle publications and has partnered with brands promoting natural cleaning products.
She also shares practical tips through her blog, online courses, and workshops. Passionate about sustainability, she enjoys testing new eco-friendly cleaning methods and spending time outdoors.