7 Simple Steps to Remove Mildew from Wood Siding
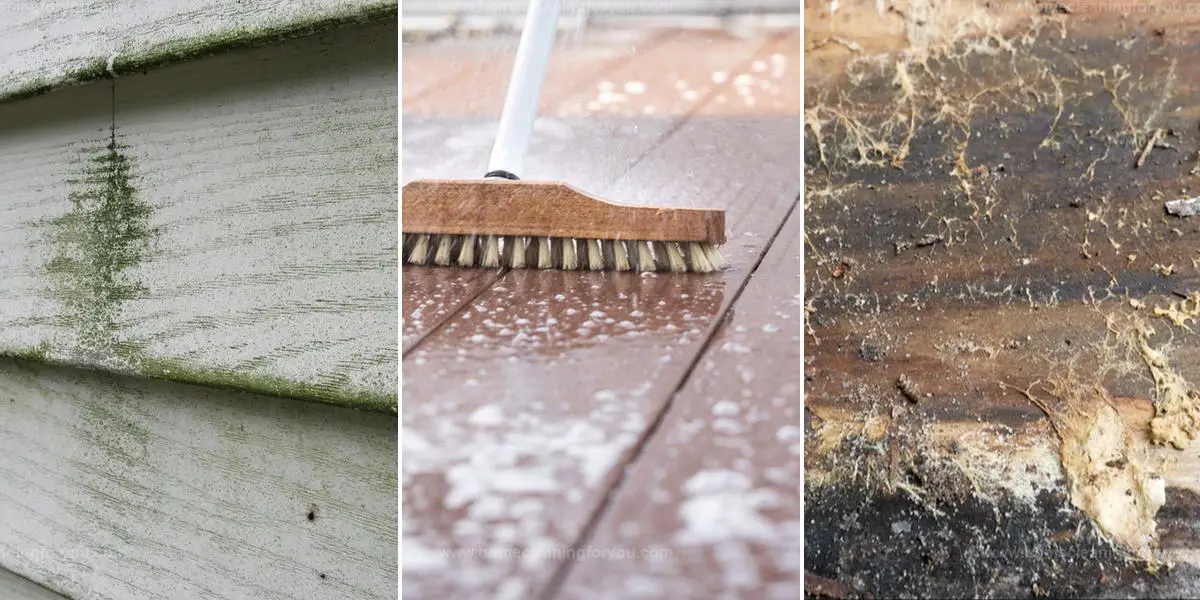
Mildew creeping onto wood siding can make even the most well-kept home look neglected. It starts as small patches, but before you know it, the discoloration spreads, leaving an unsightly mess.
While the temptation to blast it away with a pressure washer is strong, doing so can damage the wood. Fortunately, there’s a safe and effective way to get rid of mildew without harming your home’s exterior.
With a little patience and the right approach, you can restore your siding to its original beauty. Follow these 7 simple steps to remove mildew and keep your wood siding looking fresh:
How to Clean Mildew from Wood Siding
Mildew on wood siding can leave unsightly stains and cause damage over time.
Proper cleaning helps remove buildup while protecting the wood’s surface.
Follow these steps to keep your siding clean and mildew-free:
What You’ll Need
After putting in the effort to achieve your desired aesthetic for your home, even down to selecting the perfect wood siding, finding mildew on it can be frustrating.
Whether you're mowing the lawn or taking a stroll with your dog, spotting that unwanted growth may catch you off guard.
Thankfully, there are effective methods you can follow to clean and restore your siding’s original appearance.
To tackle this cleaning task efficiently, gather these essentials:
By preparing correctly and using appropriate materials, you'll soon see an impressive transformation in the look of your home's exterior.
Protect Nearby Plants
When tackling the cleaning of your home's exterior, safeguarding nearby plants and shrubs takes precedence. Harsh cleaners can inflict damage on delicate foliage, so taking precautions is essential.
By draping a tarp or other protective material over these areas, you ensure their safety during the process. The cleaner suggested below poses less risk to vegetation compared to harsher alternatives but being cautious never hurts.
Protecting your greenery allows for effective cleaning without worrying about harming what surrounds your home. Prioritizing plant care creates a win-win situation where both cleanliness and nature thrive together.
Wear Safety Gear Before You Start
Using gloves is essential when handling cleaners or chemicals to ensure your safety. Protecting your hands from harsh substances should be a top priority, and safeguarding your eyes is equally important as splashes can occur unexpectedly.
Choosing suitable household cleaning gloves will provide the necessary barrier against harmful ingredients while working on any cleaning task. Look for durable options that fit well, ensuring comfort during use.
Additionally, wearing eye protection can prevent irritation or injury caused by accidental spills of cleaning solutions. Always prioritize these precautions before diving into any project involving chemicals for a safer experience overall.
Tusko Rubber Gloves for Safe Cleaning
Tusko Rubber Gloves are designed to provide robust hand protection during cleaning tasks.
Made from high-quality materials, these gloves shield your skin from harsh chemicals and abrasive materials, ensuring safety and comfort throughout your cleaning process.
BearKat 3 Polycarbonate Safety Glasses for Eye Protection
BearKat 3 Safety Glasses feature a single-piece wraparound polycarbonate lens that offers unobstructed vision and integral side shields for enhanced protection.
The soft, secure gel nosepiece and non-slip hybrid temple sleeves ensure a comfortable fit during extended use.
These glasses filter 99.9% of harmful UV rays, safeguarding your eyes during outdoor cleaning activities.
Prepare the Cleaning Mixture
Starting off a project requires an effective cleaning solution. A popular choice among many is a blend of water and a peroxide-based cleaner.
Prepare your mix by combining the two in a bucket for easy access during your task. Typically, these cleaners are available in powdered form, making them convenient to use when mixed with liquid for optimal results.
Always ensure that you have the right tools at hand before diving into any cleaning endeavor to achieve the best outcome possible while maintaining safety and efficiency.
OxiClean for Removing Stains and Odors
OxiClean is a versatile stain remover that harnesses the power of oxygen to eliminate tough stains and odors.
It's effective on various surfaces and fabrics, making it a valuable addition to your cleaning arsenal.
When dealing with mildew on wood siding, OxiClean can help lift stains without the use of harsh chemicals.
Simple Green Cleaner for Homes and Siding
Simple Green OxySolve House and Siding Cleaner is formulated to remove dirt, grime, and stains caused by mold, mildew, moss, and algae.
This pressure washer concentrate is ideal for cleaning various types of siding, including vinyl, aluminum, stucco, wood, and brick.
It utilizes the power of peroxide to brighten surfaces without the use of bleach, making it a safer choice for both you and the environment.
Rinse the Exterior of Your Home
Cleaning your home’s exterior begins with a crucial step: rinsing away dirt and grime. A thorough rinse using your garden hose effectively prepares the surface for further cleaning by saturating it with moisture.
This simple action sets the stage for optimal results when you apply cleaner later on. Avoid reaching for a power washer, as this can potentially cause more harm than good to your siding.
While effective in some scenarios, strong jets of water might damage paint or wood surfaces, leaving unwanted grooves or forcing moisture into hidden areas behind the siding. The risk of mold and other issues arising from trapped water is not worth it; sticking to a gentle garden hose will yield excellent outcomes without compromising integrity.
Apply the Cleaning Solution Evenly
Applying your homemade cleaning solution effectively requires a bit of strategy. Start by determining an area that you can manage within approximately 15 minutes.
This timeframe allows the cleaner to penetrate and lift dirt without drying out on the surface, which could complicate rinsing later. After selecting your space, take care not to let the solution sit for too long before rinsing it off; otherwise, you'll face added difficulty during cleanup.
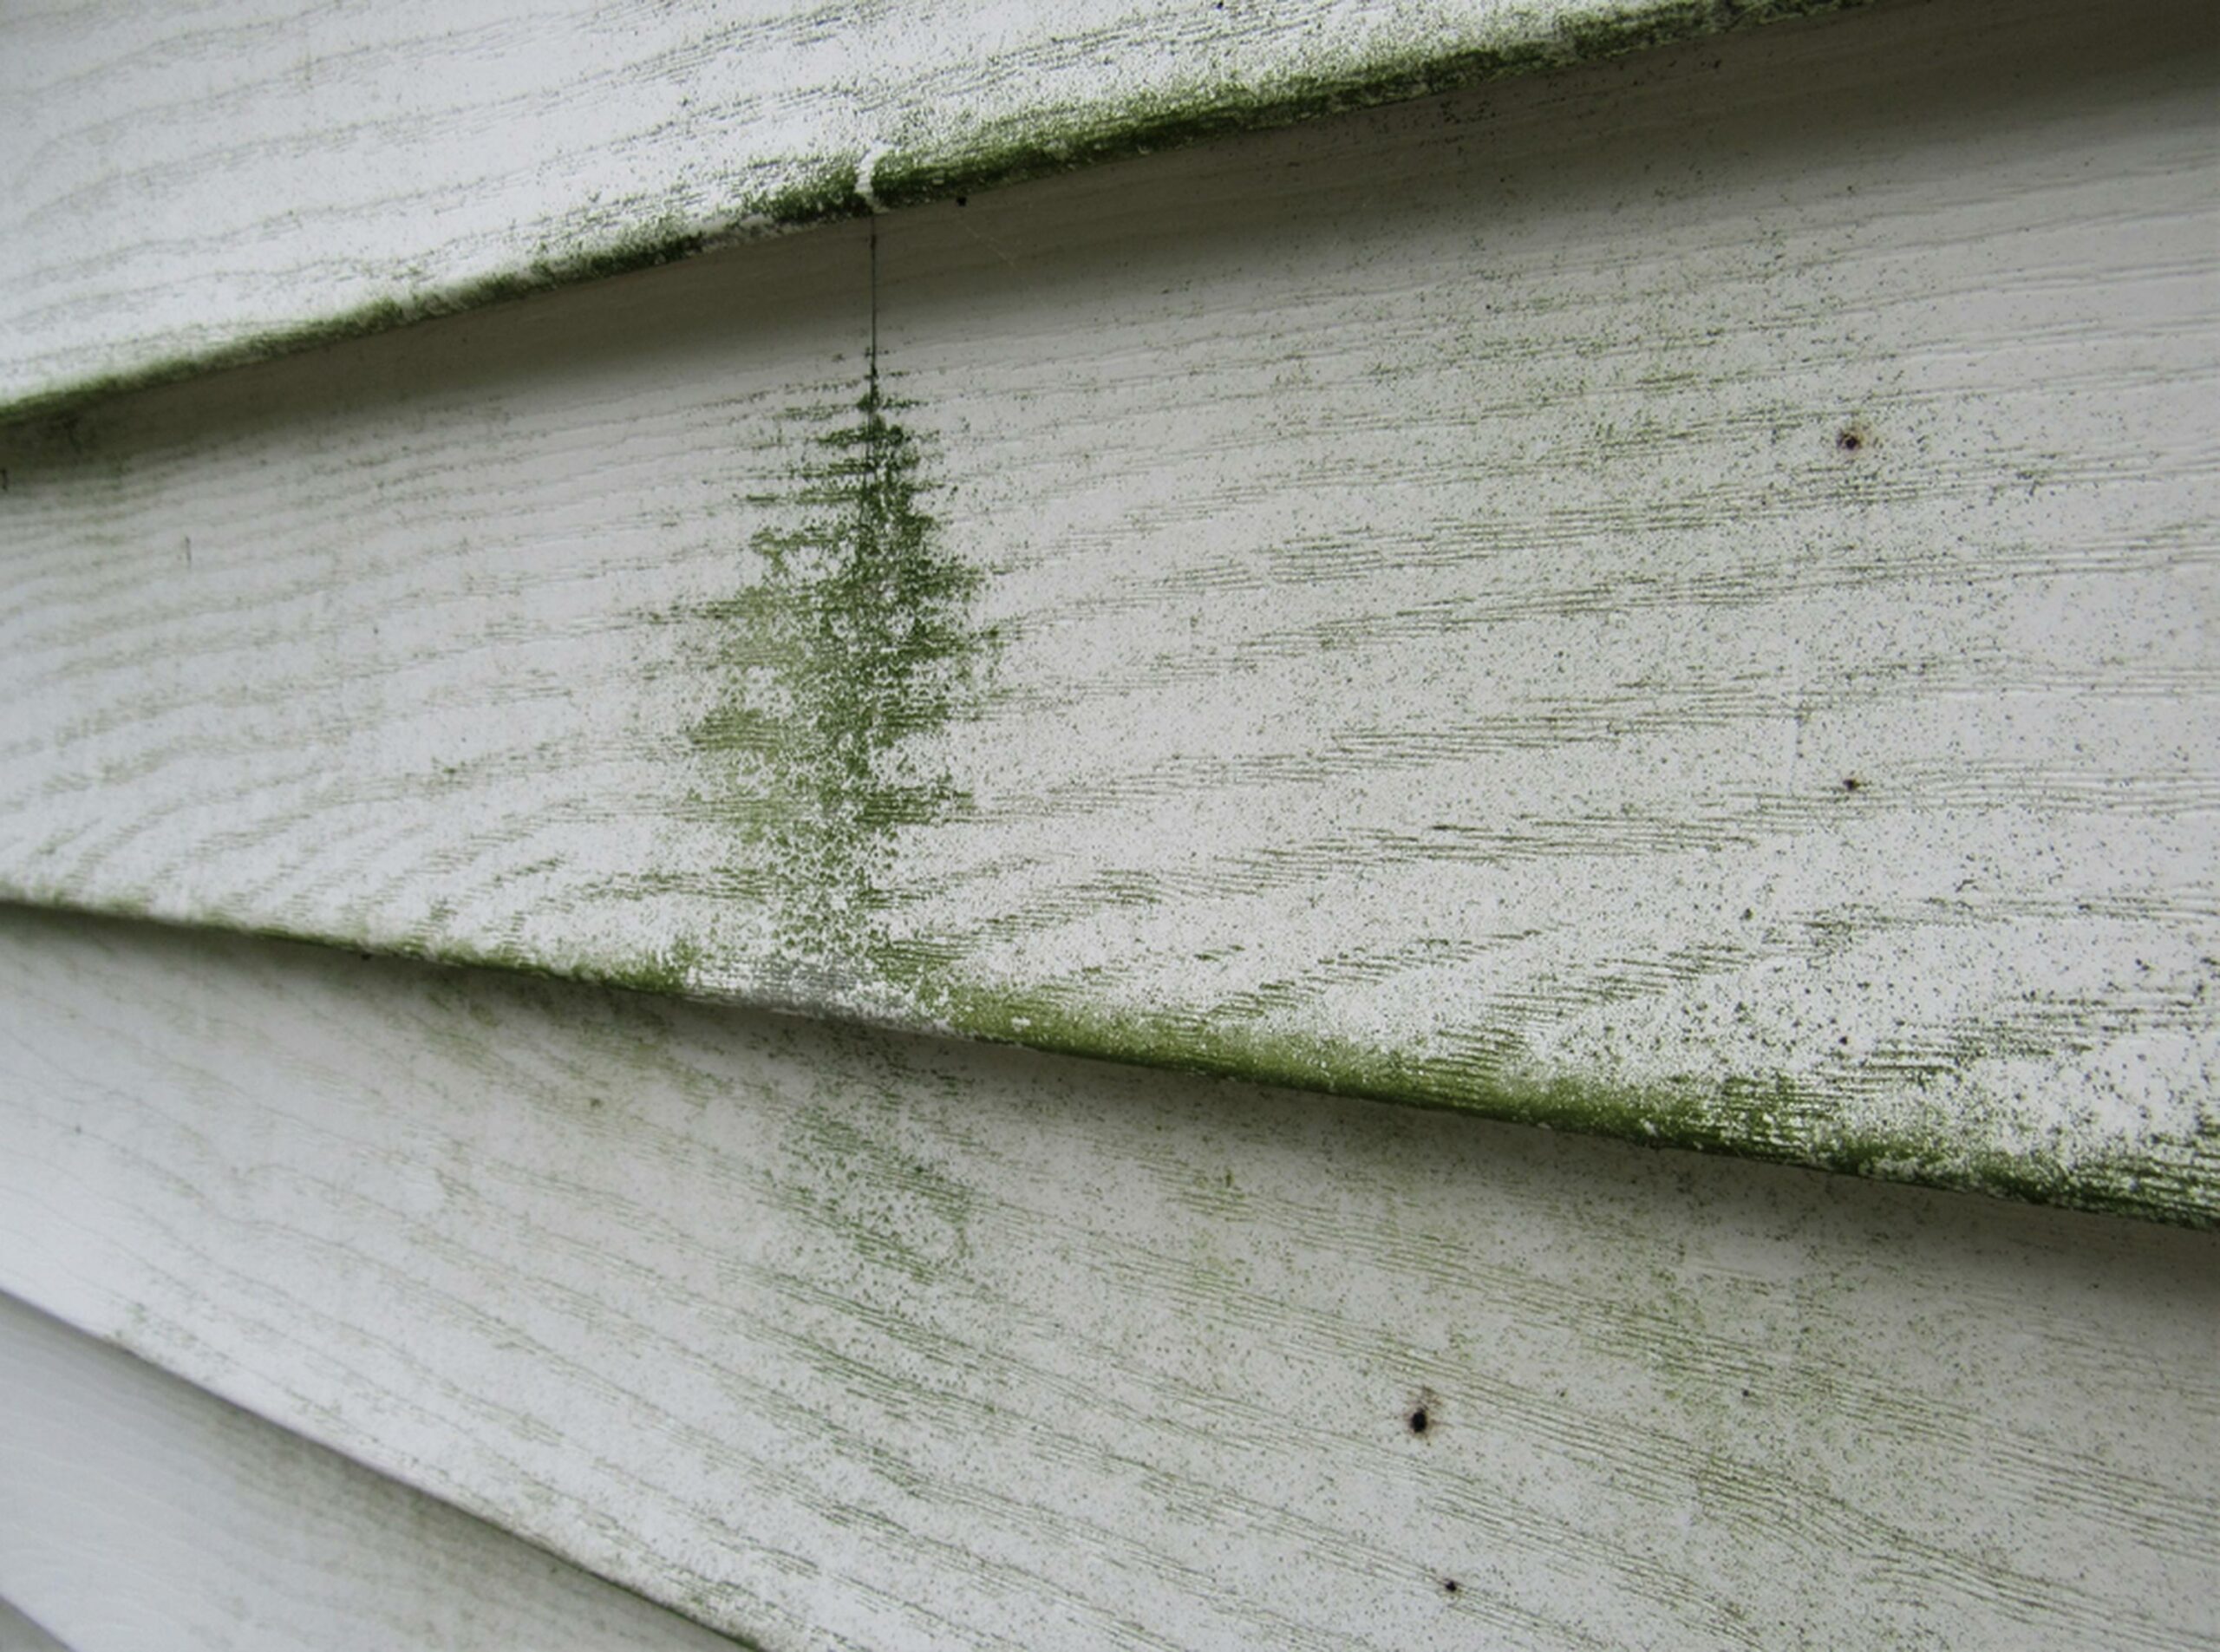
To apply this mixture smoothly, consider using a brush designed for such tasks, something sturdy yet gentle enough not to damage the underlying material will work well. With these steps in mind, you’ll ensure thorough cleaning while avoiding common pitfalls associated with DIY solutions.
Rubbermaid Heavy-Duty Scrub Brush for Tough Cleaning
This all-purpose scrub brush is designed for tough cleaning tasks.
It features synthetic bristles that resist staining and a durable plastic handle that won't crack or warp.
The pointed end of the bristles allows for easy cleaning in corners, while the raised handle design protects your knuckles during use.
Ideal for scrubbing concrete, decks, or siding, this brush helps remove mildew effectively.
Chapin Lawn Sprayer for Easy Application
The Chapin 1-Gallon Lawn and Garden Sprayer is a versatile tool suitable for applying cleaning solutions to large areas.
It features a translucent polyethylene tank for easy monitoring of liquid levels and an ergonomic pump handle for comfortable use.
Equipped with a SureSpray in-tank anti-clog filter, it ensures a steady, clog-free spray, making it efficient for treating wood siding with mildew.
Scrub Stubborn Mildew Spots
Gathering a robust brush that can withstand tough scrubbing.
It’s often necessary to apply additional cleaning solution directly onto the affected spots to break down stubborn mildew.
Engage with the area vigorously, using firm strokes to lift and eliminate any remaining traces of mold.
This method not only ensures thorough removal but also helps prevent future growth in those challenging locations.
Give Everything a Final Rinse
Rinsing thoroughly to eliminate any traces of the cleaner. Pay close attention if you notice spots where the solution may have dried; those areas require extra care during rinsing to avoid streaks or damage.
After completing this rinse, inspect for any lingering mildew stains on your siding. If you find some stubborn spots, revisit step six and apply additional cleaner while scrubbing gently until they vanish completely.
Once everything looks pristine and clear, feel free to uncover your plants as well as tidy away your hose and bucket with satisfaction in knowing that you've accomplished an impressive clean-up job.
How Long Does It Take to Fully Remove Mildew from Wood?
Removing mildew from wood siding requires a different amount of time depending on various factors. The size of your home plays a significant role; larger houses typically demand more effort compared to smaller ones.
If certain areas are heavily affected, expect the task to take even longer than usual. For most small to medium-sized homes, setting aside four to five hours should suffice for an effective cleaning session.
This timeframe allows you ample opportunity to thoroughly follow each step without feeling rushed or overwhelmed during the process. Plan accordingly and ensure you're equipped with everything necessary before starting this important maintenance task.
Can Mold on Wood Be Harmful to Health?
Various types of mold can pose significant health risks to individuals exposed to them. While wood mold doesn't necessarily harm your wooden structures, it does release spores that can be detrimental when inhaled.
This risk intensifies for those with pre-existing respiratory conditions like asthma or allergies. Mold exposure may lead to headaches, breathing difficulties, increased asthma episodes, and other health issues.
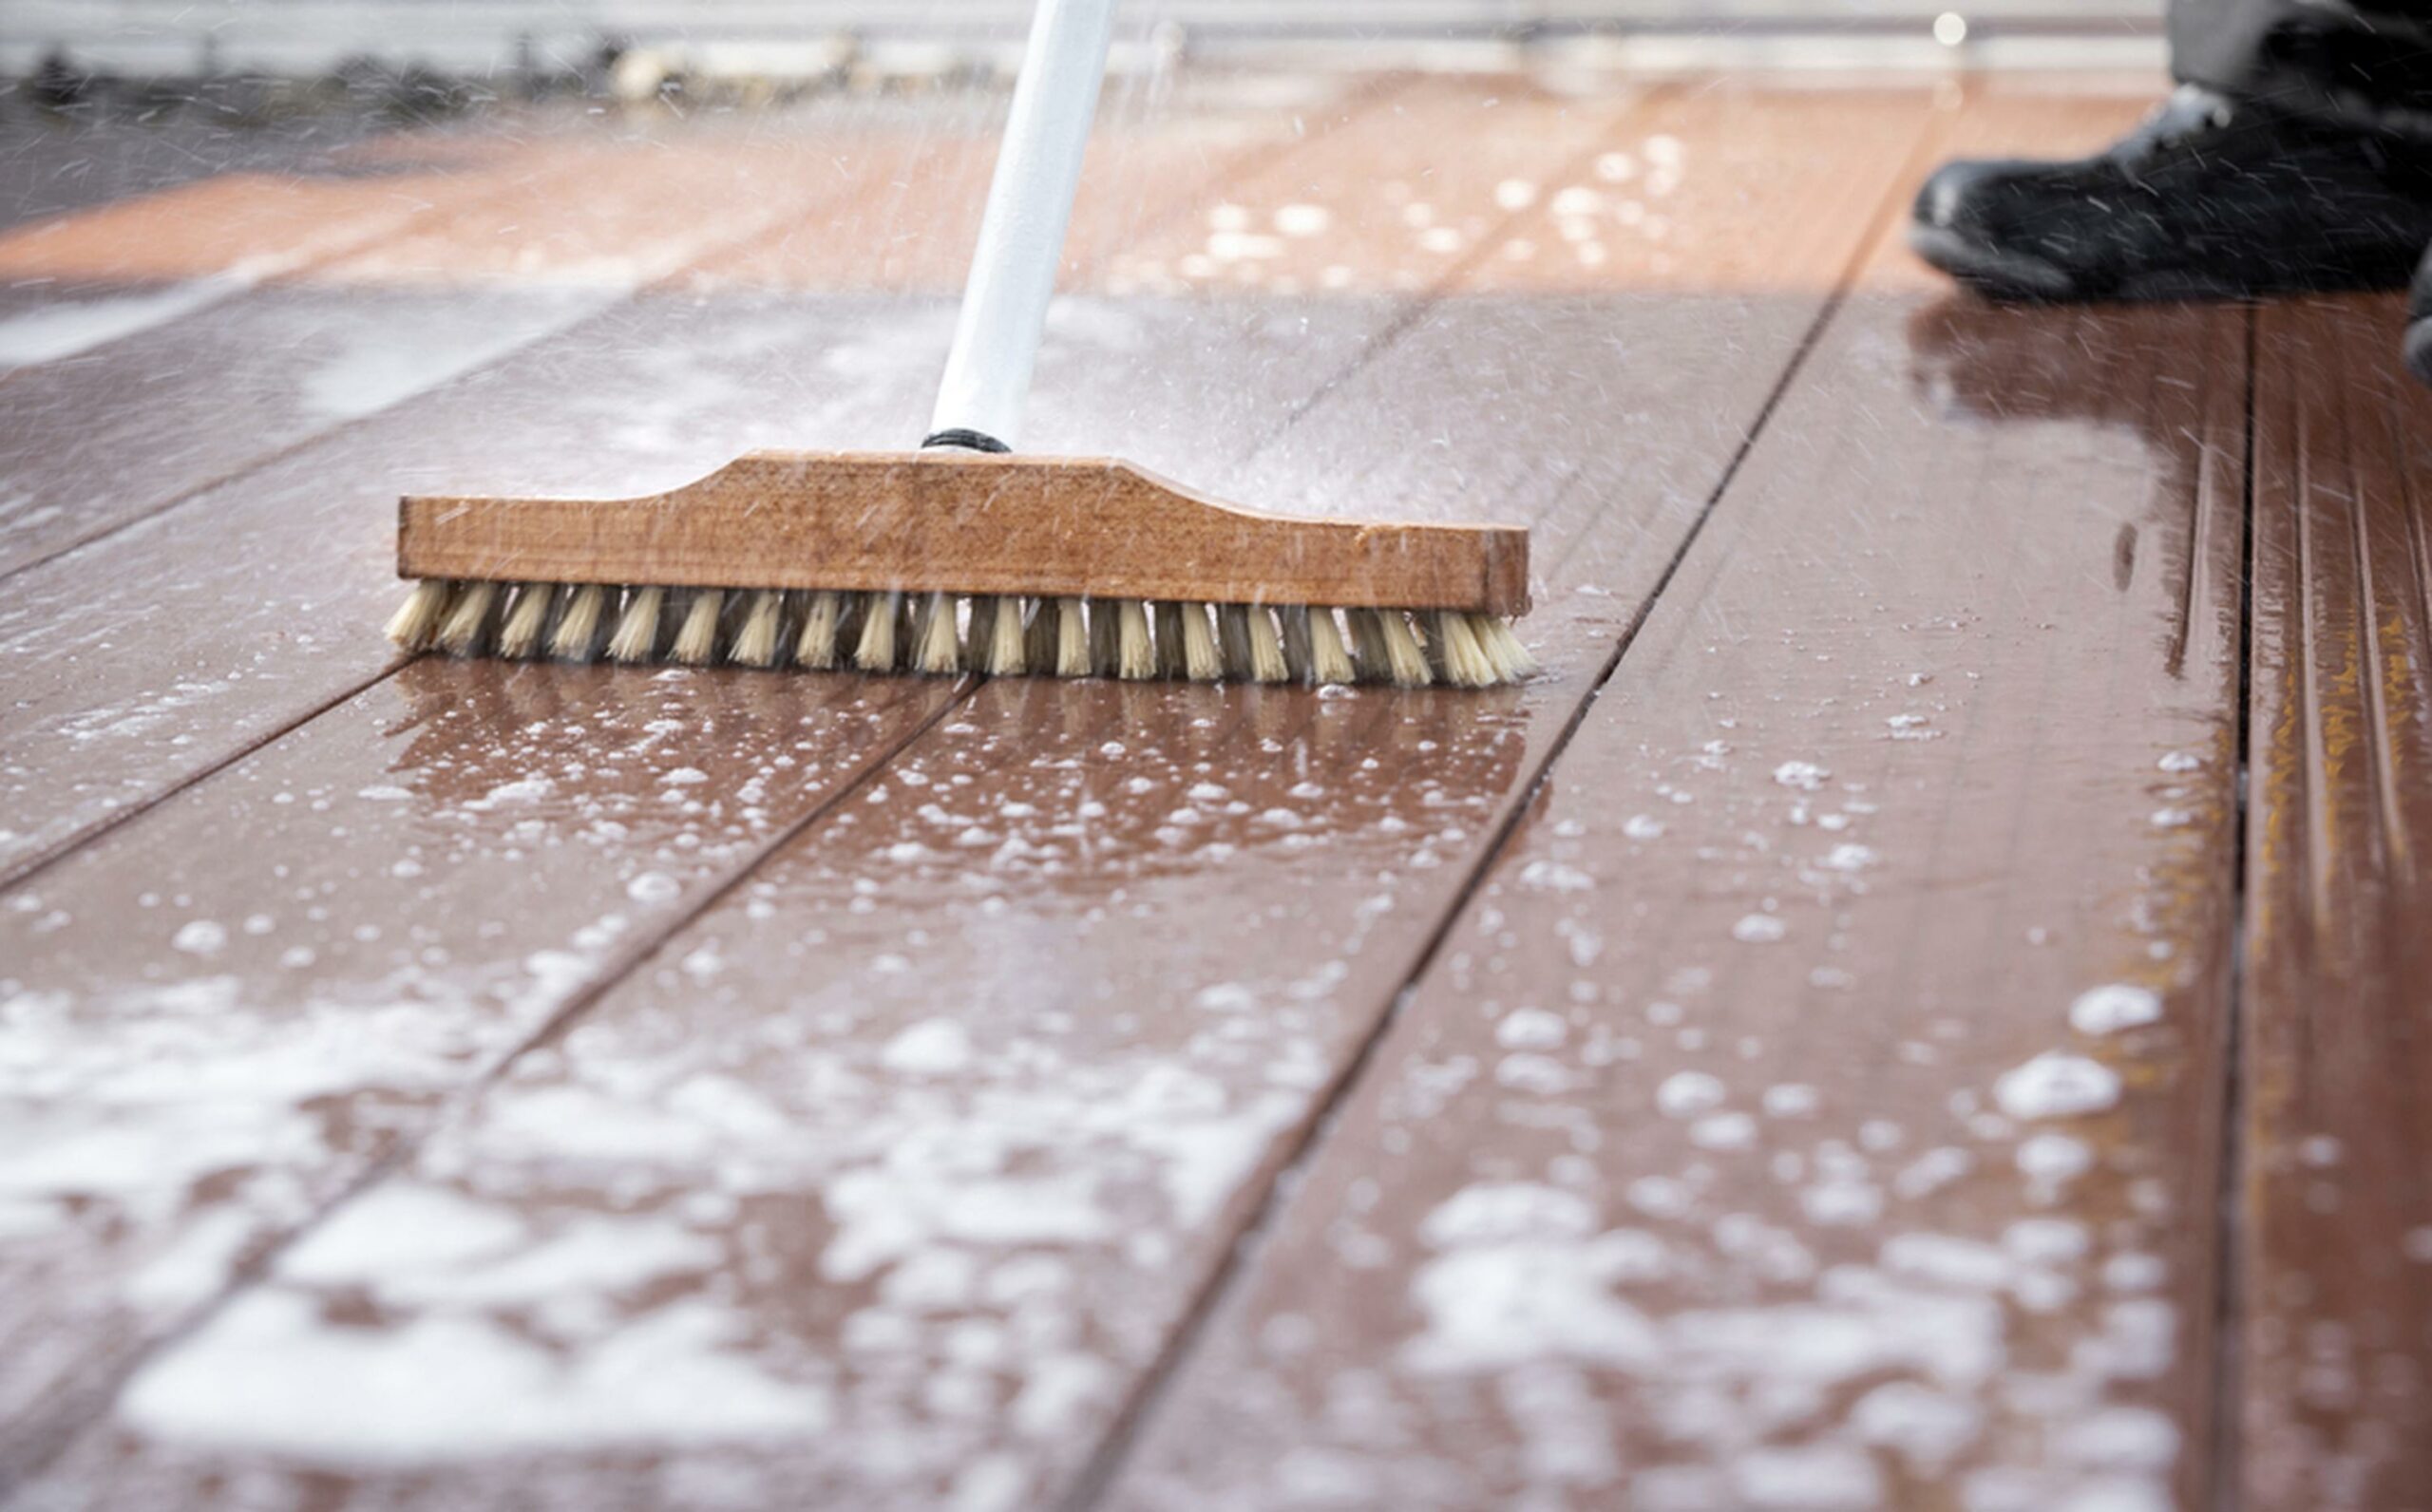
Additionally, mold often penetrates deeply into the wood fibers, complicating removal efforts significantly. Addressing any signs of mold promptly is crucial; in many cases, this is straightforward but larger infestations might need professional intervention for safe elimination.
Although wood mold itself generally doesn’t cause deterioration of the material or rot directly, its presence frequently indicates underlying problems related to excessive moisture levels in a specific area that require immediate attention. High humidity can foster decay over time as well since both rot and mold thrive under similar conditions of dampness.
Damage from rot could compromise the integrity of your wooden items; therefore swift action against such concerns is essential for maintaining their condition.
Does Black Mold Develop on Wooden Surfaces?
Mold thrives in damp environments, and black mold is particularly concerning. It can develop on a variety of surfaces such as wood, drywall, or fabrics.
Once it finds suitable conditions, it proliferates rapidly on wooden materials. This type of mold poses significant health risks for many individuals; inhaling its spores may lead to serious respiratory issues and other ailments.
The spread of these spores through the air makes black mold even more hazardous within indoor spaces. If you discover this dangerous fungus in your home or workplace, seeking professional assistance becomes essential because safe removal demands specialized equipment and expertise to handle the situation effectively.
Final Summary
Removing mildew from wood siding is an achievable DIY task.
You need just a few basic supplies that you might already possess at home.
By following the straightforward steps outlined, accomplishing this in one weekend is definitely possible.
Kevin Jones
Founder & Chief Home Organization Strategist
Expertise
Home Organization & Decluttering, Efficient Cleaning Methods & Stain Removal, Sustainable Cleaning Practices, DIY Home Maintenance & Repairs, Space Optimization & Storage Solutions, Budget-Friendly Home Care Strategies
Education
University of Texas at Austin
Kevin Jones is the Founder and Chief Home Organization Strategist at HomeCleaningForYou.com.
He earned a Bachelor of Science in Interior Design from the University of Texas at Austin, focusing on space planning and sustainable design. Specializing in home organization, decluttering, and budget-friendly home care, he helps homeowners create functional and stylish spaces.
Kevin has been featured in lifestyle publications and has collaborated with eco-friendly brands on home organization solutions. He shares his expertise through DIY guides, workshops, and online tutorials. Passionate about minimalism, he enjoys testing new organization methods and exploring sustainable living ideas.