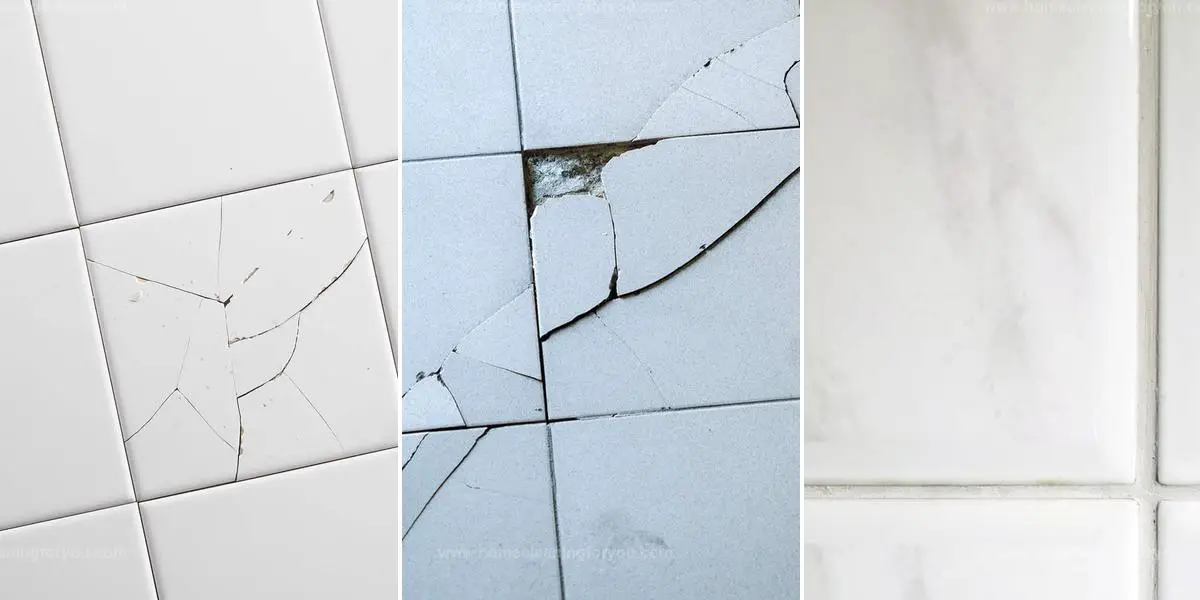
5 Simple Steps to Repair Cracked Ceramic Tile at Home
Cracked ceramic tile can be an eyesore, especially when it disrupts the clean, polished look of your floors or backsplash.
Whether it’s from a dropped object or natural wear and tear, even a small crack can draw attention.
Fortunately, you don’t have to replace the entire tile to fix minor damage.
With a few simple tools and the right technique, you can restore your tile’s appearance without a full renovation.
If you're ready to make your tile look good as new, follow these 5 simple steps to repair cracked ceramic tile and extend its lifespan:
Why Fixing Cracked Tile Is Important

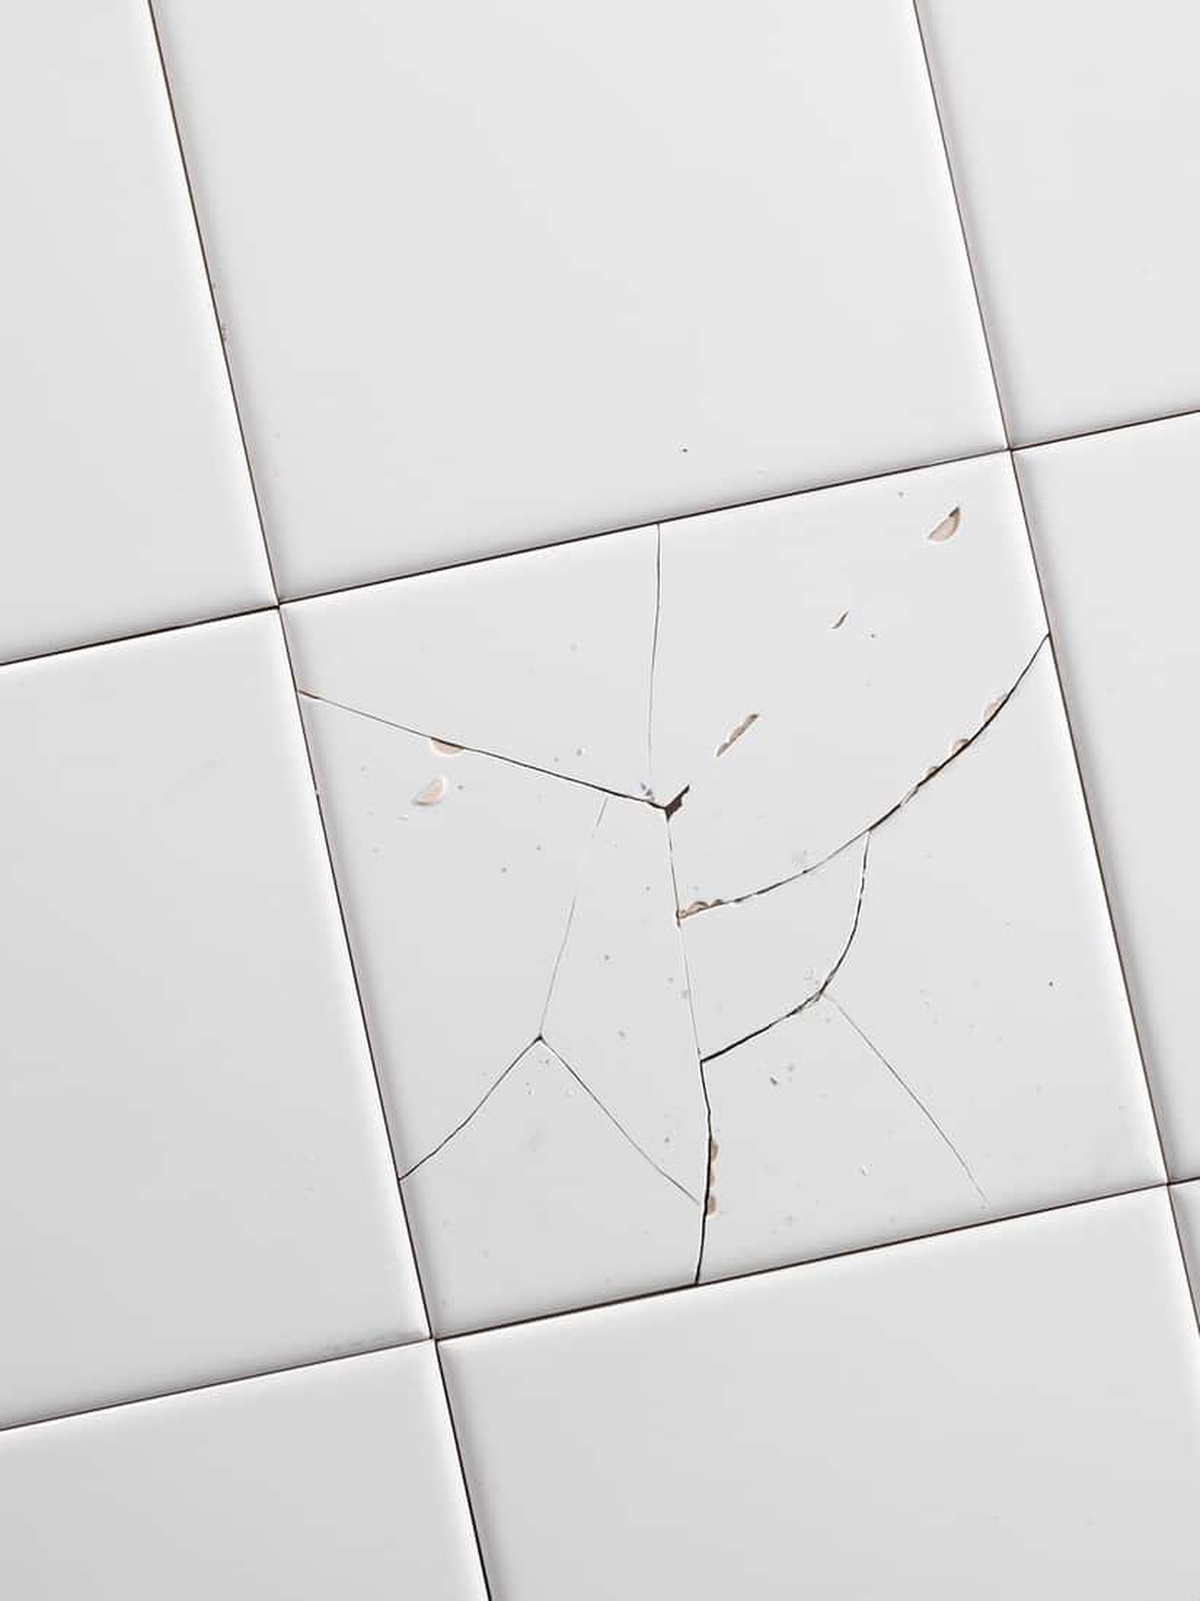
Beyond the obvious visual issues, repairing a cracked ceramic tile is essential for several important reasons. Ceramic tiles are commonly found in areas like kitchens, bathrooms, and showers where moisture levels tend to be high.
When cracks appear, water can infiltrate these openings and reach the underlying flooring. Excessive moisture can lead to significant problems beneath the surface.
Wooden subfloors may begin to decay if they absorb too much dampness over time. Additionally, this environment promotes mold and mildew growth that poses health risks for you and your home’s occupants.
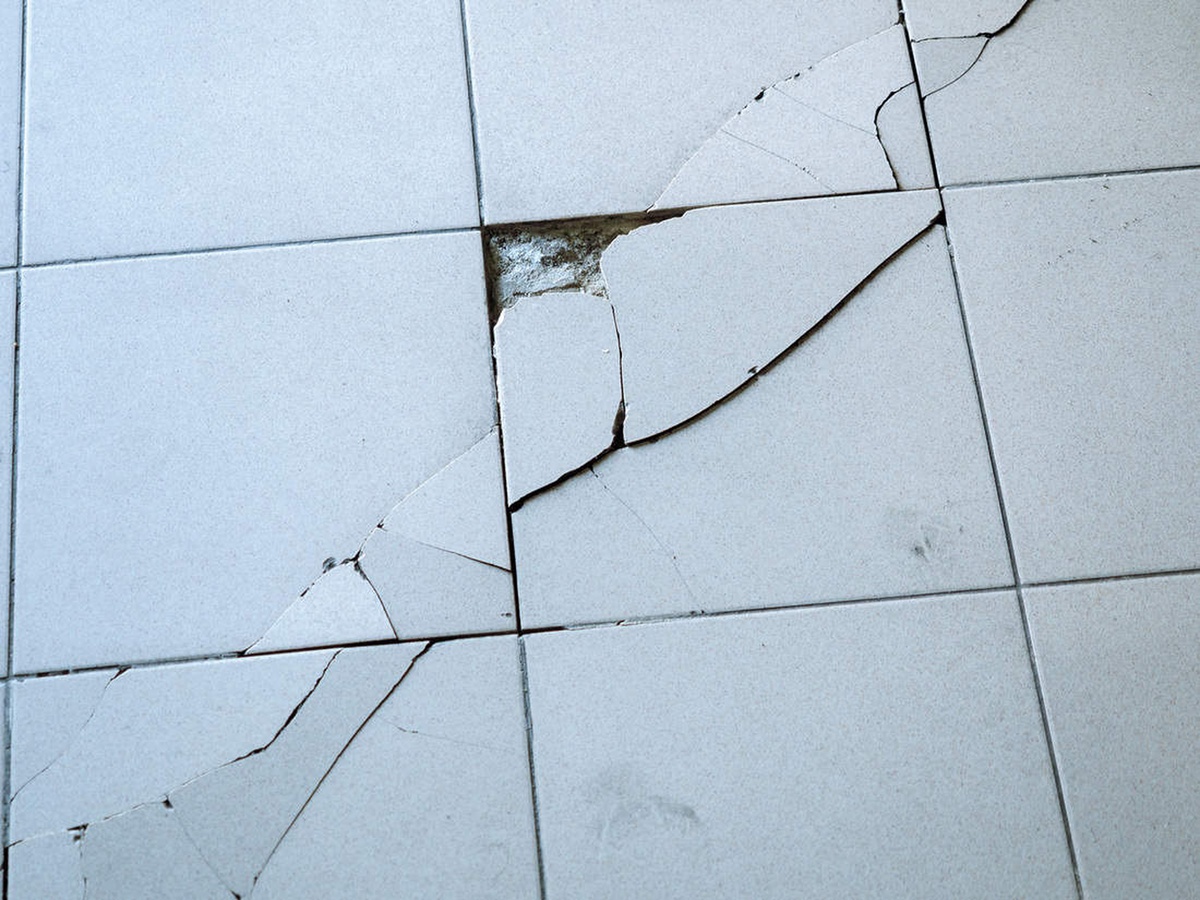
Cracks don’t just stay small; they often widen as time goes on, creating even more pathways for water infiltration. Tiles with larger fissures become increasingly difficult to fix effectively and usually necessitate complete replacement instead of simple repairs.
Taking action now helps prevent future complications while keeping both your living space safe and appealing.
Best Ways to Repair Cracked Ceramic Tile
Cracks in ceramic tiles can be an eyesore and lead to further damage if not fixed properly.
Repairing them the right way restores their appearance and prevents moisture from seeping in.
Follow these simple steps to fix cracked ceramic tiles effectively:
Gather What You Need
Understanding the significance of fixing cracked tiles sets the stage for diving into the repair process. Let’s break down each step and outline what you will require to get started. Gather these essential tools:
With these items on hand, you can confidently tackle tile repairs and restore their original look while ensuring durability. Each tool plays a vital role in achieving a smooth finish, so ensure everything is ready before beginning your project.
Step 1: Remove Dirt and Debris from the Crack and Tile
Repairing a cracked tile begins with thorough cleaning to ensure effective adhesion of the epoxy. Start by using a thin scraper to remove debris from within the crack, which prepares it for better sealing.
After clearing out dirt, apply either a specialized tile cleaner or dish soap to enhance cleanliness and use an old toothbrush for deeper areas if needed. Don’t forget about the surrounding area; wipe down the entire tile surface to eliminate grease that might hinder bonding later on.
Once cleaned, allow both the crack and tile time to dry completely, this could take longer than expected due to moisture retention in cracks. To expedite drying, consider using a vacuum or gently running a hairdryer along the crack for around 15 minutes for faster results.
You can find effective plant-based cleaners available online as well.
Step 2: Apply Epoxy to Fill the Crack
Applying epoxy is a crucial step after ensuring the tile has completely dried. Start by checking if mixing is necessary; adhere to the guidelines on the packaging for accurate proportions.
Use cardboard or a disposable plate as your workspace, steering clear of any cherished dishes you want to keep pristine since hardened epoxy can be incredibly difficult to clean off surfaces. When it's time to fill in cracks, choose tools based on their size: utilize a toothpick for fine fissures and opt for a craft stick with wider gaps.
Spread it evenly across each crack but avoid using metal knives or scrapers due to rapid hardening properties that could complicate application efforts.
Step 3: Scrape Off Any Excess Epoxy
Ensuring that the epoxy within the crack is fully dry. Once it has set, utilize a craft stick or scraper to remove any surplus epoxy from the tile's surface.
Speed is essential here; acting promptly prevents the material from hardening on your tiles. After scraping off excess residue, remember to clean your scraper immediately for easy maintenance and efficiency in future tasks.
This careful process ensures a smooth finish without damaging your tiles.
Step 4: Paint Over the Repair for a Seamless Look
To effectively conceal a crack after the epoxy has set, painting over it is essential.
Opt for a paint shade that matches your tile closely for seamless results.
Urethane or oil-based paints are recommended since they resist water damage better than others.
A fine-tipped brush can help you apply the paint precisely, ensuring full coverage of the crack until it's invisible.
Step 5: Apply a Paint Sealer for Added Protection
Waiting for the paint to dry is essential.
Once it's set, you should coat the tile with urethane paint or a reliable wood sealer.
This layer acts as a barrier against chipping and moisture intrusion on your repair job.
After sealing, ensure it dries thoroughly before stepping onto the surface again.
Is Ceramic Tile Prone to Breaking?
Ceramic tile is highly valued for its durability and ability to handle heavy foot traffic.
Its tough surface resists cracking, requiring significant force to break.
However, certain situations can lead to cracks in ceramic tile.
Here are a few common causes:
Tile Cracked from a Heavy Impact
Heavy items such as pots and pans often find their way to the floor, leading to unfortunate damage. Grocery bags filled with cans also pose a risk when placed down carelessly or accidentally dropped.
Doorways frequently serve as hotspots for accidents since they provide easy access where things might slip from your grasp during entry or exit. To prevent these issues, consider being mindful of how you handle heavy objects and groceries while navigating through your space.
Keeping an eye on where you place items can go a long way in preserving the integrity of your tile flooring.
Poor-Quality Tile Led to Damage
Cracked tiles can often stem from inferior materials or inadequate treatment. Investing in high-quality tiles greatly reduces the risk of damage over time.
You might want to avoid cheaper options that may not withstand daily wear and tear. When it comes to repairs, sourcing your replacement tiles from trusted home improvement stores ensures durability and reliability.
Always choose reputable retailers for your tile purchases; this simple step can save you both money and hassle down the line. Curious about where to find bathroom tiles?
There are many options available at local hardware outlets that offer quality selections tailored for all needs.
Improper Installation of the Underlayment
Cracked tiles can often signal underlying issues with the flooring beneath them. When floor joists lack proper spacing, or if the concrete substrate has not cured adequately, structural integrity suffers.
This misalignment may lead to a gradual weakening of support over time, ultimately resulting in visible cracks on your tile surface. Addressing these foundational concerns promptly is crucial for maintaining both aesthetics and functionality in your space.
Prioritizing a sturdy base helps prevent future damage and enhances the longevity of your tiled areas.
Excessive Weight Caused the Tile to Break
Understanding how weight affects tile integrity is crucial for maintaining a durable floor. Appliances like refrigerators, washing machines, and dryers can easily exceed the 250-pound limit that standard ceramic tiles can typically handle.
When these heavy items are placed on tiled surfaces, they may lead to cracking if the underlying support isn't adequate. It's essential to consider not only the weight of these appliances but also their placement on the tile itself since surrounding tiles might not provide sufficient reinforcement either.
Ensuring proper support before installing such equipment will help preserve your flooring over time and prevent costly repairs down the road.
Is It Possible to Paint Over Ceramic Tiles?
You can definitely paint ceramic tile, provided it doesn’t face excessive moisture or heavy foot traffic. Painting is suitable for tiles on walls, like backsplashes, but it's wise to steer clear of floor tiles that endure frequent use or those near bathtubs where water exposure is common.
Such conditions may lead to the paint chipping and peeling away over time. If you encounter small cracks in the tile surface, a careful sealing process allows for effective painting over them without compromising durability.
Just ensure that your application follows proper guidelines for long-lasting results.
Step-by-Step Guide to Replacing a Broken Tile
In cases where a crack is too large to repair, replacing the entire tile is often the best solution.
Fortunately, the process is straightforward.
Follow these steps to remove and replace a damaged tile effectively:
Take Out the Old Grout
Starting a tile renovation project often involves removing old grout, and employing the right tools can make all the difference.
A specialized grout removal tool is essential for efficiently extracting outdated material without harming your tiles.
Prioritizing safety is crucial; wearing protective eyewear ensures you steer clear of debris that could injure your eyes during this process.
When tackling this task, exercising caution will help maintain the integrity of surrounding surfaces while making quick work of unwanted grout.
Gently Loosen the Tile
To ensure a smooth tile replacement, using painter's tape to shield nearby tiles from potential harm.
Once the surrounding area is secure, focus on the damaged tile itself.
You can use a hammer to carefully break apart the broken piece or opt for drilling holes into it for easier removal.
This method reduces stress on adjacent tiles and sets you up for a successful installation of your new tile without any mishaps along the way.
Remove the Broken Pieces
A chisel works well for this task, and a flathead screwdriver can also be handy. Insert the chisel under each tile piece, gently lifting it up.
Wiggling might help to loosen stubborn sections as you work through them. After taking out all the tiles, continue using either tool to scrape away any leftover adhesive on the surface beneath.
Keeping everything clean will prepare your space for new flooring effectively.
Set the New Tile in Place
Applying tile requires careful preparation and attention to detail. Start by choosing a suitable adhesive, like mortar or another type of tile glue, which is essential for strong bonding.
Make sure the surface is clean before you apply the adhesive evenly across it. Additionally, applying some on the back of each tile enhances adhesion significantly.
After positioning your tiles, press them firmly down so they align perfectly with adjacent ones while ensuring they are level. This step not only secures them but also facilitates proper setting of the adhesive used in installation.
Understanding different types of adhesives can greatly improve your results; explore options that fit your project best for optimal performance.
Apply Fresh Grout to Seal the Gaps
After allowing the tile adhesive to set, it’s time for grouting.
Begin by preparing a fresh batch of grout and grab your grout float to evenly distribute the mixture into the gaps surrounding each tile.
Once you have filled in all spaces, let the grout firm up before using a damp sponge to wipe away any excess from adjacent tiles.
Patience is key; give it at least 24 hours for everything to cure properly before stepping on your newly tiled surface.
How to Determine Whether a Tile Should Be Repaired or Replaced
Deciding whether to repair or replace a cracked ceramic tile depends on several factors, including the extent of the damage, availability of replacement tiles, and underlying issues. Assessing these aspects will help you determine the most appropriate course of action:
Final Reflections
You have the skills to fix small cracks in ceramic tile or swap out tiles with more significant damage.
Both techniques are straightforward and budget-friendly, making them accessible for anyone willing to try.
When tackling these repairs, it's crucial to be patient; give sufficient time for everything to dry completely before stepping on the surface or exposing it to moisture again.
Take pride in your beautifully restored tiles!
Kevin Jones
Founder & Chief Home Organization Strategist
Expertise
Home Organization & Decluttering, Efficient Cleaning Methods & Stain Removal, Sustainable Cleaning Practices, DIY Home Maintenance & Repairs, Space Optimization & Storage Solutions, Budget-Friendly Home Care Strategies
Education
University of Texas at Austin
Kevin Jones is the Founder and Chief Home Organization Strategist at HomeCleaningForYou.com.
He earned a Bachelor of Science in Interior Design from the University of Texas at Austin, focusing on space planning and sustainable design. Specializing in home organization, decluttering, and budget-friendly home care, he helps homeowners create functional and stylish spaces.
Kevin has been featured in lifestyle publications and has collaborated with eco-friendly brands on home organization solutions. He shares his expertise through DIY guides, workshops, and online tutorials. Passionate about minimalism, he enjoys testing new organization methods and exploring sustainable living ideas.