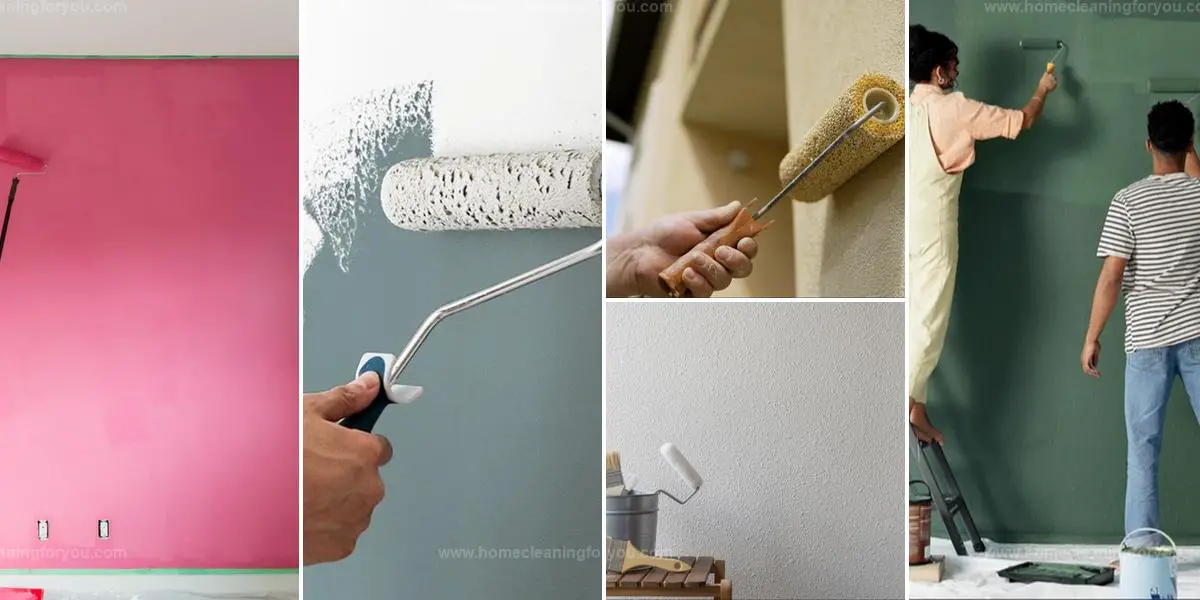
Pro Tips for Painting Walls Like a Professional with Flawless Results
Pro tips for painting walls like a professional make any space look polished and refined. Surface preparation plays a key role in achieving smooth, lasting results.
The right tools and techniques ensure even coverage without streaks or drips. Strategic color choices enhance room dimensions and ambiance.
Layering coats properly improves durability and finish. Elevate your painting skills with these expert-approved methods:
Choosing the Right Type of Paint for Your Walls
Selecting the appropriate paint for your walls is crucial to achieving a professional and durable finish. The right choice enhances both the appearance and longevity of your interior spaces:
Latex (Water-Based) Paints: Known for quick drying times and easy cleanup with water. These paints emit fewer odors and are environmentally friendly. Ideal for most interior walls due to their durability and flexibility.
Oil-Based Paints: Offer a smooth finish and are highly durable. However, they have longer drying times and require solvents for cleanup. Best suited for areas like trim or high-traffic zones where extra durability is needed.
Flat or Matte Finish: Provides a non-reflective surface that conceals wall imperfections. Suitable for low-traffic areas such as bedrooms or ceilings. Less resistant to cleaning, so not ideal for spaces prone to dirt or moisture.
Eggshell Finish: Offers a subtle sheen with better durability than flat finishes. Balances aesthetic appeal with ease of maintenance, making it a popular choice for living rooms and dining areas.
Satin Finish: Features a soft, velvety appearance and is more durable than eggshell. Ideal for high-traffic areas like hallways, kitchens, and bathrooms due to its moisture resistance and ease of cleaning.
Semi-Gloss and Gloss Finishes: Provide a shiny, reflective surface that is highly durable and easy to clean. Commonly used for trim, doors, and areas exposed to moisture. They highlight imperfections, so thorough surface preparation is essential.
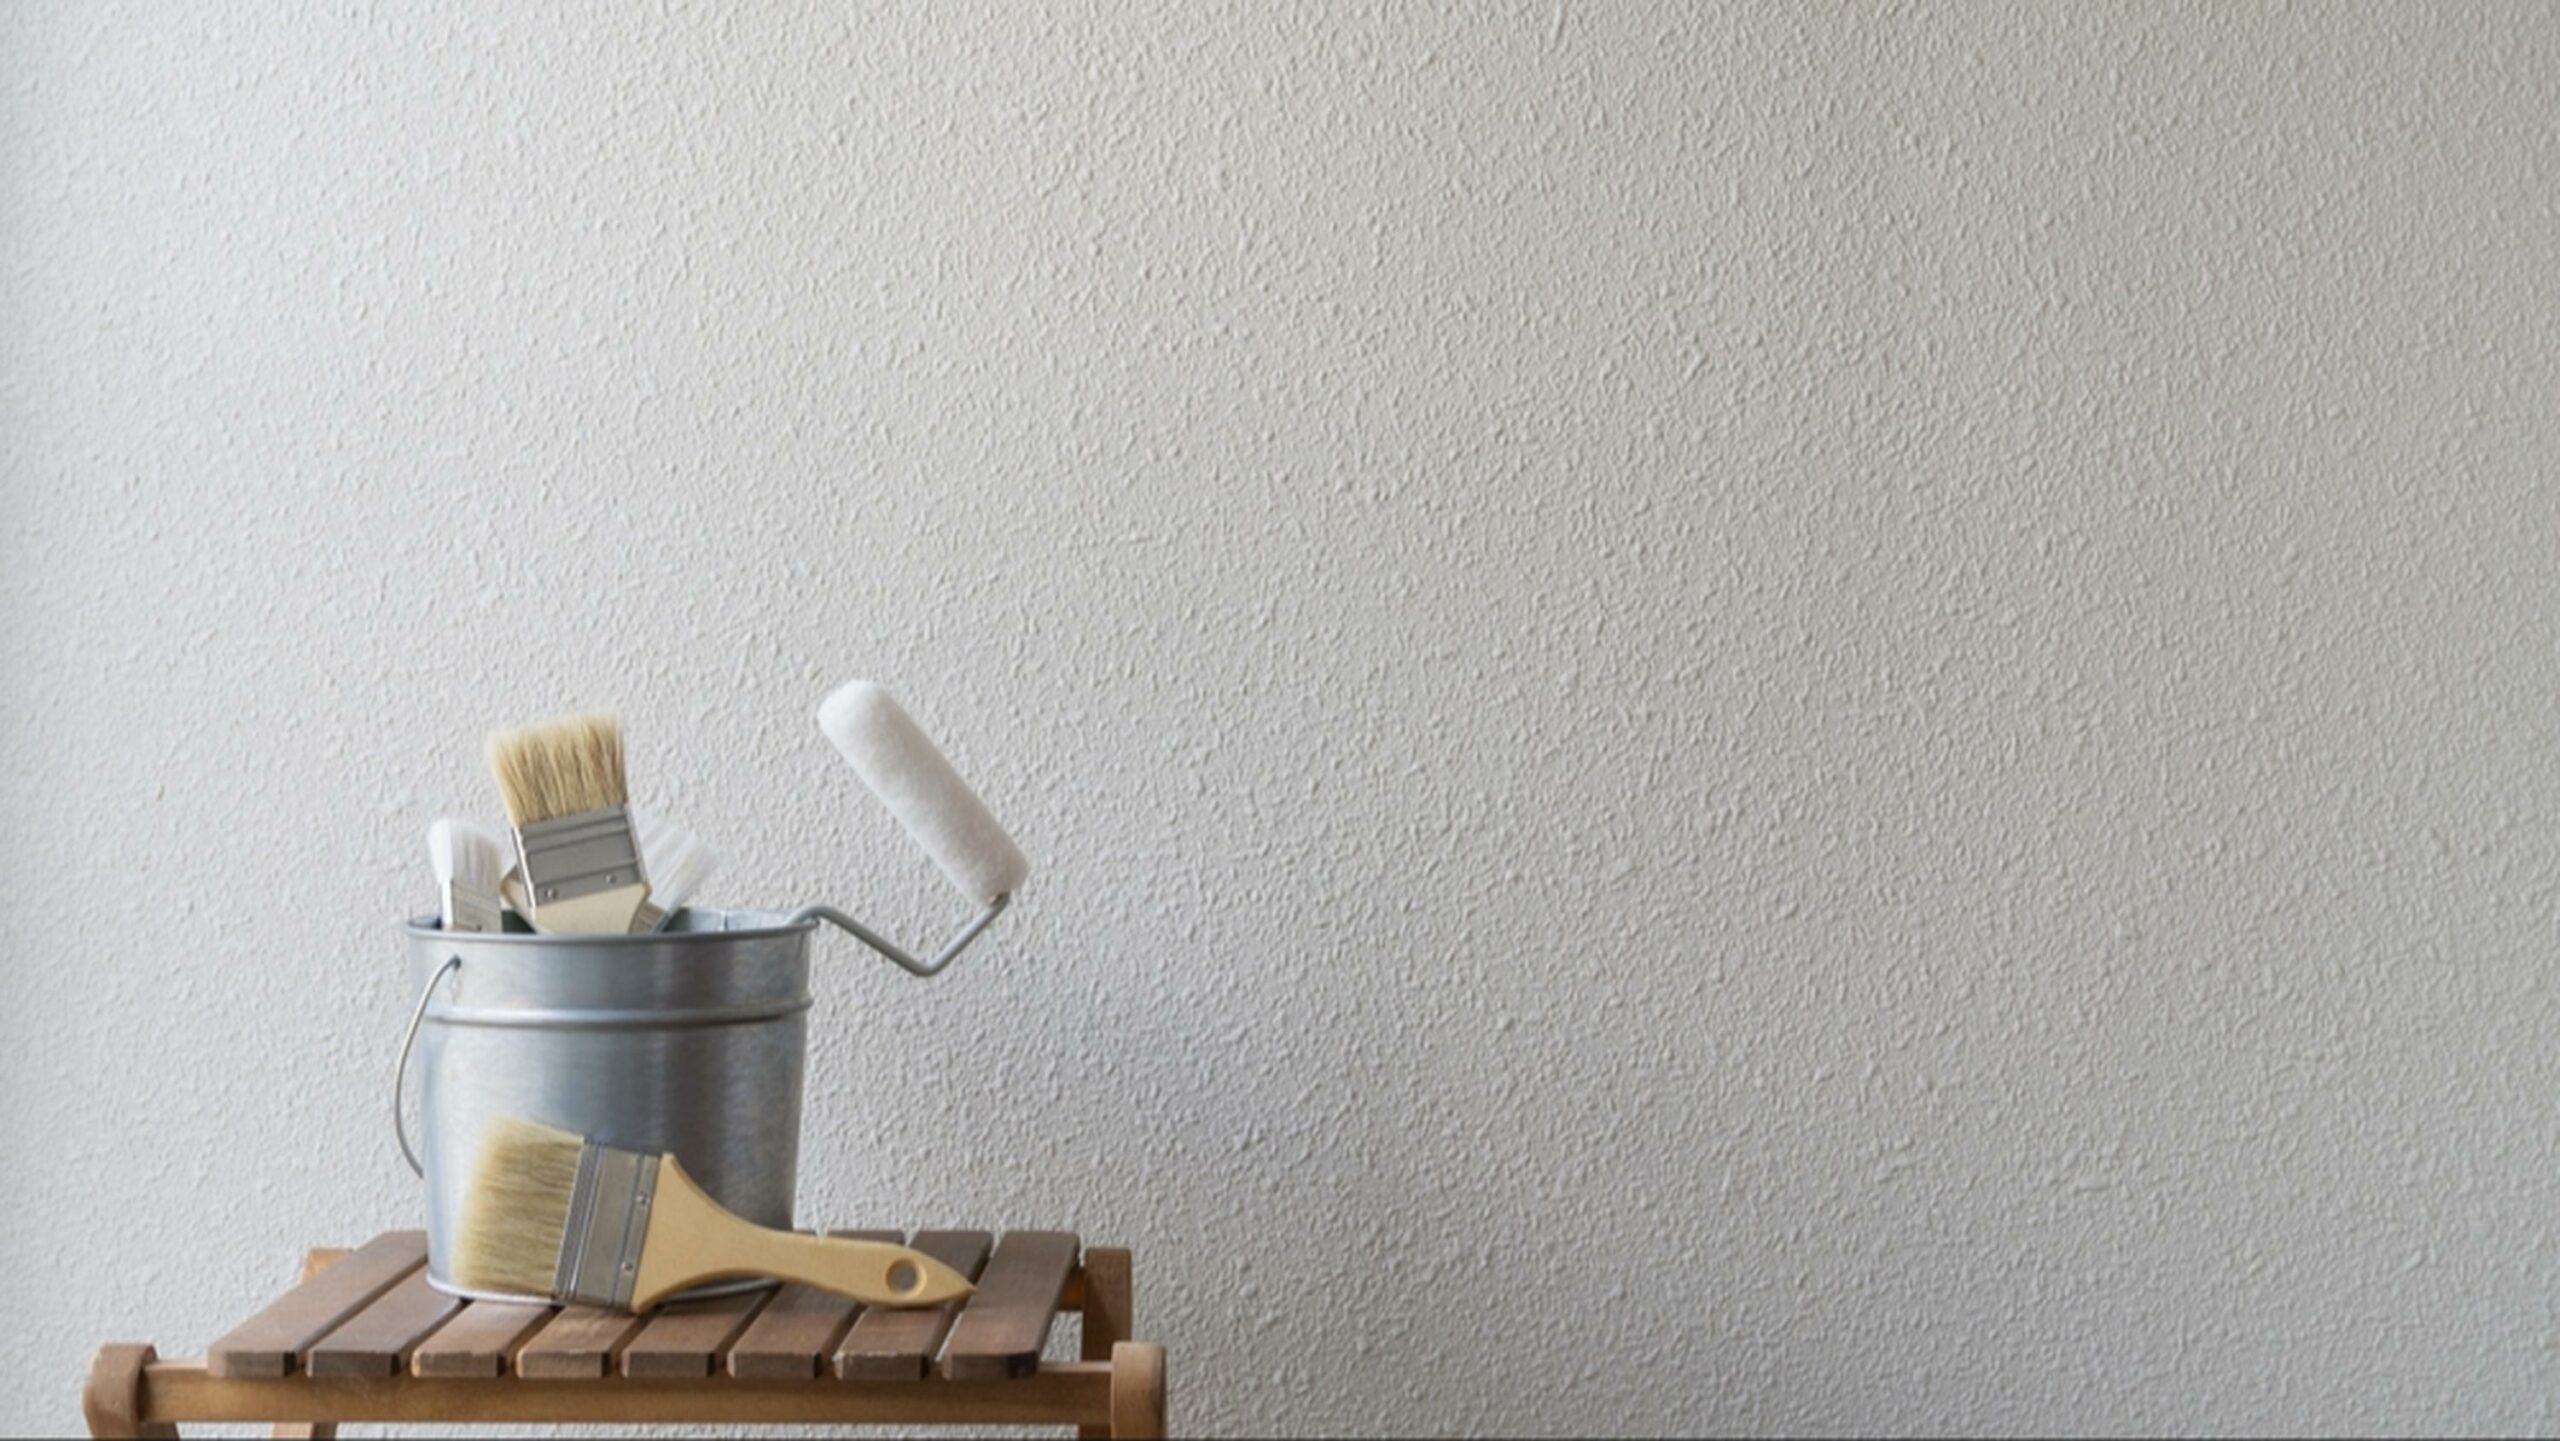
Essential Tools and Materials for a Flawless Paint Job
Achieving a flawless paint job requires the right tools and materials. Proper preparation and equipment ensure a professional finish:
Surface Preparation Tools: Essential for cleaning and smoothing walls before painting. Items like sandpaper, putty knives, and caulk help create an even surface.
High-Quality Brushes and Rollers: Different sizes and types cater to various surfaces and paint types. Quality brushes provide better coverage and a smoother finish.
Painter's Tape: Used to mask off areas that shouldn't be painted, ensuring clean lines and protecting trim or adjacent surfaces.
Drop Cloths: Protect floors and furniture from paint splatters. Canvas drop cloths are durable and reusable.
Paint Trays and Liners: Hold paint for easy roller access. Liners simplify cleanup and allow for quick color changes.
Extension Poles: Attach to rollers to reach high walls and ceilings without ladders, providing better control and safety.
Stir Sticks and Paint Pouring Spouts: Ensure paint is well-mixed and can be poured without spills, maintaining consistency and reducing waste.
Preparing Your Space for a Seamless Paint Job
Transforming your walls into a masterpiece begins with addressing their imperfections. While the dream of perfectly smooth surfaces is appealing, there are practical steps to achieve this goal. Utilizing a specialized paste allows you to fill any holes swiftly, creating an even canvas.
After allowing it time to dry, sanding becomes essential for that pristine finish; although laborious, it’s vital for flawless results. For those looking to refresh wall colors without extra prep work and who have clean surfaces already, simply use a sponge dipped in a mild all-purpose cleaner.
Wallpaper enthusiasts can explore two effective approaches:
Remove The Wallpaper: A suitable liquid or steam cleaner works wonders on stubborn embossed wallpaper.
Paint Over It: Opt for a special primer designed specifically for painting over existing wallpaper if removal isn't feasible.
After tackling these initial tasks, setting up your workspace comes next. Safety first, switch off power before taking off switch covers and electrical outlets ensures peace of mind during renovation efforts.
Now you're ready! Gather larger materials like drop cloths; they catch any splatters effectively while securing them with duct tape keeps everything tidy as you proceed with applying your chosen coating effortlessly throughout the space you've prepped so carefully.
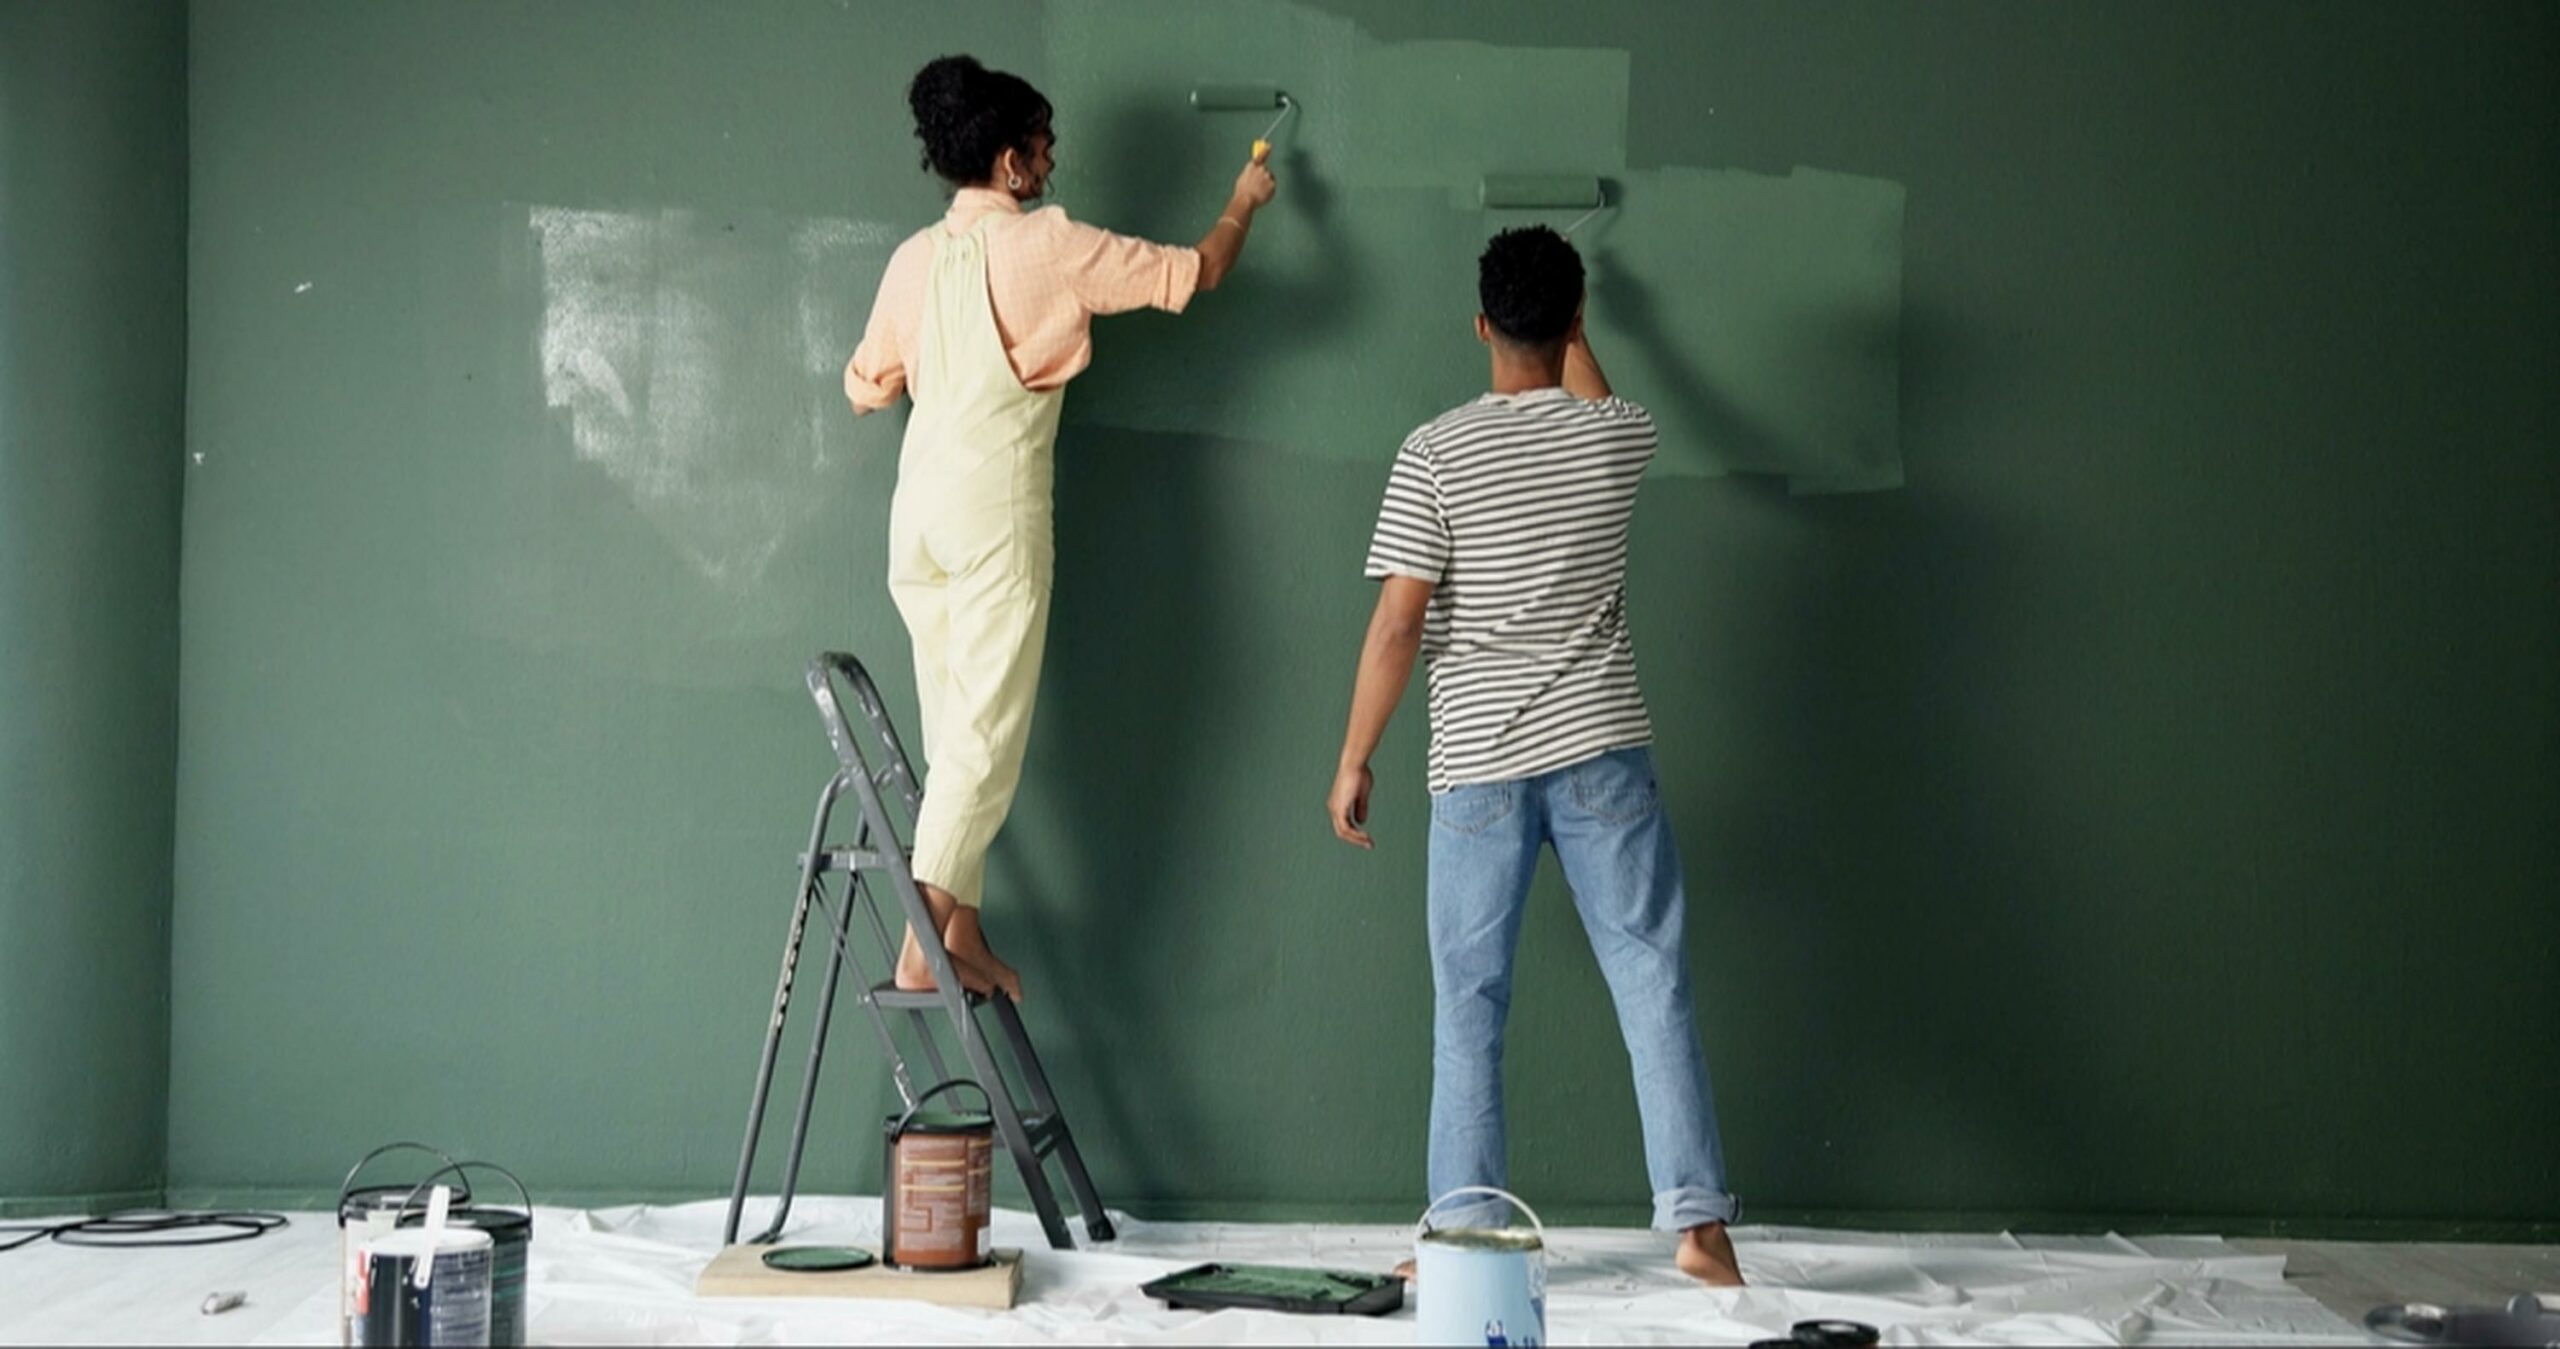
Painting in the Right Order for a Flawless Finish
Choosing the right paint for each room is essential for achieving stunning results. When tackling your bathroom, opt for special moisture-resistant paint designed specifically for wet areas; this prevents peeling and ensures durability.
The same principle applies to exterior surfaces, where specialized paints maintain stability through seasonal changes. Once you have gathered the appropriate paints and allowed primer to dry completely, it’s time to dive into painting.
Begin with a brush featuring a rounded tip, this tool works wonders on corners, baseboards, and light switches before you switch over to using a roller.
eep brushes and rollers lightly loaded with paint; spreading it evenly helps achieve that polished finish we all admire.
If planning multiple wall colors in one space, painter's tape becomes invaluable as it neatly separates different hues while preventing unwanted overlaps.
Start by applying lighter shades first since darker tones will easily cover them later without much hassle. A neat trick is alternating between vertical and horizontal strokes during application; this technique minimizes streaks or marks left behind from tools while promoting an even coat across your walls.
After completing the initial layer of paint let it settle overnight, approximately 12 hours should do, and then proceed with your second coat of color. With patience comes beautiful transformation! Stand back once finished because what you've accomplished deserves recognition (and maybe some self-congratulations too).
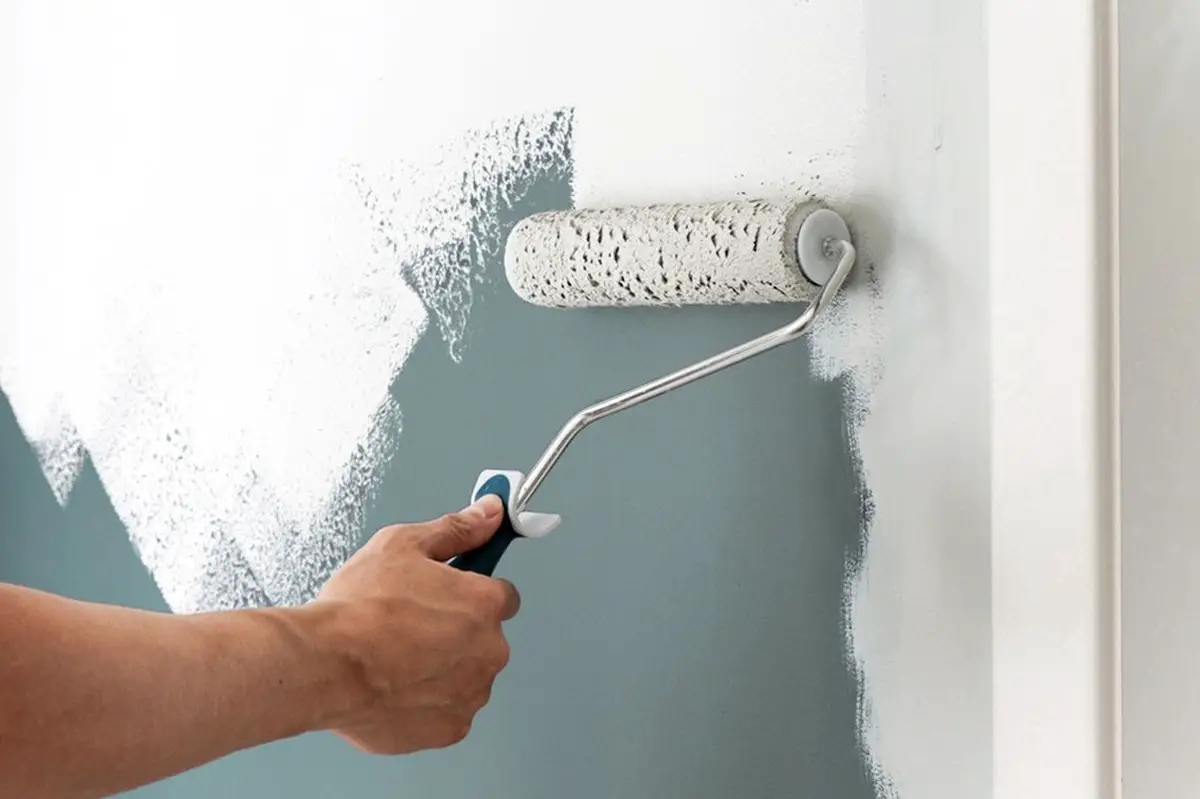
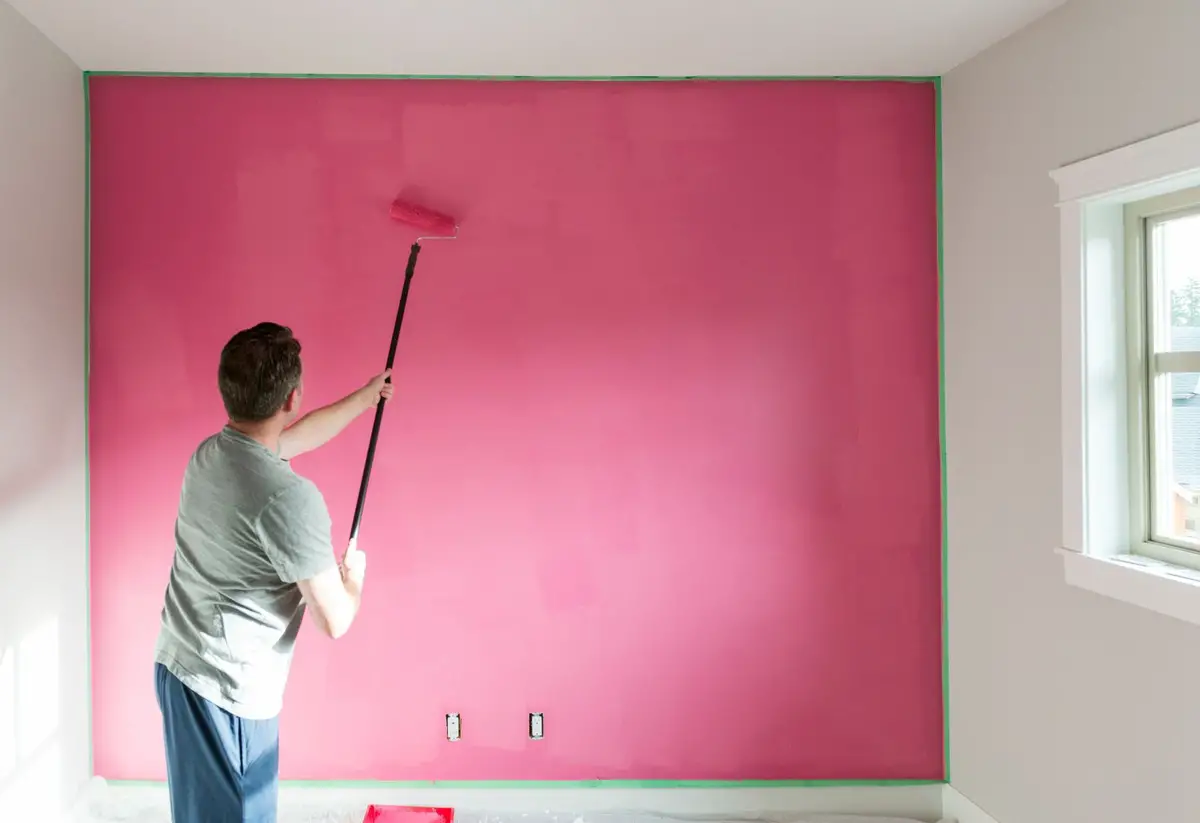
Using the Right Brush and Roller Techniques for Even Coverage
Achieving a professional paint finish requires mastering brush and roller techniques to ensure even coverage. Proper application enhances the appearance and durability of your painted walls:
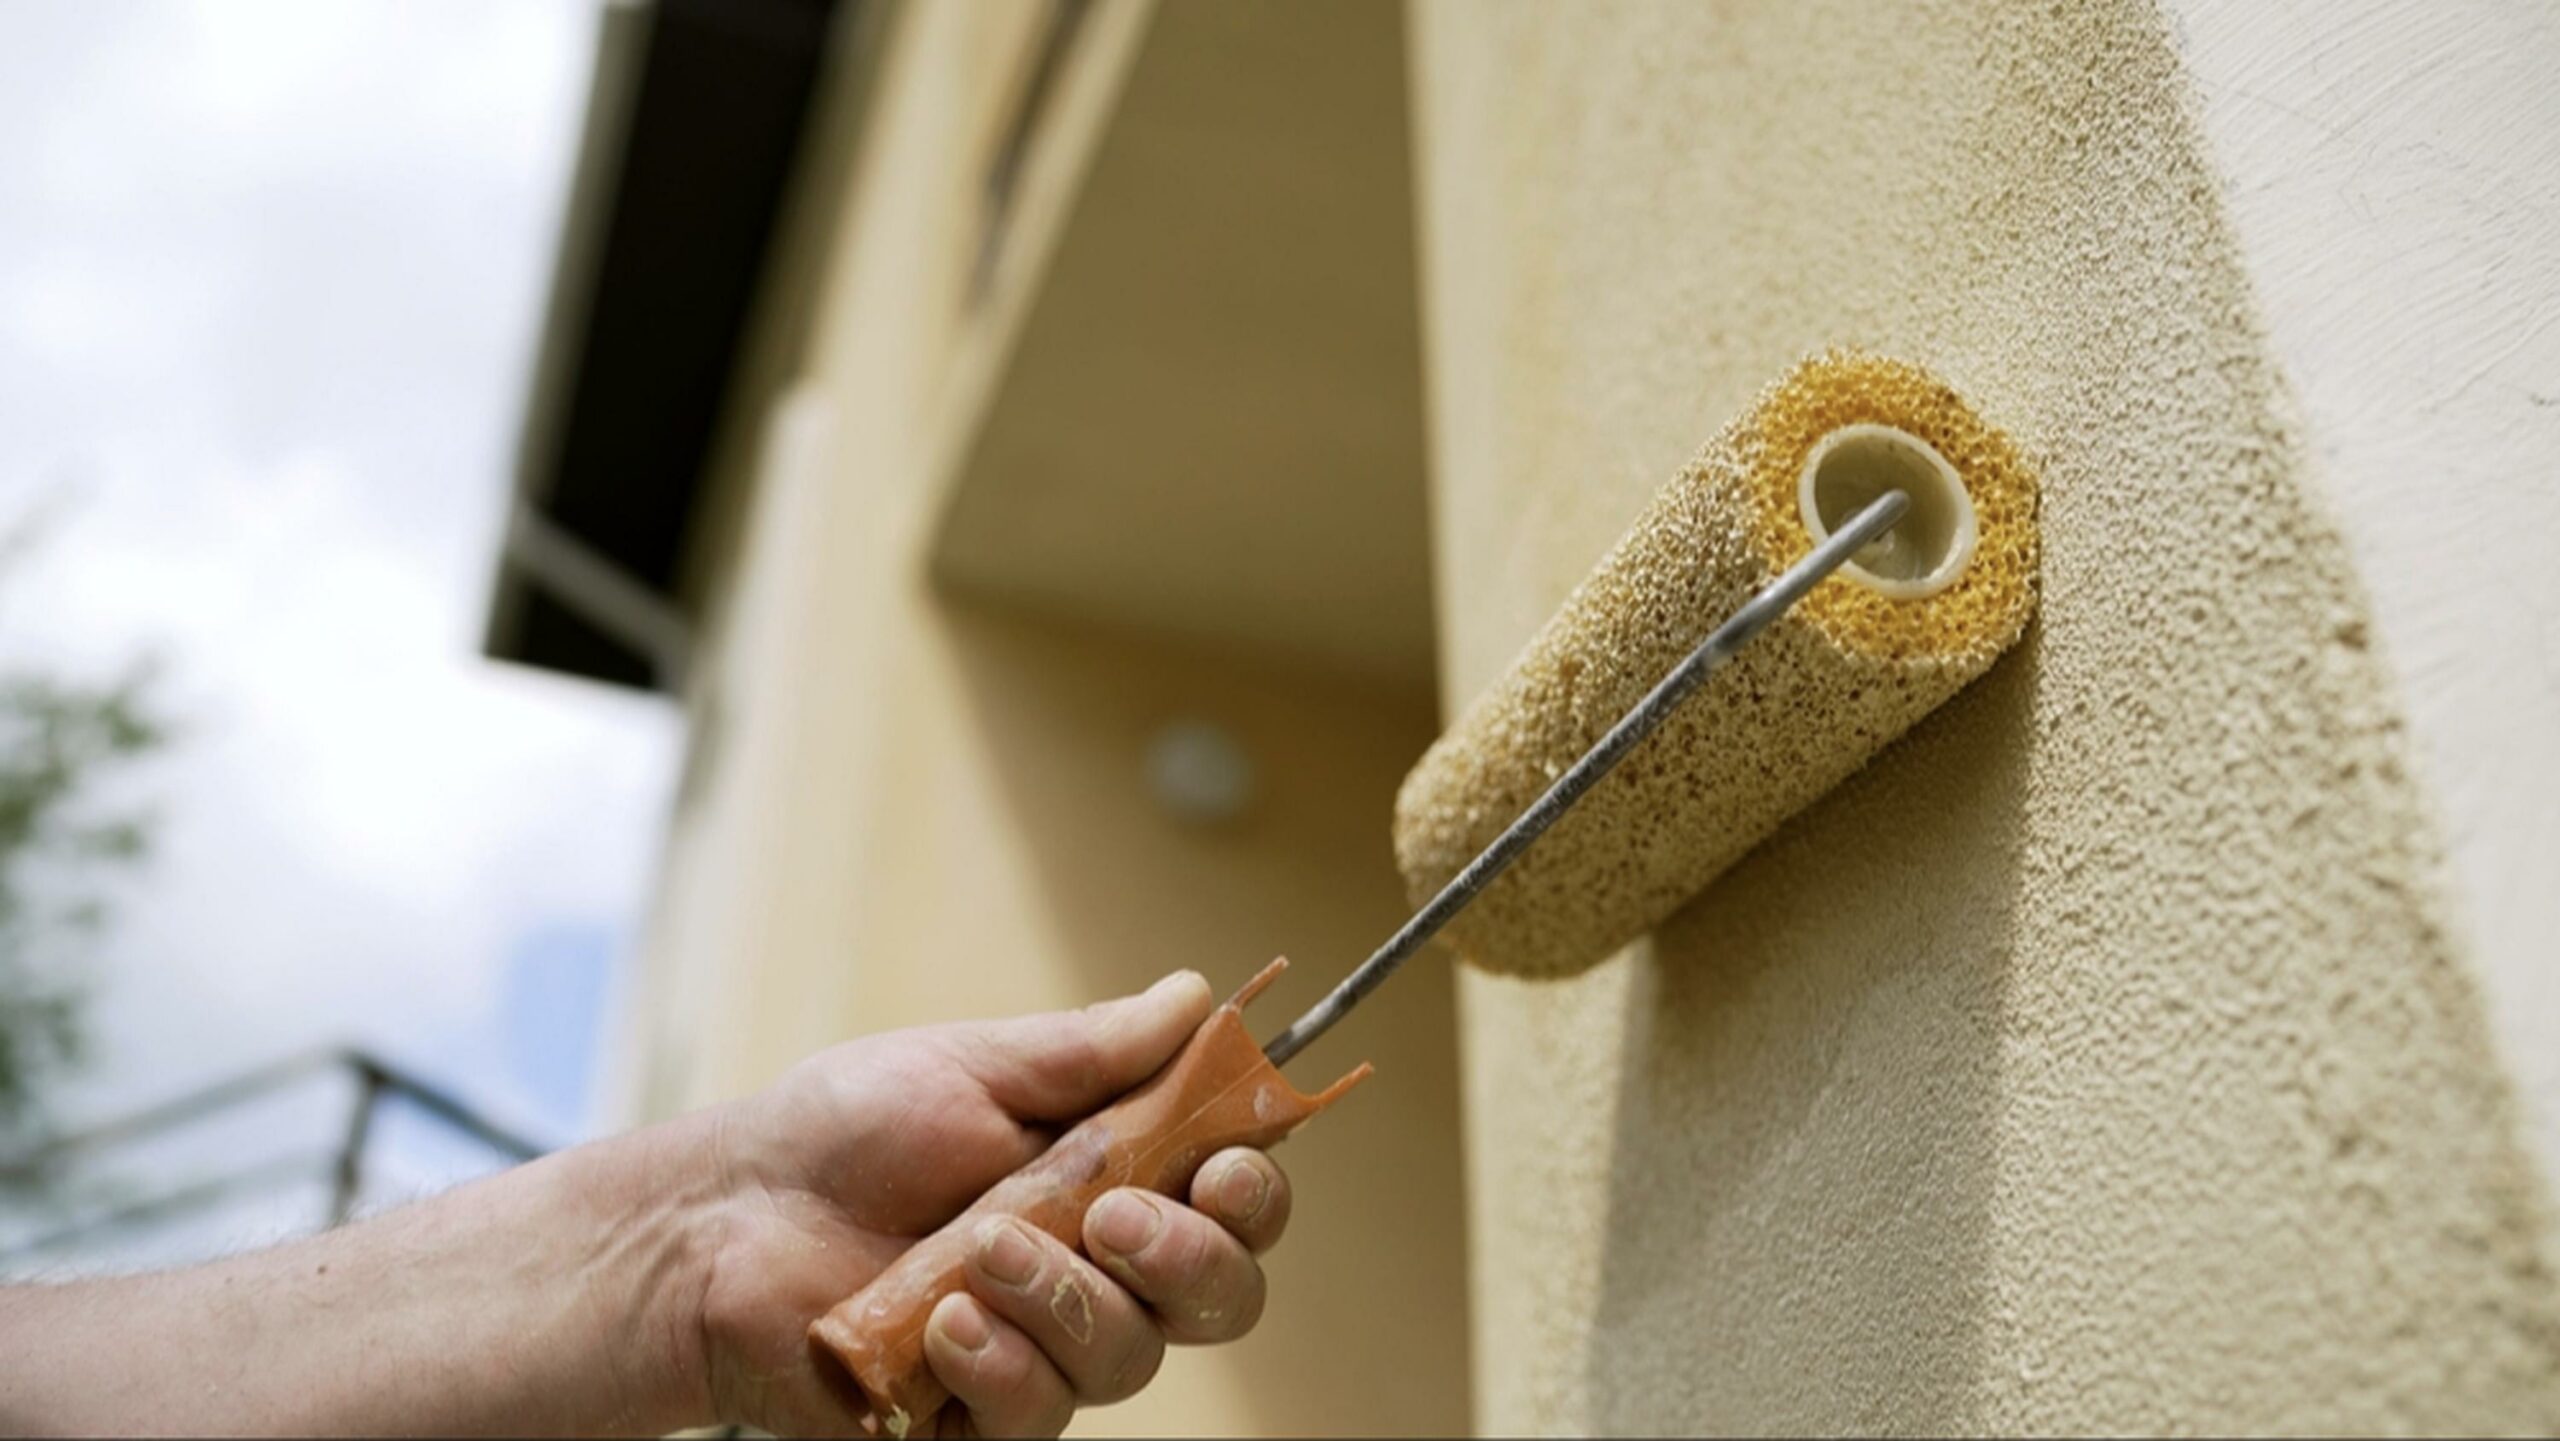
Selecting the Appropriate Roller: Choose a roller with the correct nap length for your wall's texture. Short naps (¼ inch) suit smooth surfaces, while longer naps (½ inch or more) are ideal for textured walls.
Loading the Roller Properly: Dip the roller into the paint tray, then roll it back and forth over the tray's ridges. This ensures the roller is saturated but not dripping, promoting optimal coverage.
Applying Paint in a 'W' or 'M' Pattern: Start at the top of the wall and roll in a 'W' or 'M' shape. Fill in the gaps without lifting the roller, which helps distribute paint evenly and prevents streaks.
Maintaining a Wet Edge: Work quickly enough to always overlap onto paint that is still wet. This technique prevents visible lines and ensures a seamless finish.
Using Light, Consistent Pressure: Apply gentle, uniform pressure to avoid roller marks and ensure smooth coverage. Pressing too hard can lead to uneven application.
Cutting In Before Rolling
How to Avoid Common Painting Mistakes
Achieving a professional-looking paint job involves avoiding common pitfalls that can compromise the finish. Being aware of these mistakes and knowing how to prevent them ensures a smooth and durable result:
Inadequate Surface Preparation: Neglecting to clean and prime walls can lead to poor paint adhesion and an uneven appearance. Ensure surfaces are clean, dry, and primed before painting.
Using Low-Quality Tools: Cheap brushes and rollers may cause streaks and shedding. Invest in high-quality tools appropriate for your paint type to achieve a smoother finish.
Skipping Primer: Applying paint without a primer can result in blotchy coverage, especially on new or repaired surfaces. Use a suitable primer to create a uniform base.
Overlooking Painter's Tape: Failing to use painter's tape can lead to messy edges and paint bleeding onto unwanted areas. Apply tape to trim and baseboards, and remove it before the paint fully dries to maintain clean lines.
Applying Thick Coats: Using thick layers of paint can cause drips and an uneven finish. Apply multiple thin coats, allowing adequate drying time between each, to achieve a smooth and even appearance.
Home Organization & Decluttering, Efficient Cleaning Methods & Stain Removal, Sustainable Cleaning Practices, DIY Home Maintenance & Repairs, Space Optimization & Storage Solutions, Budget-Friendly Home Care Strategies
Education
University of Texas at Austin
Bachelor of Science in Interior Design
Focus: Develops creative and technical expertise to design sustainable, functional interiors through studio projects in space planning, lighting, acoustics, systems integration, and design history.
Kevin Jones is the Founder and Chief Home Organization Strategist at HomeCleaningForYou.com.
He earned a Bachelor of Science in Interior Design from the University of Texas at Austin, focusing on space planning and sustainable design. Specializing in home organization, decluttering, and budget-friendly home care, he helps homeowners create functional and stylish spaces.
Kevin has been featured in lifestyle publications and has collaborated with eco-friendly brands on home organization solutions. He shares his expertise through DIY guides, workshops, and online tutorials. Passionate about minimalism, he enjoys testing new organization methods and exploring sustainable living ideas.
Kevin Jones
Founder & Chief Home Organization Strategist
Expertise
Home Organization & Decluttering, Efficient Cleaning Methods & Stain Removal, Sustainable Cleaning Practices, DIY Home Maintenance & Repairs, Space Optimization & Storage Solutions, Budget-Friendly Home Care Strategies
Education
University of Texas at Austin
Kevin Jones is the Founder and Chief Home Organization Strategist at HomeCleaningForYou.com.
He earned a Bachelor of Science in Interior Design from the University of Texas at Austin, focusing on space planning and sustainable design. Specializing in home organization, decluttering, and budget-friendly home care, he helps homeowners create functional and stylish spaces.
Kevin has been featured in lifestyle publications and has collaborated with eco-friendly brands on home organization solutions. He shares his expertise through DIY guides, workshops, and online tutorials. Passionate about minimalism, he enjoys testing new organization methods and exploring sustainable living ideas.