6 Easy Steps For Acrylic Shower Base Cleaning
Acrylic shower bases shine when spotless, but soap scum and hard water stains quickly dull their surface.
Harsh cleaners scratch and cloud the material, making cleaning a delicate task.
A gentle yet effective approach lifts grime without damaging the sleek finish.
Keeping it fresh isn’t complicated; it just takes the right method.
Do Acrylic Showers Discolor Over Time?
Acrylic showers can lose their luster, developing a yellowish tint after repeated use.
This discoloration often results from exposure to personal care products and minerals found in hard water.
Regular cleaning plays a crucial role in maintaining that fresh appearance.
Natural whiteners like hydrogen peroxide, baking soda, and vinegar work wonders for restoring the surface's brightness.
Consistent upkeep not only enhances the look but also extends the life of your acrylic fixtures significantly.
Best Methods to Brighten an Acrylic Shower Base
Keeping an acrylic shower base pristine requires a bit of attention.
Regularly cleaning it with mild soap and water helps maintain its bright appearance.
Avoid abrasive cleaners, as they can scratch the surface and lead to discoloration over time.
Rinsing the shower after each use prevents soap scum buildup, making maintenance easier in the long run.
A simple application of a protective sealant can also provide an extra layer against stains and yellowing, ensuring your shower remains inviting for years to come.
Cleaning with Baking Soda & Hydrogen Peroxide
Rinsing off the solution with warm water comes after letting it sit for five to seven minutes.
A disposable toothbrush or a soft-bristled brush works well for applying the mixture to the shower base, but sponges or microfiber cloths can also be used.
Special care should go into working the paste into areas around both the edge and center of the base.
Mixing two tablespoons of baking soda with one cup of hydrogen peroxide creates an effective cleaning solution, although cream of tartar serves as a good alternative if baking soda isn’t available.
Combine these ingredients in a small bowl until they reach a paste-like consistency.
Using Borax for Cleaning
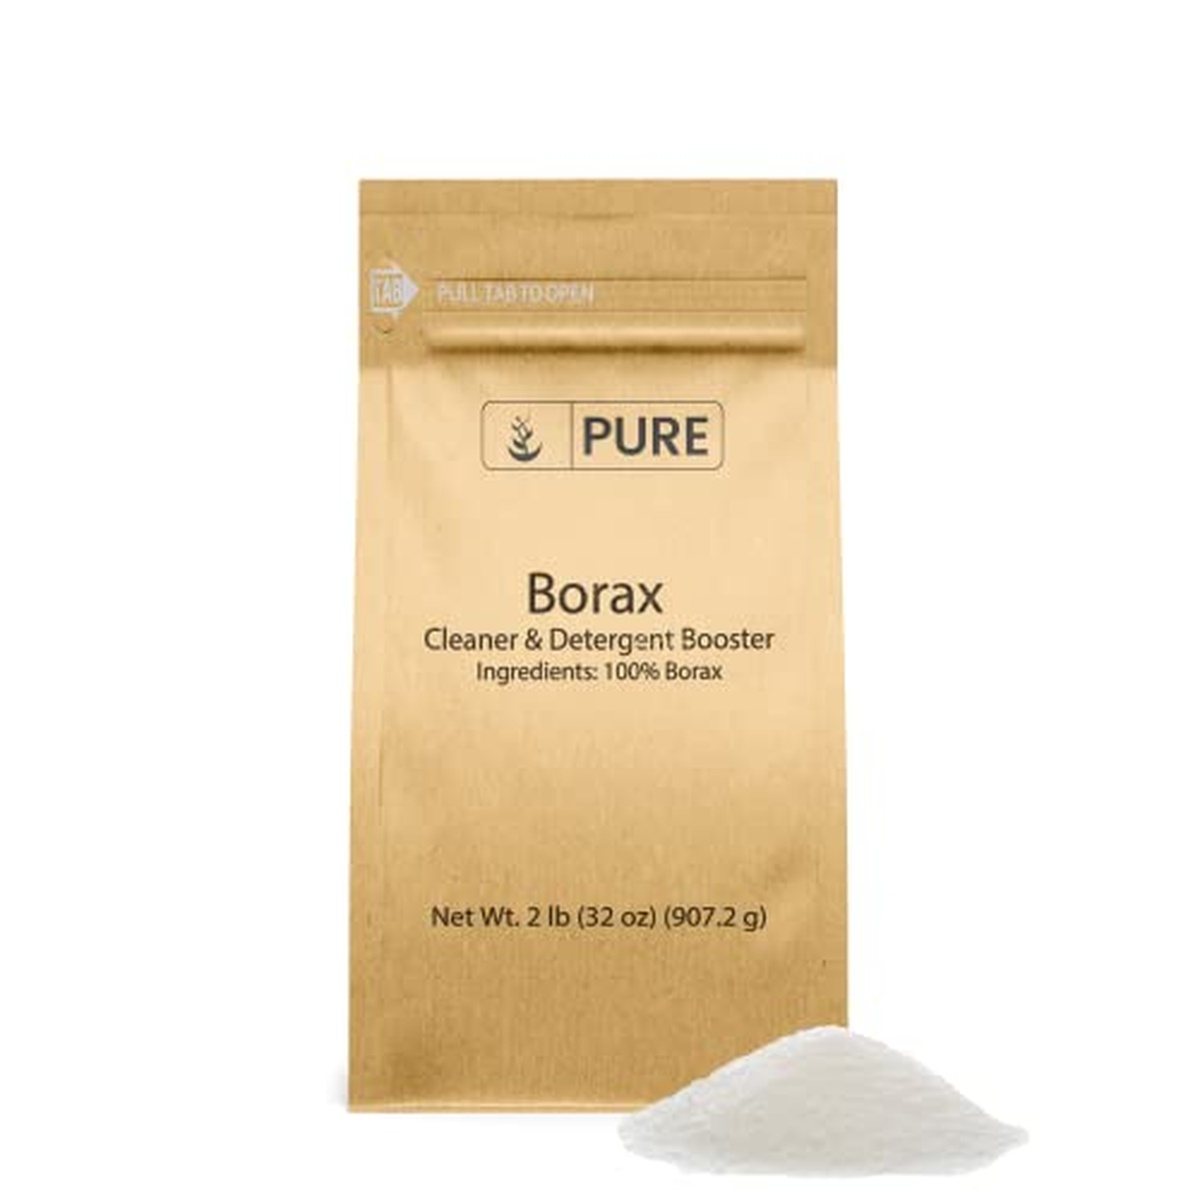
Start with two tablespoons of borax for your cleaning task.
Combine one tablespoon of borax with two cups of tap water to create the solution.
Mixing these ingredients in a small bowl results in a paste-like texture that’s easy to work with.
A sponge or soft bristle brush works well for applying this mixture directly onto the shower base.
After allowing it to rest on the surface for 15 to 20 minutes, scrub it off thoroughly.
Rinsing the area with warm water is essential, followed by letting it dry completely for about 48 hours before using again.
Is It Safe to Use Soft Scrub on an Acrylic Shower?
Soft Scrub can be harsh on acrylic surfaces, leading to potential scratches and discoloration.
Many people may not realize the risks associated with using it in their bathrooms.
Choosing gentler alternatives ensures that your shower maintains its pristine look over time.
Look for cleaners specifically designed for acrylic materials; they provide effective cleaning without damage.
Protecting your investments in home fixtures is essential for long-lasting beauty and functionality.
Can You Use Scrubbing Bubbles on Acrylic Surfaces?
Scrubbing Bubbles cleaner works well on acrylic surfaces, providing effective cleaning without compromising safety.
Performing a spot test is wise to ensure no scratching occurs during the process.
Fixtures made from chrome, stainless steel, or fiberglass can also benefit from this versatile cleaner.
It efficiently tackles dirt and grime while maintaining the integrity of your surfaces.
Consider keeping it handy for an effortless shine in your home!
Is Magic Eraser Safe for Cleaning Acrylic?
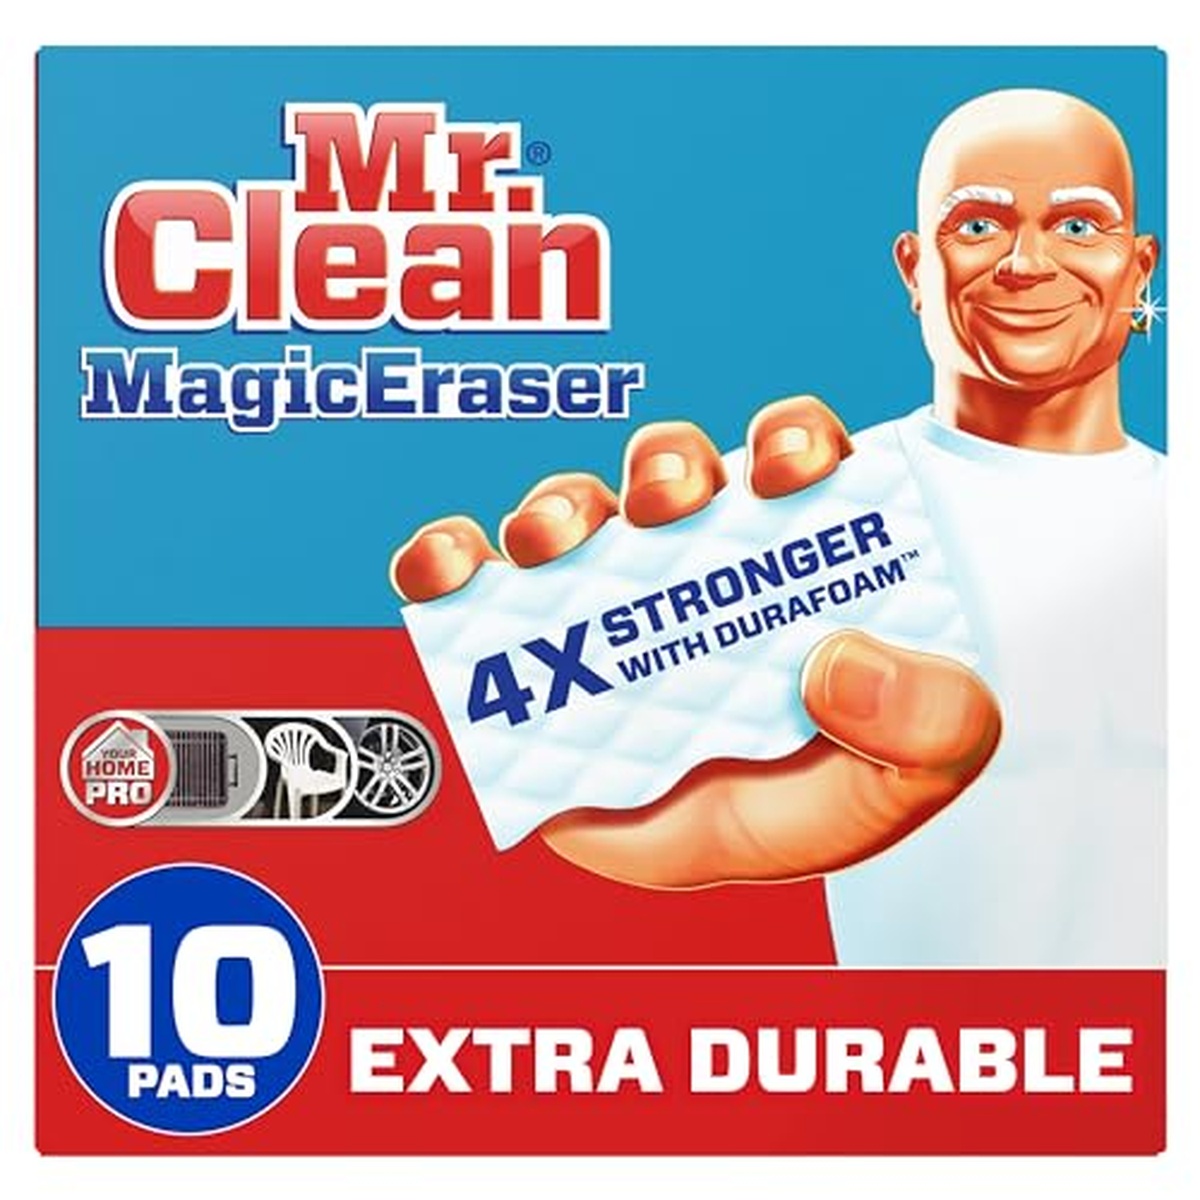
Magic eraser pads work wonders on acrylic surfaces, effectively tackling stubborn stains that often linger in showers and bathtubs.
Their gentle texture ensures no scratches or damage occur, maintaining the integrity of your bathroom fixtures.
Many people appreciate how effortlessly these pads lift grime without the need for harsh chemicals.
You can simply wet one and watch it tackle soap scum and watermarks with ease.
How Frequently Should You Clean the Shower Floor?
A weekly cleaning routine for your shower floor keeps harmful bacteria at bay.
Regular scrubbing prevents the growth of E.
Coli, staphylococcus, and various fungi that thrive in damp environments.
Daily bathroom use increases the need for a deeper clean every couple of weeks to ensure all surfaces are sanitized effectively.
Utilizing effective disinfectants can help eliminate germs and maintain a fresh atmosphere in your space.
Taking these simple steps promotes better hygiene and contributes to overall health in your home environment.
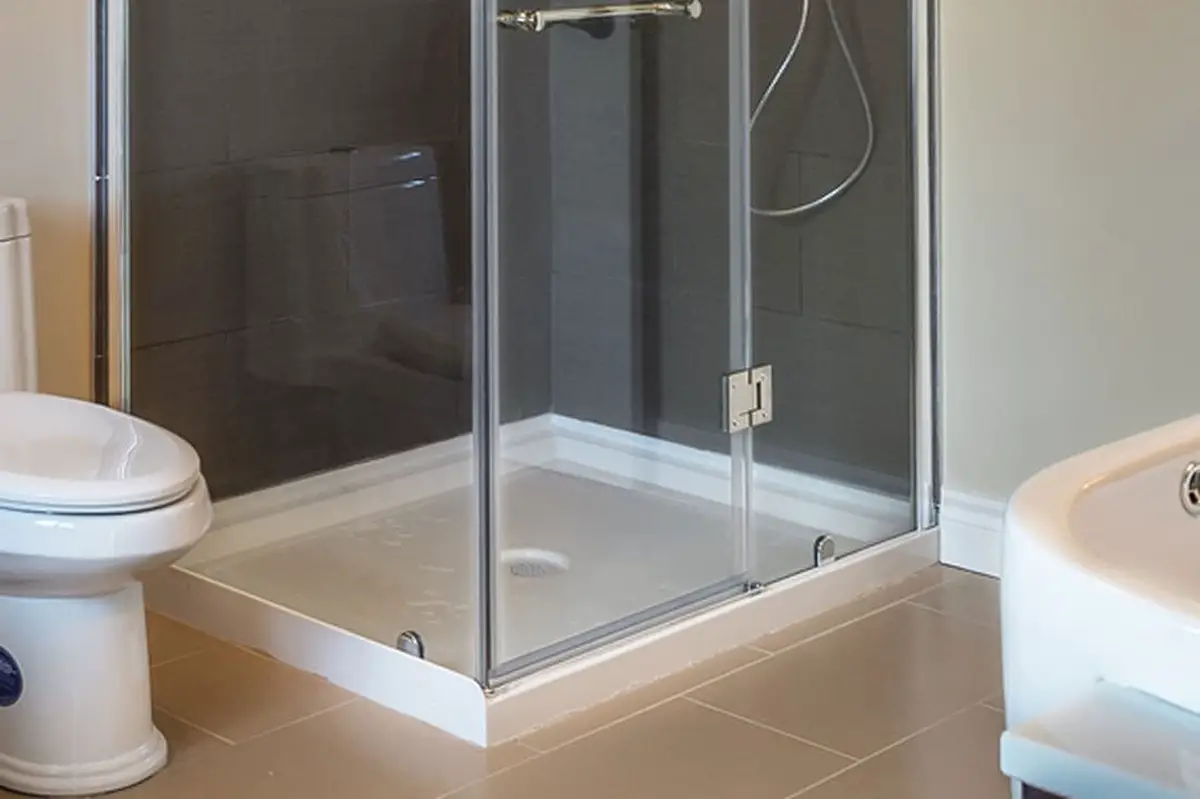
How to Properly Clean an Acrylic Shower Base
Acrylic shower bases require careful attention to maintain their pristine appearance.
Following the manufacturer's guidelines can save you from potential damage and extend the life of your investment.
Regular cleaning keeps unsightly stains like mildew and calcium at bay, ensuring a fresh look.
Using an all-natural or safe commercial cleaner every week becomes a simple routine that pays off in the long run.
Protecting your acrylic base is essential; no one wants to deal with discoloration or stubborn stains later on!
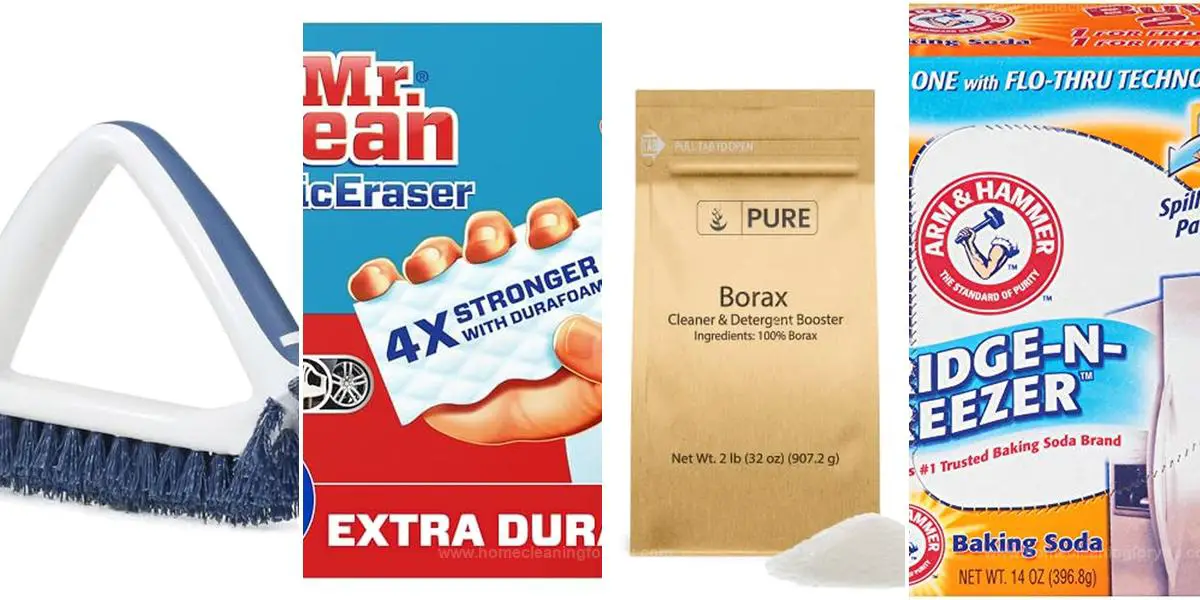
Essentials You’ll Need:
Collect Your Supplies
Start by removing personal items from the shower, such as razors, shampoos, and cleaning products.
Set these aside in a safe spot and inspect their bottoms for mold or mildew to ensure thorough cleaning later.
Next, gather all your cleaning materials and tools on the bathroom floor for easy access.
When choosing a cleaner for acrylic surfaces, steer clear of harsh chemicals like ammonia or acetone.
Always read labels carefully to confirm that the product is suitable for the surfaces you plan to clean.
Taking these steps helps maintain a fresh bathroom environment with minimal risk of damage.
Mix Your Cleaning Solution
Cleaning an acrylic shower base can be done with various commercial cleaners available in stores.
For those who enjoy DIY solutions, a mixture of vinegar and baking soda offers an effective alternative.
Combine one cup of vinegar with one cup of water and add two tablespoons of baking soda for a powerful cleaner.
After mixing, transfer the solution into a spray bottle for easy application.
Adjusting the consistency is simple; just add more water if it feels too thick.
Many find this homemade option to be both economical and efficient when tackling tough stains on acrylic surfaces.
Apply the Solution to the Shower Base
Doing a quick spot test with new cleaners helps ensure safety for your acrylic base.
Once satisfied with the results, spray the cleaner evenly over the entire surface.
Areas around the shower drain and edges need extra attention since they can collect water, leading to mold and grime buildup.
Allowing the solution to rest for two to three minutes allows it to soak into any dirt.
For stains, extending this time to five or seven minutes enhances effectiveness.
Tough stains may require an extra step; sprinkle baking soda directly on them and gently scrub using a soft-bristled brush or disposable toothbrush until clean.
Scrub the Shower Base Gently
Start by using a soft bristle brush to clean the shower base.
Begin at the edge, gently scrubbing in circular motions to remove any dirt or buildup.
Focus on cleaning around the drain and work your way toward the center.
For small spaces or detailed areas, a disposable toothbrush can reach those tricky spots effectively.
Avoid harsh scrubbing pads and steel wool since they can scratch acrylic surfaces.
If a brush isn't available, terry cloth or microfiber materials will also work well for cleaning purposes.
Rinse Away the Cleaning Mixture
Rinsing off the base should follow after ensuring it is clean and stain-free.
The shower can be turned on to start the rinsing process, but a cup may help reach spots where water does not flow directly.
Continue until both the base and drain are clear of any cleaning solution.
In case any stains remain, reapply your cleaner and let it sit for an additional five to seven minutes before rinsing again.
This method ensures thorough cleaning without leaving behind residues or marks.
Keeping surfaces spotless enhances overall hygiene in your bathroom space.
Allow the Shower Base to Air Dry
Allowing the shower base to air-dry for four to eight hours is essential before using it again.
Opening a window or door encourages ventilation, speeding up the drying process.
Rinsing thoroughly ensures that any soap scum or residue washes away effectively.
A clean and dry shower base promotes a healthier environment and reduces mold growth risks.
This simple practice contributes significantly to maintaining your bathroom's cleanliness and hygiene.
Kevin Jones
Founder & Chief Home Organization Strategist
Expertise
Home Organization & Decluttering, Efficient Cleaning Methods & Stain Removal, Sustainable Cleaning Practices, DIY Home Maintenance & Repairs, Space Optimization & Storage Solutions, Budget-Friendly Home Care Strategies
Education
University of Texas at Austin
Kevin Jones is the Founder and Chief Home Organization Strategist at HomeCleaningForYou.com.
He earned a Bachelor of Science in Interior Design from the University of Texas at Austin, focusing on space planning and sustainable design. Specializing in home organization, decluttering, and budget-friendly home care, he helps homeowners create functional and stylish spaces.
Kevin has been featured in lifestyle publications and has collaborated with eco-friendly brands on home organization solutions. He shares his expertise through DIY guides, workshops, and online tutorials. Passionate about minimalism, he enjoys testing new organization methods and exploring sustainable living ideas.