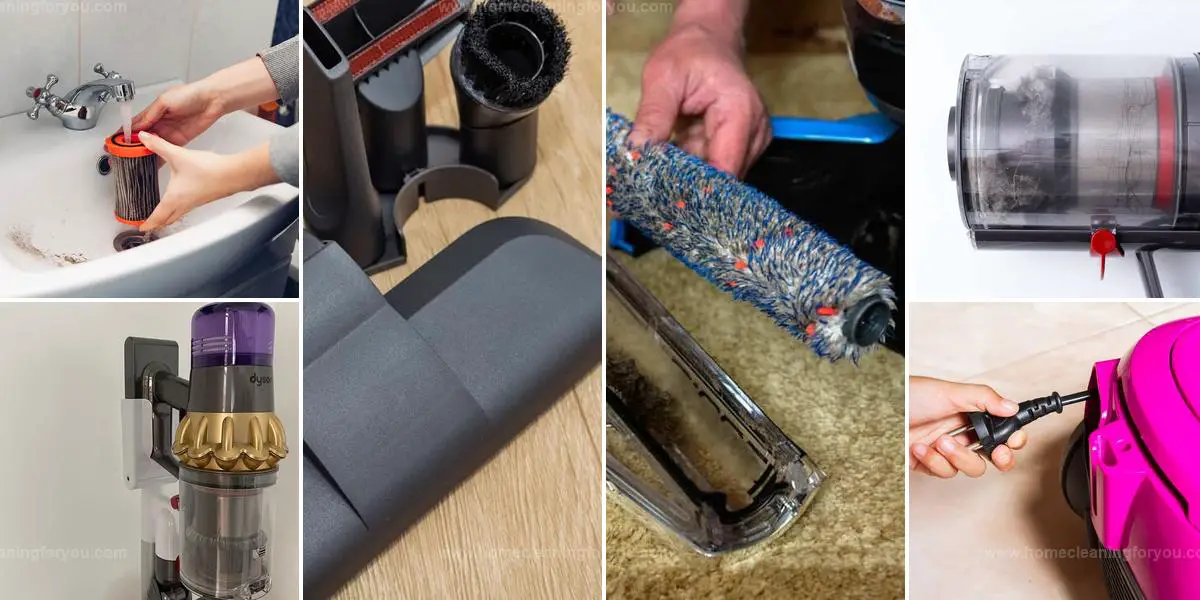
Simple Ways To Clean A Dyson V11 [Filter, Bin, Head, & Roller]
A Dyson V11 works hard to keep floors spotless, but dust buildup inside affects its suction power.
Regular cleaning ensures every component functions efficiently, extending the vacuum’s lifespan.
The filter, bin, head, and roller all need proper care to prevent clogs and odors.
Ignoring maintenance leads to reduced performance, making cleaning less effective.
A thorough routine keeps this high-performance vacuum in top shape.
Best Way to Clean a Dyson V11 Vacuum
Keeping your Dyson V11 clean ensures optimal performance and longevity.
Regular maintenance helps prevent clogs and maintains strong suction:
Power Down and Unplug the Device

Cleaning your Dyson V11 requires attention to safety, even with a brand-new device.
Turning off the unit and unplugging it is crucial to prevent any electrical hazards while you work.
A quick check of all components ensures nothing is stuck or obstructed, promoting efficient operation afterward.
Using a soft cloth for exterior surfaces helps maintain its sleek appearance without causing scratches.
Pay special attention to filters; they need regular cleaning for optimal performance and longevity of the vacuum.
Following these steps not only keeps your appliance in top shape but also protects you during maintenance tasks.
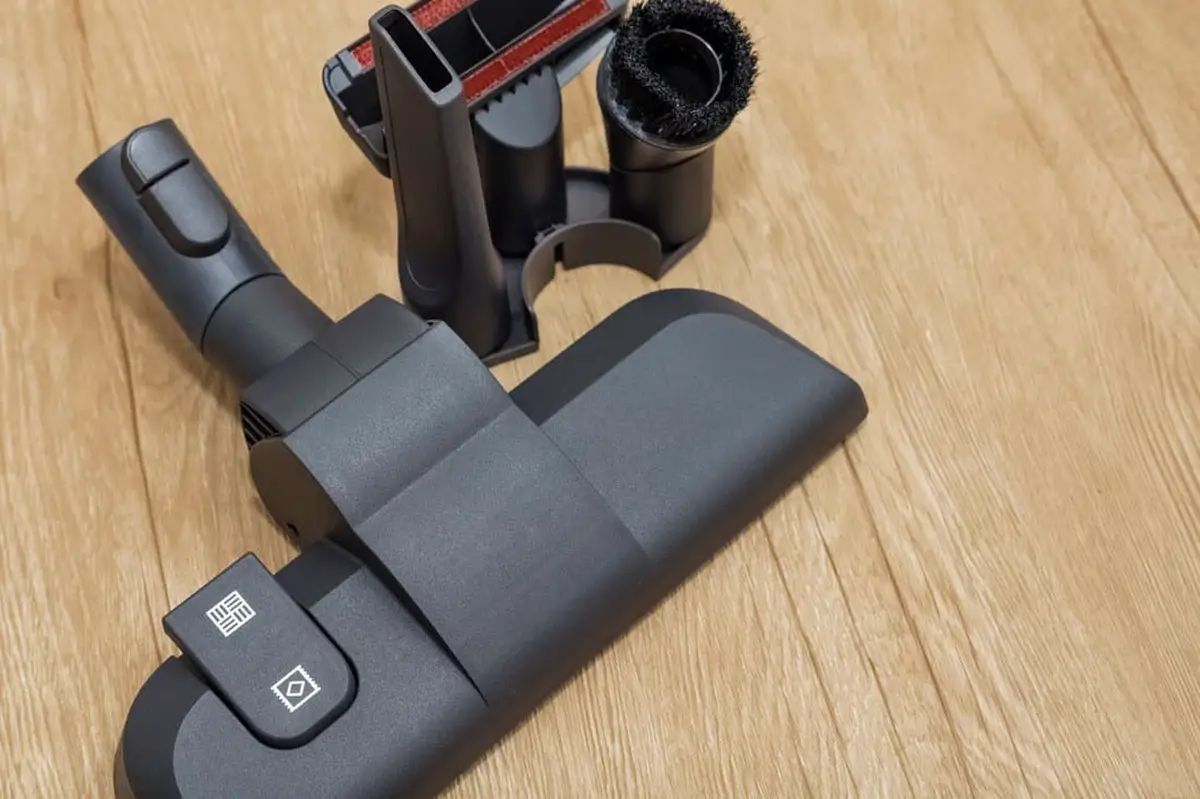
Disassemble the Components
Unplugging the unit sets the stage for the next step in your vacuum maintenance journey.
Tearing apart your Dyson V11 reveals its user-friendly design, featuring detachable components that simplify cleaning tasks.
A thorough understanding of each part enhances efficiency during upkeep.
Familiarize yourself with guides tailored to assist in removing specific sections effortlessly.
Each guide provides clear instructions, ensuring you handle every piece with care and precision.
Completing this process not only keeps your vacuum operating smoothly but also extends its lifespan significantly.
Removing the Dust Bin
Start by positioning the canister downward.
Then, find the red button on the bin runner and press it.
The bin will easily eject from its place once you do this.
Taking Out the Filter
Start by twisting the post-filter counter-clockwise to detach it from the unit.
Next, remove the pre-filter located near the unit's handle.
These steps ensure proper maintenance of your equipment for better performance.
Disconnecting the Vacuum Head
Press the release button on the vacuum to detach the head from the stick.
This action separates both components easily.
Afterward, place the vacuum stick aside for later use.
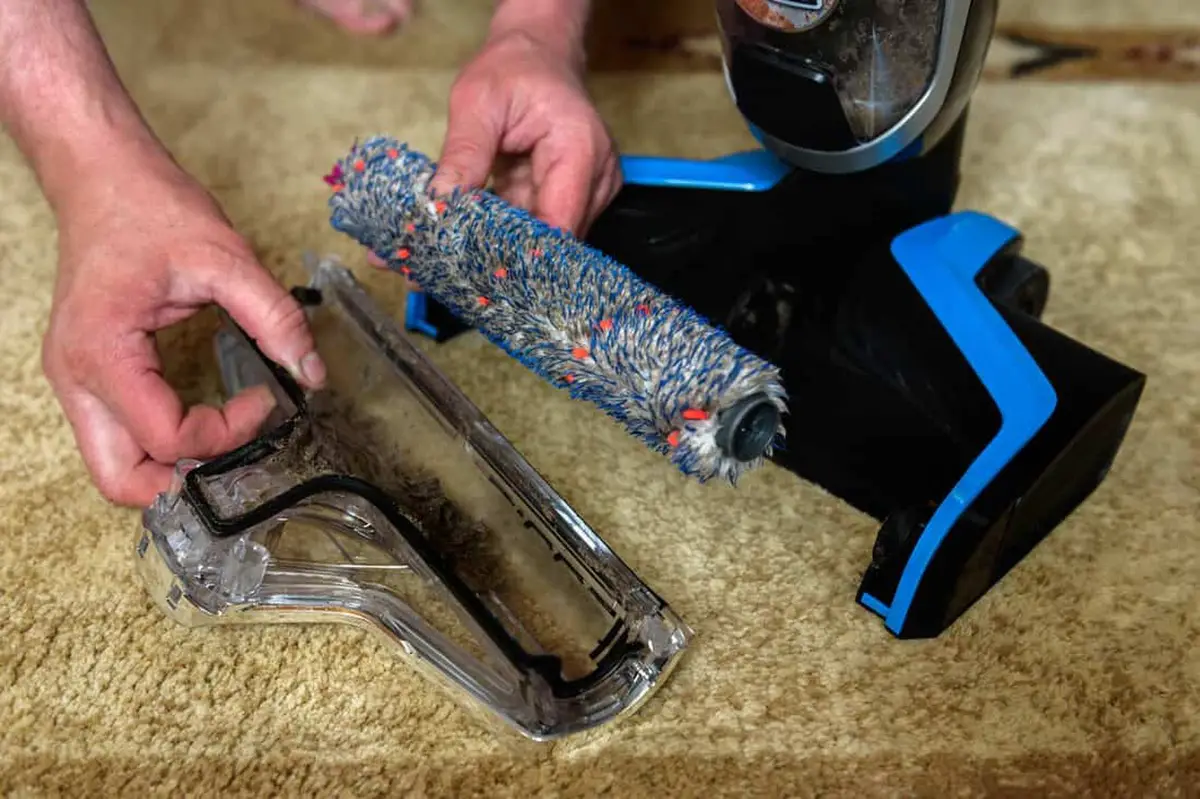
Taking Off the Roller Brush
Start by finding the end cap on the roller.
Turning it counter-clockwise allows for easy removal of the roller from its stick.
Once that’s done, disconnect the head from the stick for a complete separation.
Clean the Filters Properly
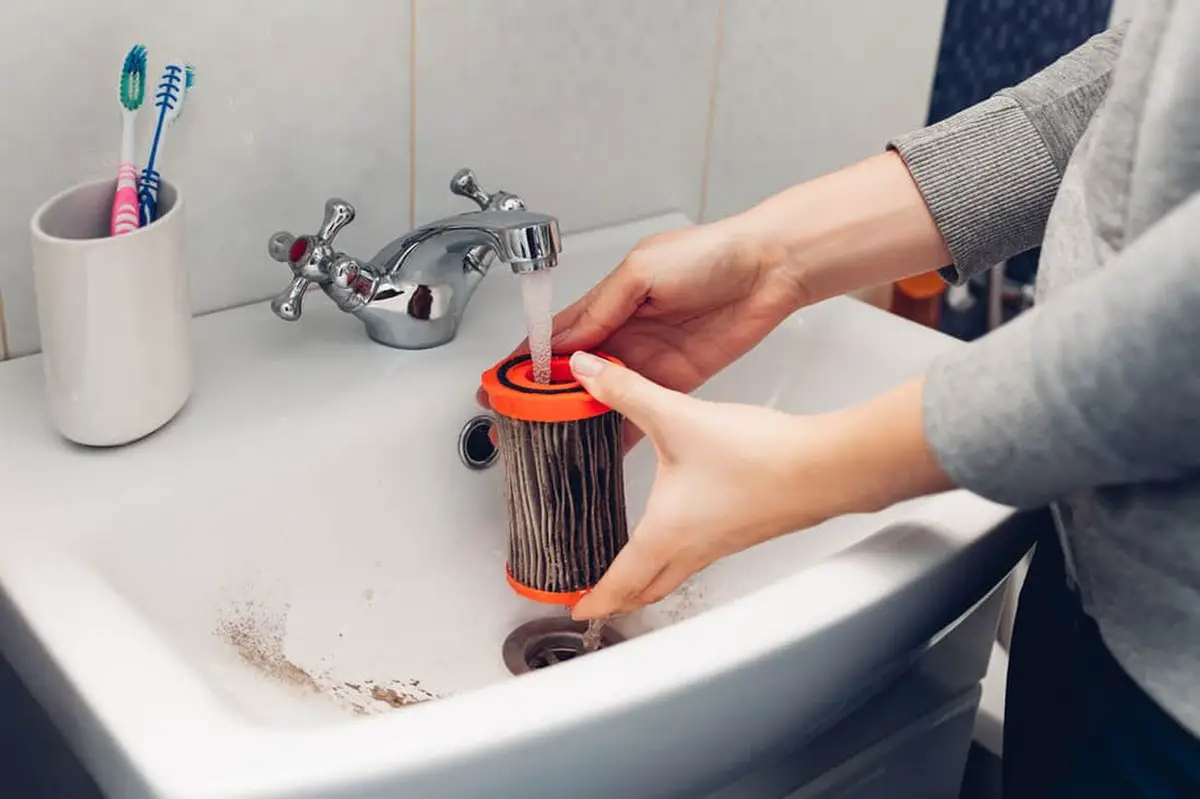
Cleaning your Dyson V11 filter can be an easy task that keeps your vacuum running efficiently.
Start by detaching the parts and tapping the filters over the sink to dislodge any stubborn dust or dirt.
Cold water works best for rinsing, so turn on the faucet and give those filters a thorough rinse without using any soap.
Chemicals in detergents might damage those delicate microfibers, which is why sticking to plain water is essential.
A gentle rub helps remove leftover debris, followed by a shake to dislodge more particles before filling it with warm water for further cleansing.
Keep repeating until you notice that clear water flows through effortlessly; this ensures optimal performance when you put it back together again!
Rinse the Roller Gently Under Running Water
A gentle flow of water effectively cleans the roller, removing dirt, dust, and hair strands that often cling to it.
Keeping the roller free from debris ensures optimal performance during use.
Avoiding detergents or soaps helps maintain its integrity and function over time.
Regular cleaning can extend the lifespan of your equipment significantly.
Staying mindful of these care tips leads to better results with every clean-up session.
Attention to detail in maintenance goes a long way in achieving a spotless home environment.
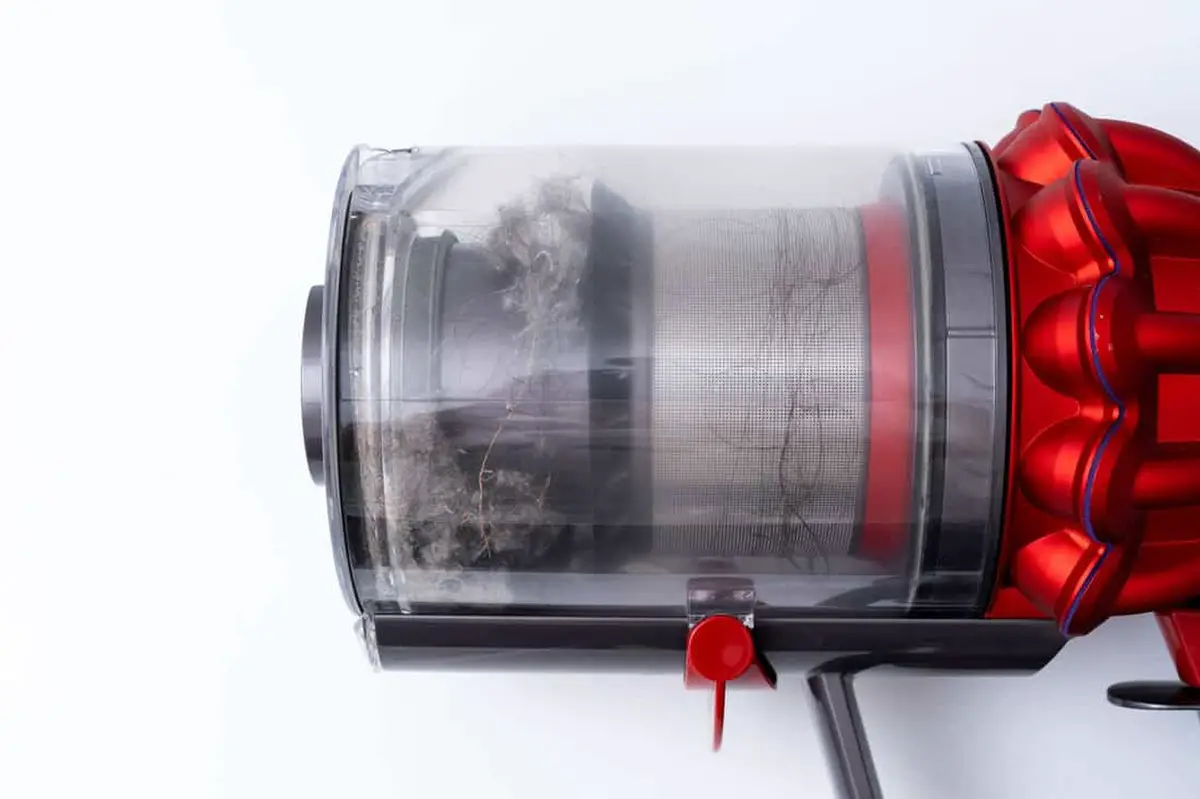
Empty and Clean the Vacuum Bin
After rinsing the filters and roller, it's important to find a well-ventilated area for air drying.
Allowing these parts to dry completely helps prevent mold and odors.
Next, focus on the bin by emptying it of any dirt or debris.
A thorough wipe down with a clean damp cloth ensures that any residual grime is removed effectively.
Keeping everything clean enhances the performance of your equipment over time.
Regular maintenance makes a noticeable difference in how well your device operates day after day.
Inspect for Clogs and Remove Any Blockages
After cleaning the bin, a quick inspection for debris in the vacuum's non-washable components is essential.
Look closely at areas where dust and dirt might accumulate.
Ensuring that no blockages are present can improve performance significantly.
It’s wise to examine detachable parts as well; small items could hinder efficiency or even damage your cleaner over time.
Keeping these components clear not only extends the lifespan of your vacuum but also maintains its suction power.
Regular checks will help you keep everything running smoothly and efficiently, making chores easier to manage.
Let Washable Parts Dry Completely
Cleaning a Dyson V11 vacuum cleaner requires careful attention to detail.
Ensuring that filters and the roller are fully dry before reassembling is crucial.
Any moisture left can lead to serious damage, including potential short circuits when powered on.
Patience during this drying process will extend the life of your vacuum and maintain its performance.
Avoid using dryers or placing components near flammable materials; safety should always come first in maintenance routines.
Keeping these tips in mind helps keep your device running smoothly for years to come.
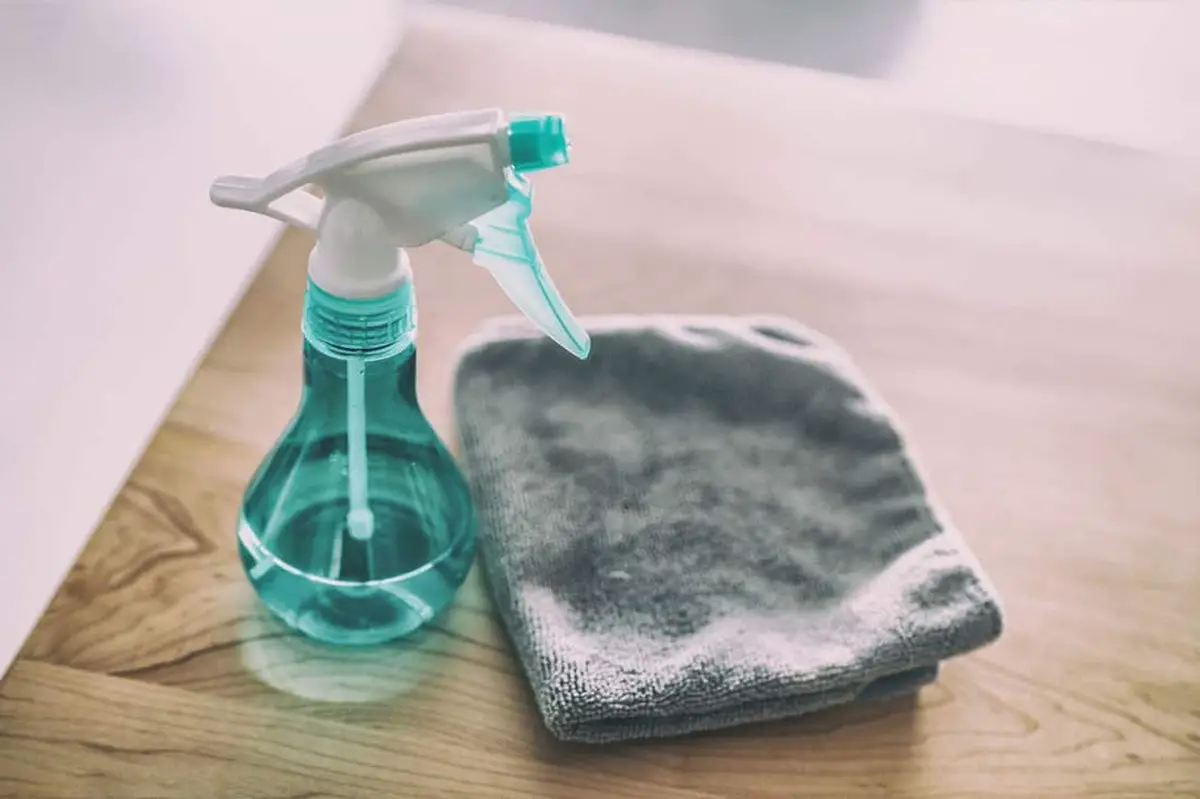
Wipe Down the Exterior with a Cloth
Cleaning your vacuum cleaner can be surprisingly satisfying.
Start by grabbing a clean cloth, ready to tackle those exterior surfaces.
A gentle circular motion helps lift away dust and grime effectively.
Focus on every nook and cranny, ensuring no spot goes untouched.
This simple task not only maintains the appliance’s appearance but also extends its lifespan.
Keeping your vacuum cleaner in top shape makes future cleaning easier for you too!
Reassemble the Parts Securely
Cleaning the exterior parts is an essential step in maintaining your equipment.
Once the washable components are fully dry, reattaching them becomes straightforward.
Following a few simple guidelines ensures everything fits securely and functions properly.
Pay attention to any alignment marks or indicators that help with correct placement.
A quick check of each part can prevent issues later on.
Taking these precautions leads to smoother operation and extends the life of your device significantly.
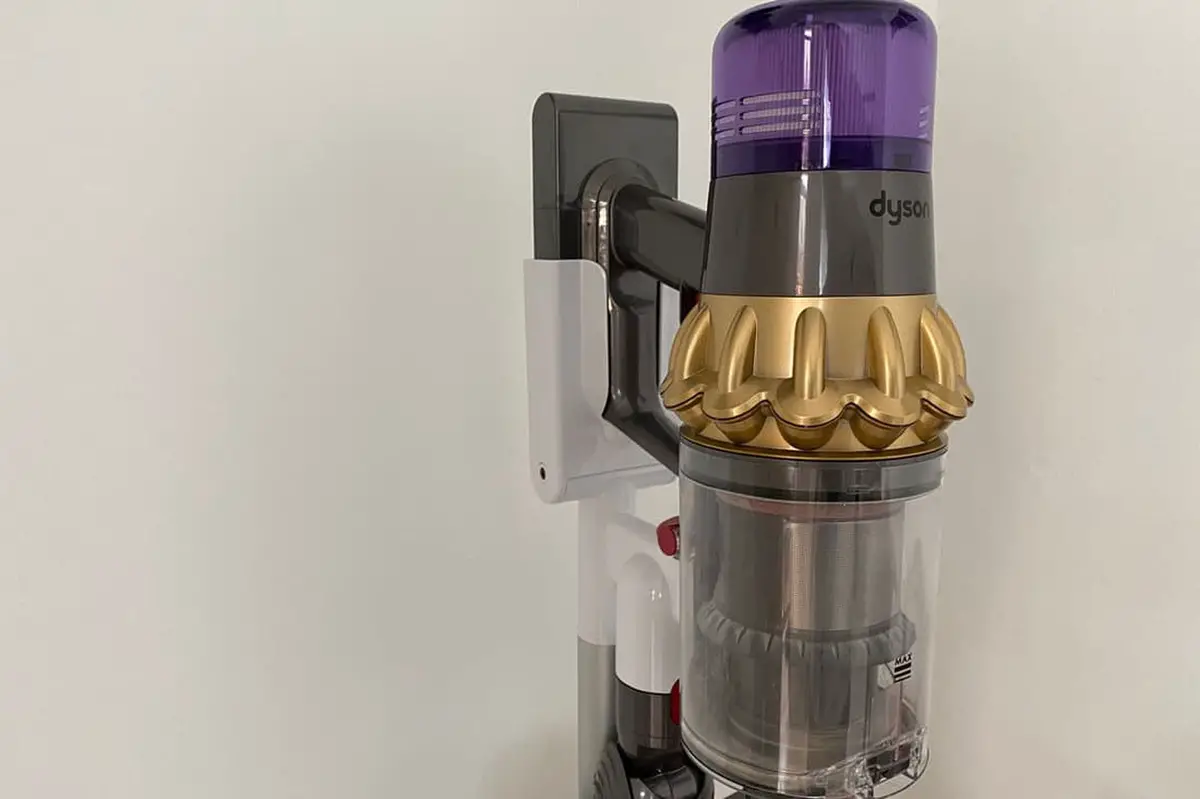
Securing the Dust Bin in Place
Position the spine onto the runner of the bin.
Slide the bin base up until it connects with the clear container, creating a snug fit.
A satisfying click confirms that both parts are locked together securely.
Installing the Filters Properly
Start by securing the pre-filter back in its original position.
Next, insert the post-filter by twisting it clockwise until it locks firmly.
This ensures everything is properly set for optimal performance.
Placing the Roller Back In
Secure the roller inside the head by placing it back in its position.
Lock it by twisting the cap clockwise.
This ensures everything stays in place and functions properly.
Reattaching the Head to the Stick Vacuum
Start by connecting the edges of the two parts.
Once they fit together, press the head back onto the latch at the end of the stick until a click is heard.
This sound confirms that everything is securely locked in place.
Power On and Test the Vacuum’s Performance
Turning the unit back on allows you to check if everything is functioning properly.
A quick cleanup can highlight any remaining issues or dirt that needs attention.
If the vacuum shows any signs of malfunction, remember that Dyson provides a generous 2-year warranty for its cordless models.
This assurance gives peace of mind in case repairs are needed down the line.
Taking care of your equipment ensures it remains in excellent working condition for longer periods.
Regular maintenance contributes to a more efficient and reliable cleaning experience at home.
How Often Should You Change Dyson V11 Filters?
Regular maintenance is essential for keeping your Dyson V11 running efficiently.
Filters play a crucial role in capturing dust and allergens, ensuring clean air while you vacuum.
Over time, these filters can wear out, impacting performance.
For those who frequently tackle tough messes or live in dusty environments, more frequent replacements may be necessary.
Staying on top of filter changes will help maintain the powerful suction your vacuum is known for.
Can the Dyson V11 Be Used on Wet Surfaces?
The Dyson V11 vacuum cleaner excels at keeping your home spotless on dry surfaces.
Its washable roller and filters offer an eco-friendly option, though caution is essential when handling them.
Ensuring all parts are thoroughly dried before reattaching helps maintain the vacuum's performance and longevity.
This model shines on carpets as well as hard surfaces like marble and ceramic, effectively capturing dirt without the need for moisture.
Protecting it from liquids ensures that you get the best results every time you clean your space.
What’s the Lifespan of a Dyson V11?
The Dyson V11 vacuum cleaner stands out with a lifespan that can reach up to ten years, showcasing remarkable durability.
Regular maintenance plays a crucial role in ensuring it remains effective and long-lasting.
Neglecting care could lead to a shorter operational period, which is something you want to avoid.
To keep the battery performing at its best, allowing it to fully drain at least once each month is essential.
Simple practices like these can greatly enhance the longevity of your trusted cleaning companion.
Kevin Jones
Founder & Chief Home Organization Strategist
Expertise
Home Organization & Decluttering, Efficient Cleaning Methods & Stain Removal, Sustainable Cleaning Practices, DIY Home Maintenance & Repairs, Space Optimization & Storage Solutions, Budget-Friendly Home Care Strategies
Education
University of Texas at Austin
Kevin Jones is the Founder and Chief Home Organization Strategist at HomeCleaningForYou.com.
He earned a Bachelor of Science in Interior Design from the University of Texas at Austin, focusing on space planning and sustainable design. Specializing in home organization, decluttering, and budget-friendly home care, he helps homeowners create functional and stylish spaces.
Kevin has been featured in lifestyle publications and has collaborated with eco-friendly brands on home organization solutions. He shares his expertise through DIY guides, workshops, and online tutorials. Passionate about minimalism, he enjoys testing new organization methods and exploring sustainable living ideas.