6 Reliable Steps For Onyx Shower Cleaning
Onyx showers turn bathrooms into a statement, but their delicate surface demands extra care.
Hard water stains, soap scum, and harsh chemicals can dull the stone’s rich beauty.
Keeping it pristine isn’t about scrubbing harder; it’s about using the right method.
A gentle approach preserves the polished shine without damage.
Proper Method to Clean an Onyx Shower
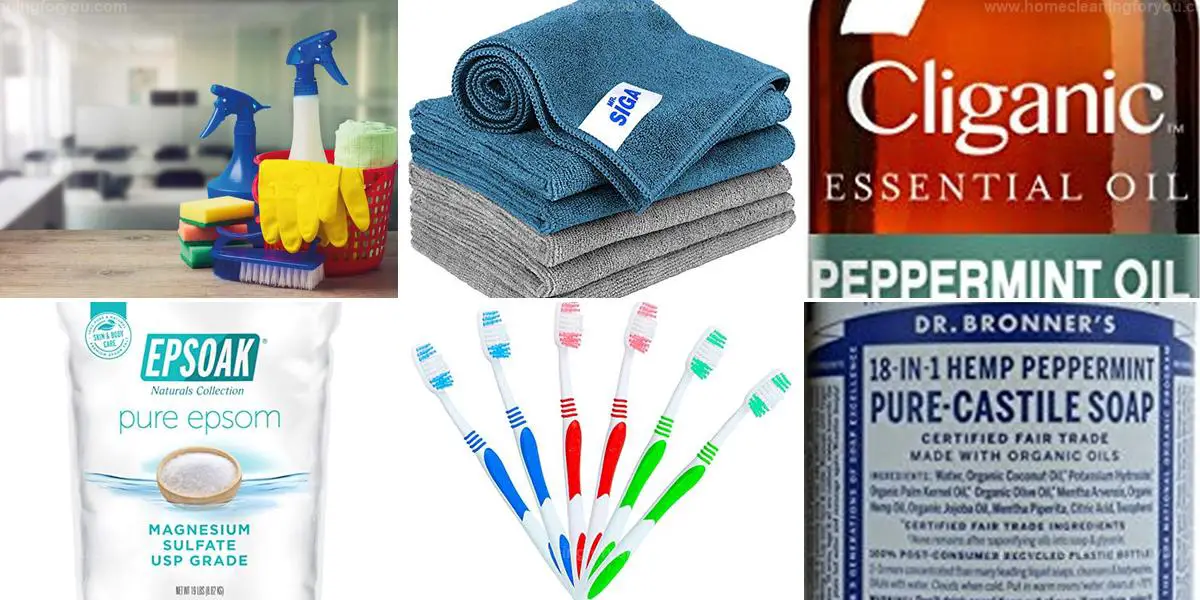
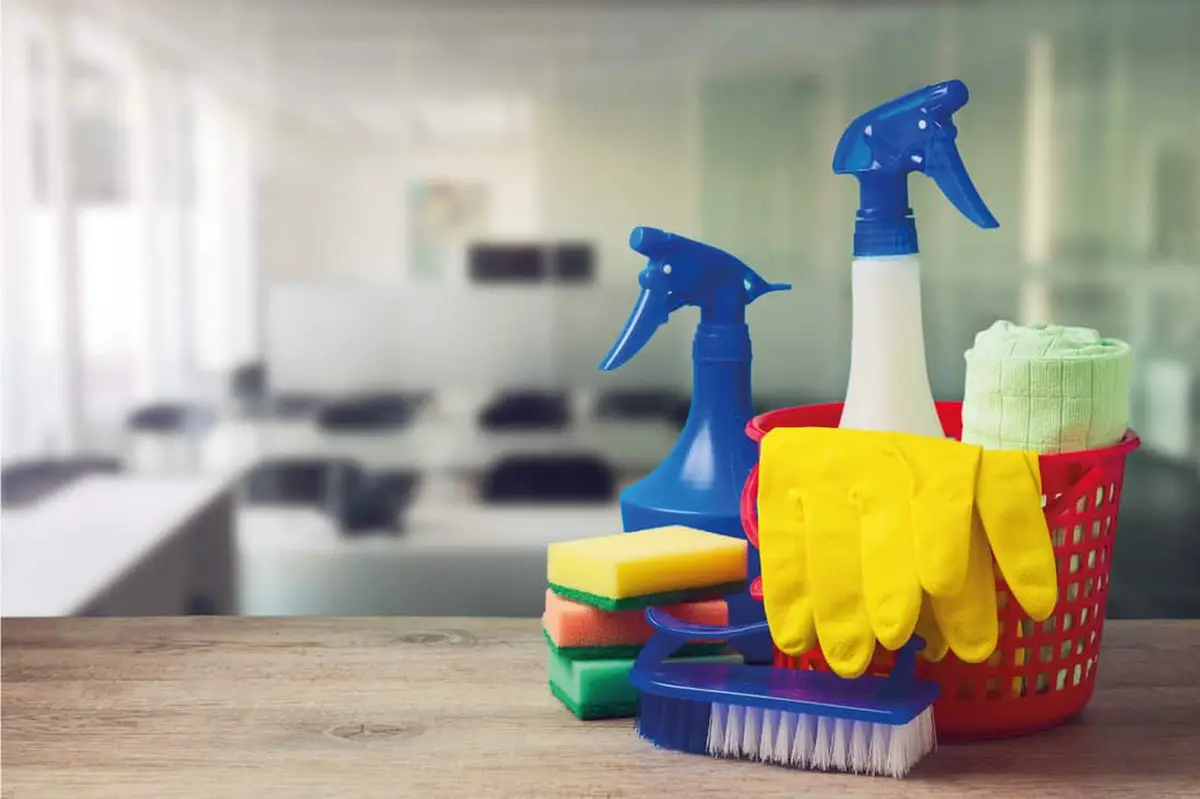
Cleaning an onyx shower requires a few essential items and some time, usually between 20 to 30 minutes.
Start by gathering baking soda, a soft sponge, rubber cleaning gloves, and a five-gallon bucket.
A non-abrasive commercial cleaner or your homemade solution will be helpful for tackling any tough spots.
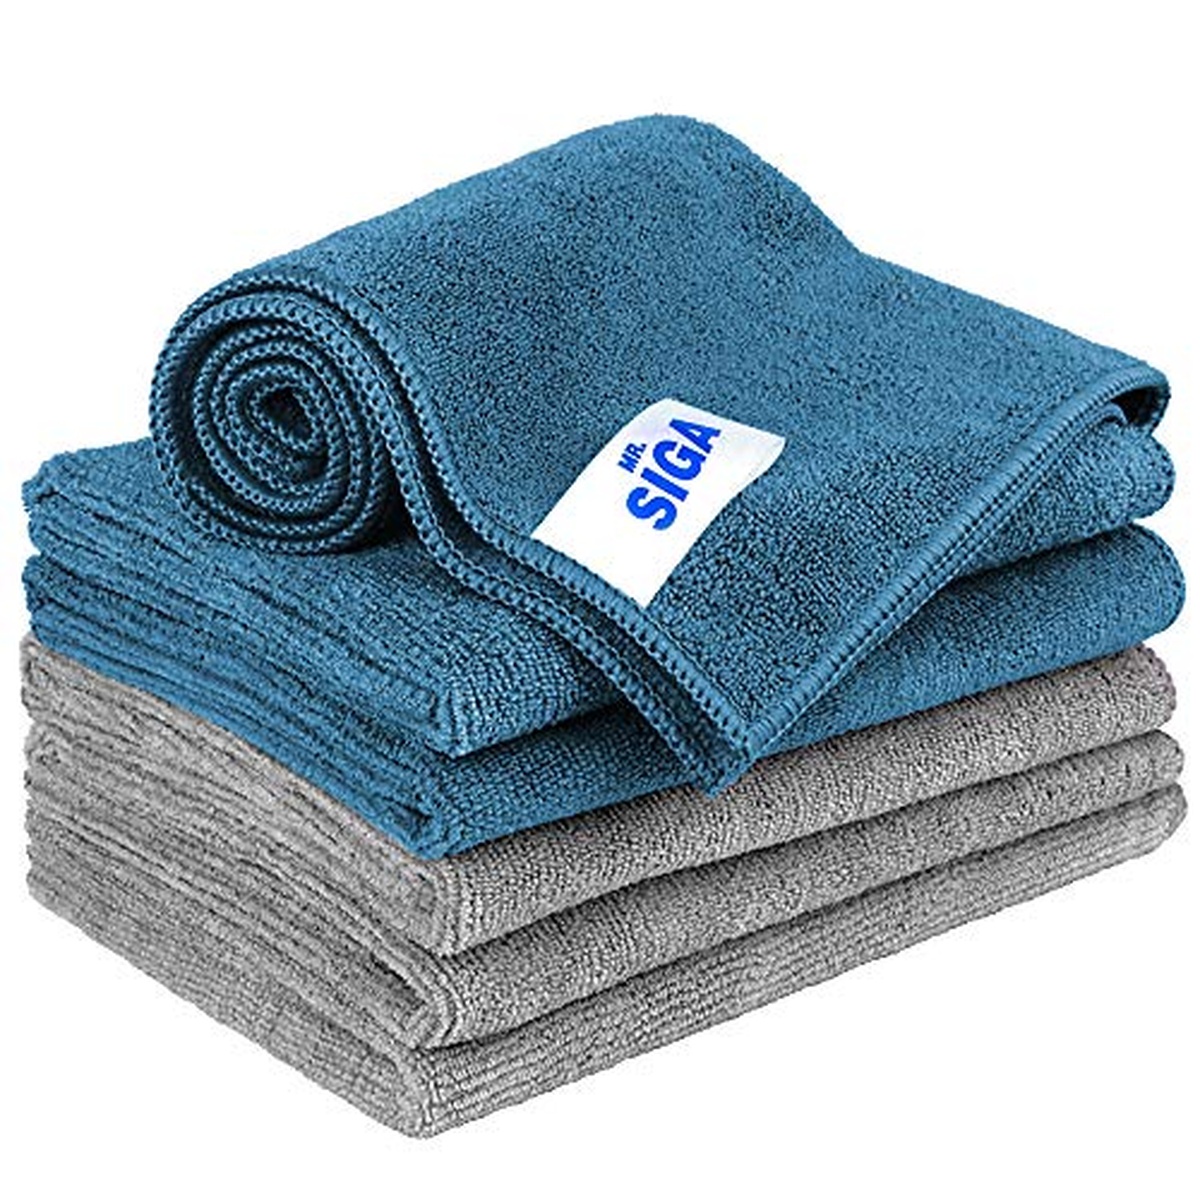
Using four cleaning cloths ensures you have the right tools to finish the job efficiently.
With these supplies ready, maintaining that beautiful onyx surface becomes much easier and more effective!
Step 1. Prepare the Shower Space
Start by removing any shower curtains, accessories, and personal items from the bathroom.
Shampoo bottles, razors, bar soap, and shower caps should all be taken out.
Next comes a careful inspection of the bottoms of bottles for mold.
Bottles showing signs of mold need to be set aside for later disinfection using a cleaning solution or diluted bleach.
Gathering all cleaning supplies in one spot makes it easier to begin your task efficiently.
A well-organized space enhances the entire cleaning experience while ensuring every corner gets attention.
Step 2. Create Steam Inside the Shower
Setting the shower to the hottest water level produces steam that loosens stubborn hard water stains, soap scum, and dirt on surfaces.
Steam works effectively in breaking down these unwanted residues.
Ventilating the bathroom is important; opening a window and door helps maintain fresh air while cleaning.
This simple method makes tackling tough messes much easier.
Enjoy a cleaner shower space with this approach that takes advantage of steam's power.
Step 3. Mix a Cleaning Solution
Homemade cleaning solutions work well for onyx showers, and they can be easy to prepare.
Common ingredients like vinegar, baking soda, or lemon juice mix together to create effective cleaners.
Commercial products specifically made for onyx or other natural stones such as marble and granite also provide excellent results.
These options ensure safe cleaning without damaging the delicate surface of the stone.
Choosing the right cleaner helps maintain the beauty of your shower while keeping it fresh and spotless.
Both commercial and homemade solutions cater to different preferences in care routines.
Best Methods for Removing Hard Water Stains
Onyx tiles can develop hard water stains over time, just like other natural stone surfaces.
A simple cleaning solution helps remove buildup while keeping the surface looking polished.
Ingredients:
Bronner’s recommended)
This mixture leaves a fresh pine scent while preventing soap residue that other cleaners might leave behind.
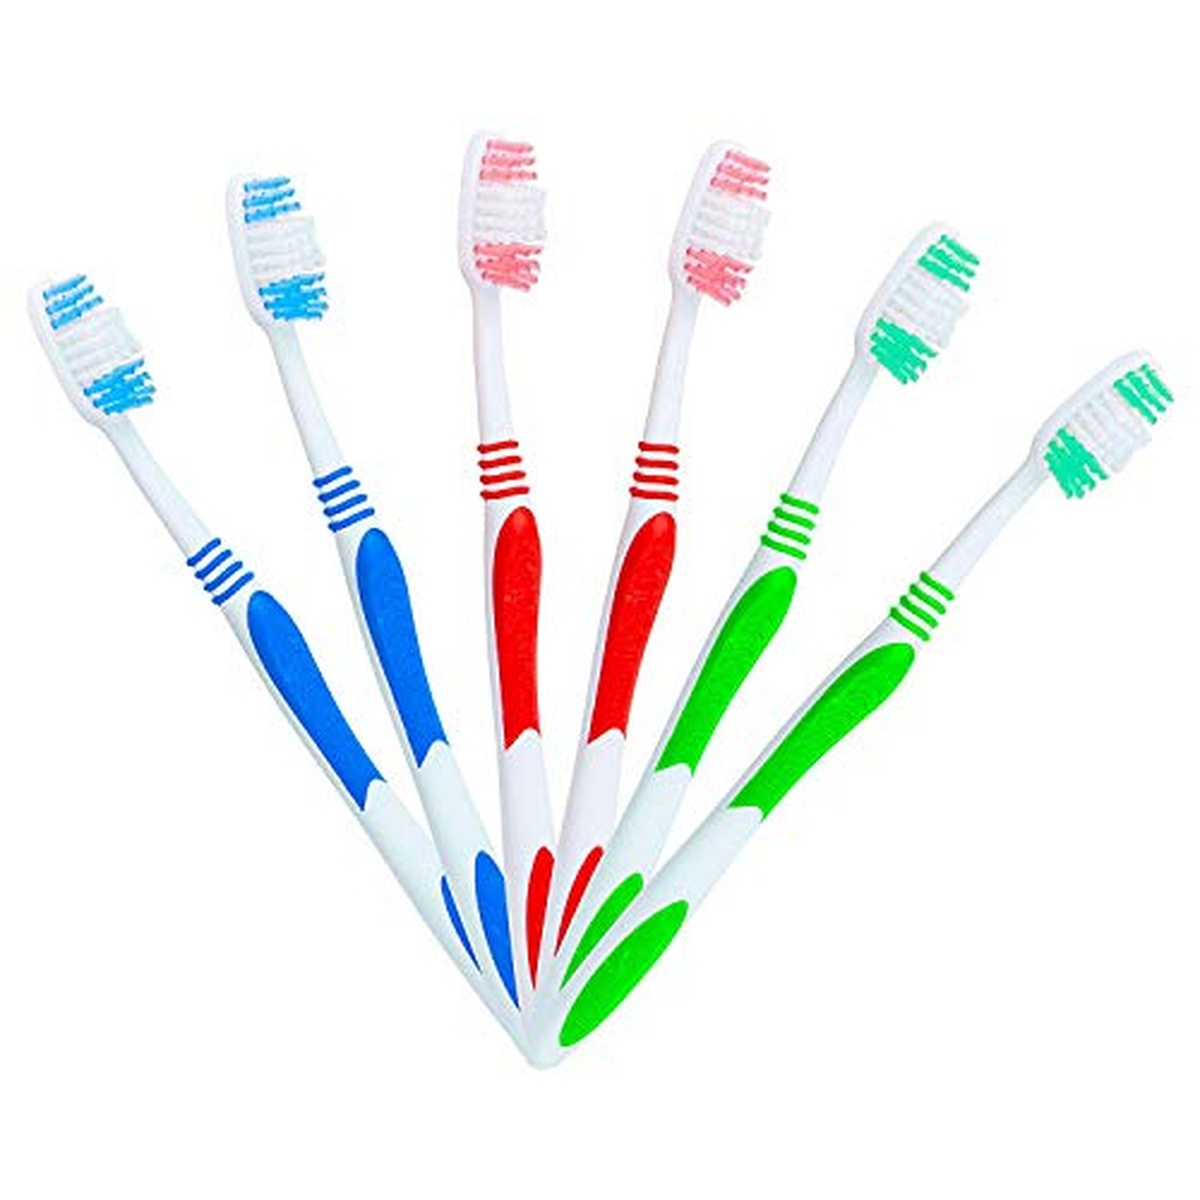
A soft-bristled or disposable toothbrush works well for scrubbing grout and tile.
Rinse with warm water and dry the surface with a clean cloth to maintain its shine.
Effective Soap Scum Remover
A homemade soap scum cleaner can make a tedious task much simpler.
Combining powdered milk, baking soda, and liquid castile soap creates a potent paste that tackles stubborn buildup.
Adding peppermint essential oil not only enhances the scent but also brings an invigorating touch to your cleaning routine.
This solution works effectively on tiles, allowing you to wipe away grime with ease after just a few minutes of letting it sit.
Specialized Onyx Surface Cleaner
Natural solutions can often be just as effective as commercial cleaners, especially for tough stains on onyx and other natural stones.
A simple blend of baking soda and Epsom salt creates a powerful paste that targets grime without harsh chemicals.
Applying this mixture is straightforward; it needs only a few minutes to lift stubborn marks from your surfaces.
Rinsing with warm water afterward reveals the clean, refreshed look you desire while keeping your shower safe from damage.
Step 4. Scrub the Shower Walls
Cleaning the shower begins with applying your cleaning solution to a sponge or cloth rather than directly onto the tiles.
Starting from the left side and moving to the right allows for even coverage using circular motions.
Once wall tiles are spotless, attention turns to the showerhead and knobs.
A soft cloth or sponge works best for wiping down metal fixtures, ensuring they shine without scratches.
Spraying solution on your cleaning cloth reduces runoff on the floor, keeping things tidy during cleanup.
If a shower door is present, use a separate cloth with an appropriate cleaner for that surface instead of reusing one meant for tiles.
Step 5. Wash the Shower Floor
Cleaning the floor comes after scrubbing the walls in your shower.
Begin at the farthest point from the door, moving left to right with gentle circular motions.
Grout can often hide mold or mildew; a soft-bristled brush works well to apply cleaner in these areas.
For tight spots or detailed cleaning, a disposable toothbrush is quite handy and effective.
A steam mop can also simplify this task if your shower has enough space, helping sanitize while you clean.
Disposable toothbrushes and steam mops are available on Amazon for easy purchasing.
Step 6. Rinse the Shower with Warm Water
Warm water from the shower helps loosen dirt and grime.
Rinsing the walls, shower head, and floor with a cloth or sponge ensures a thorough clean.
Mold or stain remover requires time to work effectively; letting it sit for five to seven minutes before rinsing enhances its power.
A soft-bristled brush can make scrubbing easier and more efficient!
Consistent cleaning keeps your bathroom fresh and inviting without much effort.
Tips for Keeping Onyx Clean
Cleaning an onyx shower requires gentle care.
Using a scouring pad or scrub brush can damage the surface, so only soft cloths or sponges should be used.
When using commercial cleaners, apply only a small amount to prevent film buildup.
Switching cleaning cloths is essential when tackling other surfaces to avoid transferring abrasive materials onto the onyx.
Rinsing thoroughly after using any cleaning solution helps eliminate residue and keeps the surface pristine.
Following these steps ensures your shower remains beautiful for years to come.
Best Ways to Remove Stains from Onyx
Natural onyx stone showcases a unique beauty with its swirling patterns and vibrant colors.
This stunning material requires careful attention to maintain its elegance due to its porous nature.
Spills can lead to stubborn stains that become challenging to remove over time, so acting swiftly is crucial.
Using a clean, dry cloth or paper towel for blotting helps preserve the stone's pristine appearance.
Regular sealing can further protect against unwanted marks and keep your onyx looking fresh for years.
Cleaning Products to Avoid When Cleaning Onyx
Choosing the right cleaning products for natural stone surfaces is crucial.
Abrasive cleaners and harsh chemicals can damage the finish, leading to dullness over time.
Opting for pH-neutral solutions ensures that your beautiful stone remains intact and vibrant.
Specialized cleaners designed for natural stones work wonders without compromising their integrity.
Homemade options using gentle ingredients can also maintain that stunning shine while keeping surfaces safe from harm.
Does Onyx Require Sealing?
Onyx surfaces, including shower tiles and countertops, often come pre-sealed by manufacturers.
This sealing process helps reduce liquid absorption, protecting the stone from stains and potential damage.
Although a DIY sealing option exists, trusting the manufacturer’s expertise guarantees optimal results.
Proper maintenance of these stunning surfaces keeps their luxurious appearance intact for years to come.
Investing in professional care ensures longevity while preserving the natural beauty of onyx in your home.
Kevin Jones
Founder & Chief Home Organization Strategist
Expertise
Home Organization & Decluttering, Efficient Cleaning Methods & Stain Removal, Sustainable Cleaning Practices, DIY Home Maintenance & Repairs, Space Optimization & Storage Solutions, Budget-Friendly Home Care Strategies
Education
University of Texas at Austin
Kevin Jones is the Founder and Chief Home Organization Strategist at HomeCleaningForYou.com.
He earned a Bachelor of Science in Interior Design from the University of Texas at Austin, focusing on space planning and sustainable design. Specializing in home organization, decluttering, and budget-friendly home care, he helps homeowners create functional and stylish spaces.
Kevin has been featured in lifestyle publications and has collaborated with eco-friendly brands on home organization solutions. He shares his expertise through DIY guides, workshops, and online tutorials. Passionate about minimalism, he enjoys testing new organization methods and exploring sustainable living ideas.