
5 Quick Steps to Clean a Jetted Tub Filter Properly
There’s nothing more relaxing than soaking in a jetted tub after a long day, but to keep the experience enjoyable, regular maintenance is key.
Over time, the tub’s filter collects dirt, oils, and other contaminants that can affect water quality and even reduce the efficiency of the jets.
A dirty filter can lead to cloudy water, unpleasant odors, and potential buildup in the system.
Fortunately, cleaning the filter is a quick and simple task that helps keep your tub in top condition.
Follow these 5 easy steps to clean your jetted tub filter and enjoy crystal-clear water every time you soak:
Simple Steps to Clean Jetted Tub Filters
Keeping your jetted tub filter clean ensures proper water flow and prevents buildup.
Regular maintenance helps extend the filter’s lifespan and keeps your tub running efficiently.
Follow these steps to clean your jetted tub filter with ease:
Gather What You’ll Need
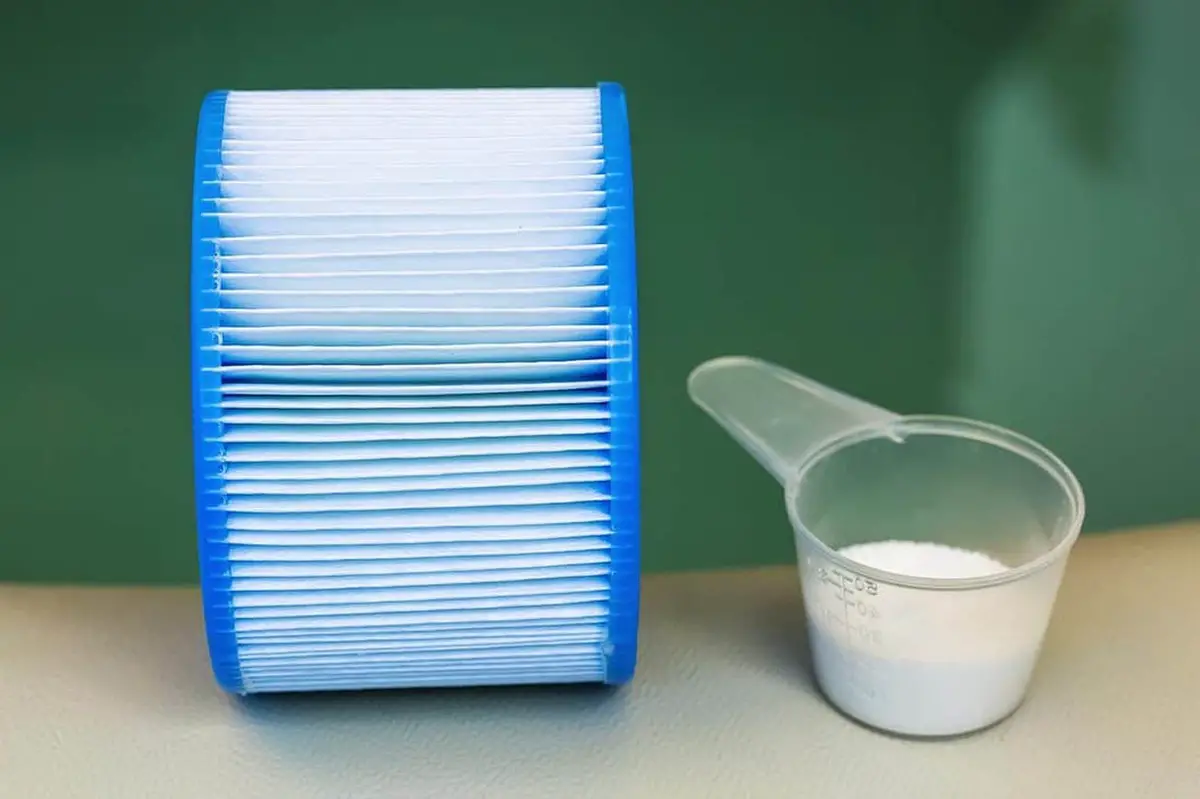
Filters vary significantly in design and dimensions, making it crucial to refer to the manufacturer’s guidelines before using any cleaning products on your jetted tub filter.
Both chemical cleaners and eco-friendly options are effective for this task.
A clean filter should appear bright white without any unpleasant smells or indications of mold growth.
Here is a list of items you'll need:
Keeping these supplies handy will streamline the process, ensuring you maintain a spotless filtration system that enhances your bathing experience.
Fill the Jetted Tub with a Cleaning Solution
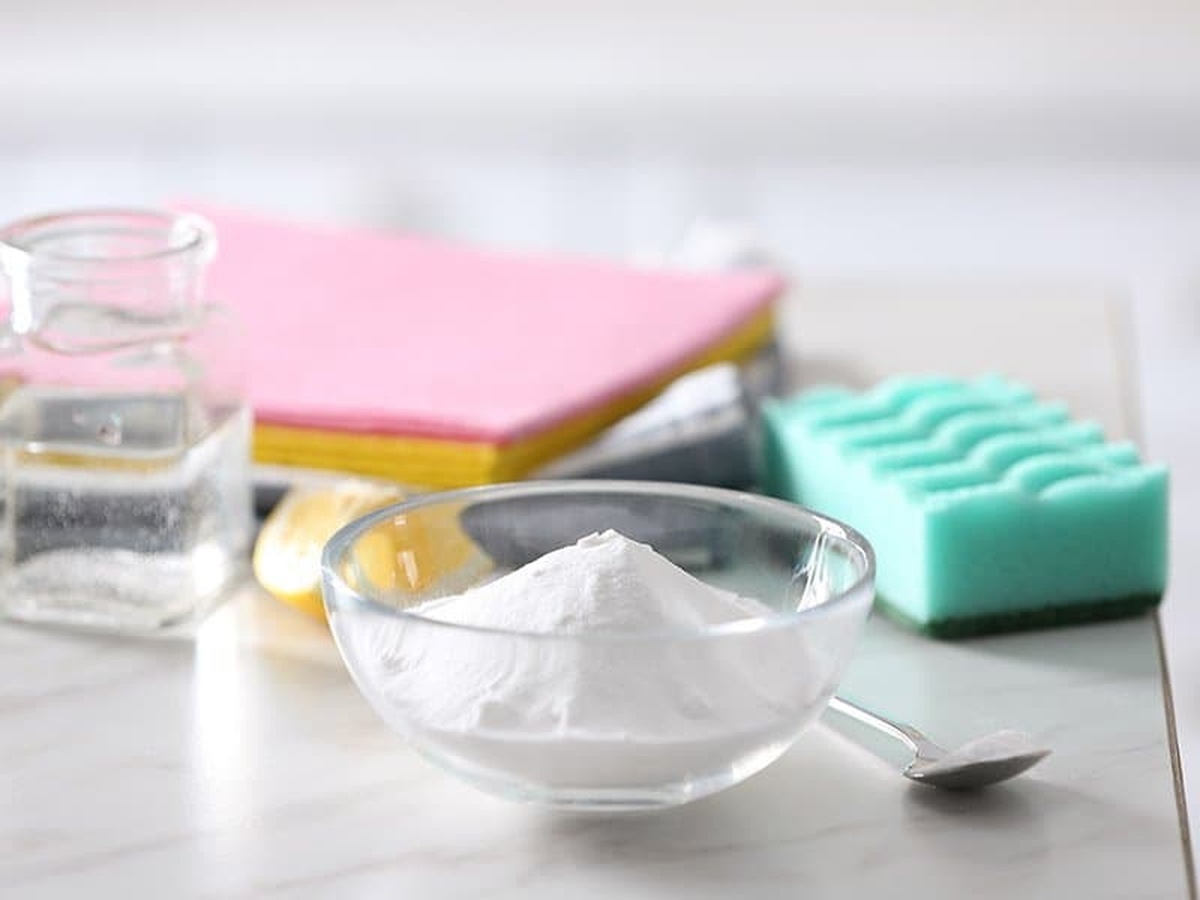
Cleaning your hot tub is essential for maintaining its performance and ensuring a safe experience. First, turn off the entire system; this includes shutting down any water flow from the jets or faucet to prevent issues with water quality and pump functionality.
Next, gather your cleaning supplies by pouring your chosen cleaning solution into a bowl or small bucket. For optimal results, combine it with hot water in the container you've prepared.
If opting for a natural mixture of vinegar and baking soda, remember to maintain a 1:3 ratio, three parts vinegar to one part baking soda, for effective cleansing action. To enhance whitening effects on filters, consider incorporating just one tablespoon of bleach into this concoction but avoid mixing bleach with commercial cleaners due to potential harmful fumes that could arise from such combinations.
With these steps followed correctly, you can help ensure that every soak remains pleasant and hygienic while prolonging the life of your equipment as well.
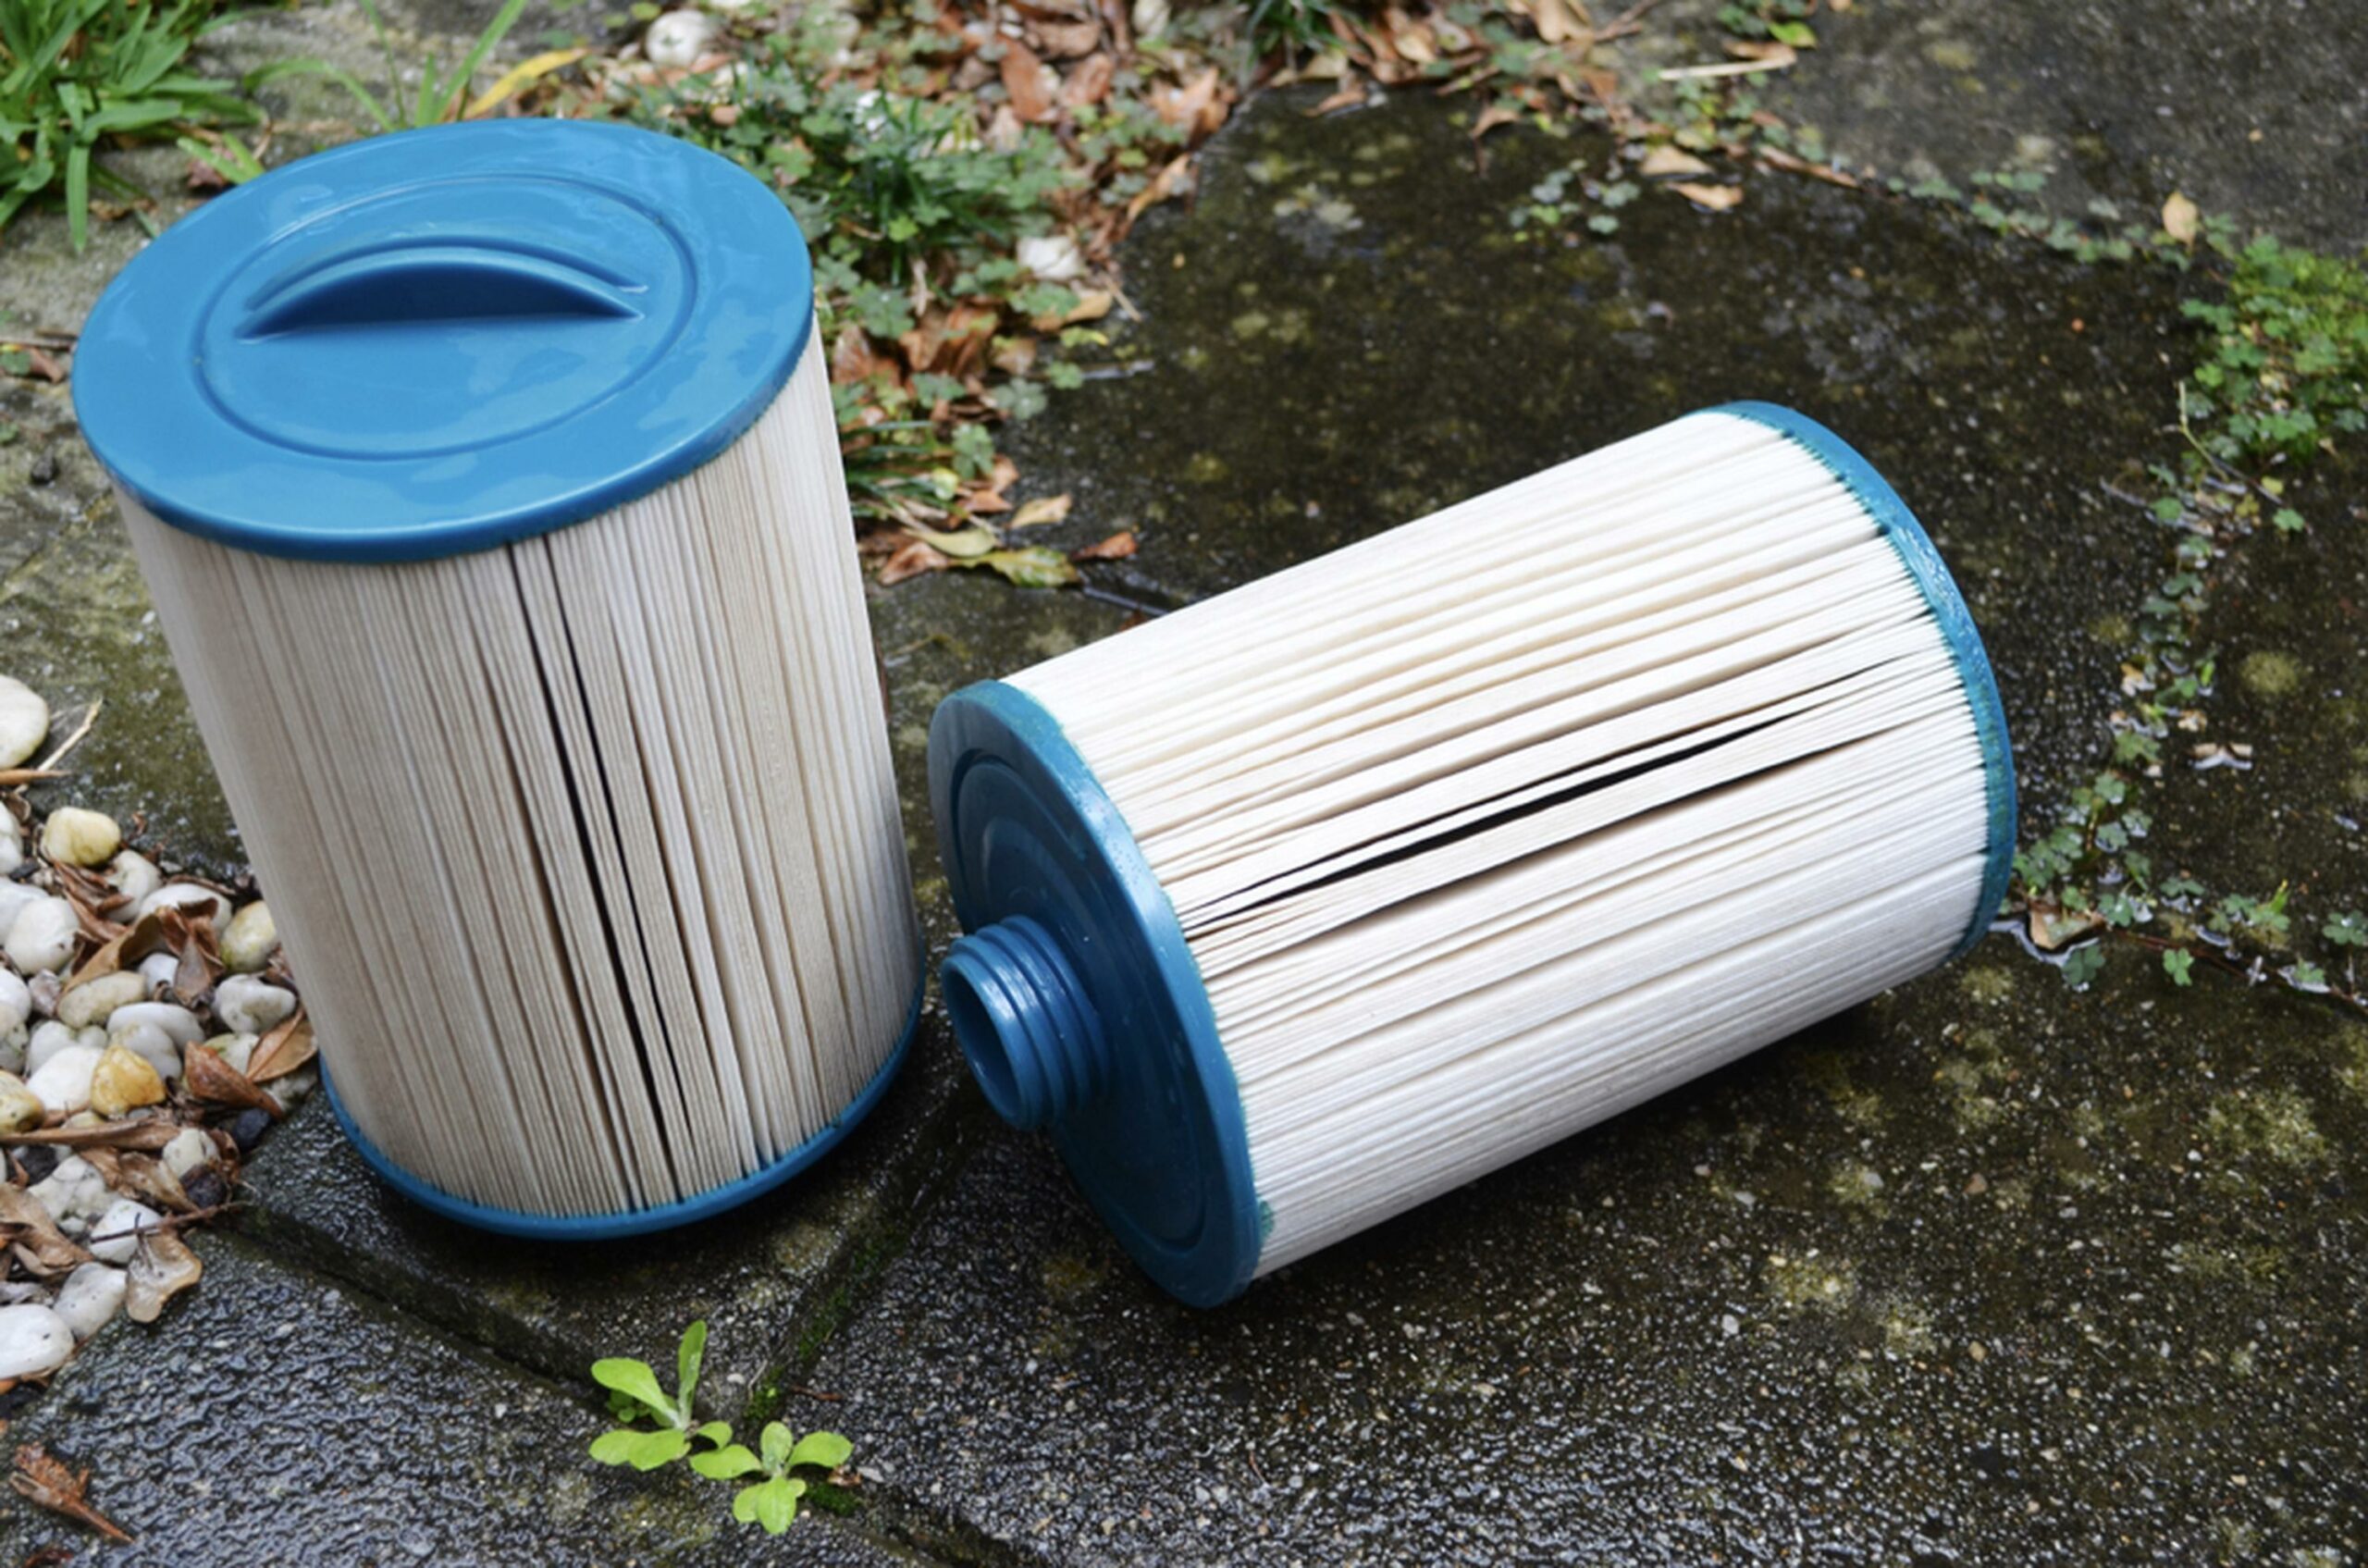
Take Out the Filter from Its Slot
Examining the filter closely after removing it from its spot. Look for any signs of wear, such as tears or holes that might compromise its effectiveness.
If you discover damage like holes, replacing the filter with a new one is essential. On the other hand, if it appears dirty but intact, proceed to clean it up and move on to your next task without delay.
Keeping an eye on these details ensures optimal performance in your setup.
Clear Away Any Dirt or Buildup
Ensuring that you have a suitable solution ready in a bowl or bucket. Before submerging the filter, manually clear away any larger debris like hair, leaves, or paper clumps.
Once this is done, immerse the filter into your cleaning mixture to loosen stubborn residues. After lifting it out of the solution, grab a toothbrush and gently scrub the surface to eliminate any remaining mold or grime effectively.
For an effortless scrubbing experience without worrying about damaging your regular brush, consider using disposable toothbrushes for this task.
Soak the Filter for a Deep Clean
Soaking your filter is a crucial step in maintaining its effectiveness.
Once you have cleaned it thoroughly, return the filter to either a bucket or bowl for soaking.
You can let it soak for anywhere between 2 hours and overnight, depending on how dirty it was before cleaning.
If you've used bleach alongside your cleaning solution, limit the soaking time to just a couple of hours to avoid damage.
Rinse Off the Filter Thoroughly
Rinsing the filter with warm water after ensuring it is clean. High water pressure plays a crucial role in eliminating any leftover residue, so adjust your faucet accordingly.
Once you have thoroughly washed away all traces of dirt, carefully take the filter out from the bucket or bowl. This step guarantees that your filter remains efficient and ready for use again.
Keeping up with this maintenance not only enhances performance but also extends its lifespan significantly. Regular cleaning makes a noticeable difference in how well your system functions over time.
Secure the Filter Back in Place
Replacing your filter requires a few essential steps to ensure it functions effectively. Start by allowing the filter to dry thoroughly, which can take between 15 and 45 minutes based on its specific make and model.
Ensuring complete dryness is crucial, as any moisture left could lead to mold or mildew growth once you install it again. Taking this extra time guarantees that your air quality remains healthy and fresh for your environment.
Keeping an eye on drying times will help maintain optimal performance from your filtration system while preventing future issues related to dampness.
Deep Cleaning Your Jetted Tub
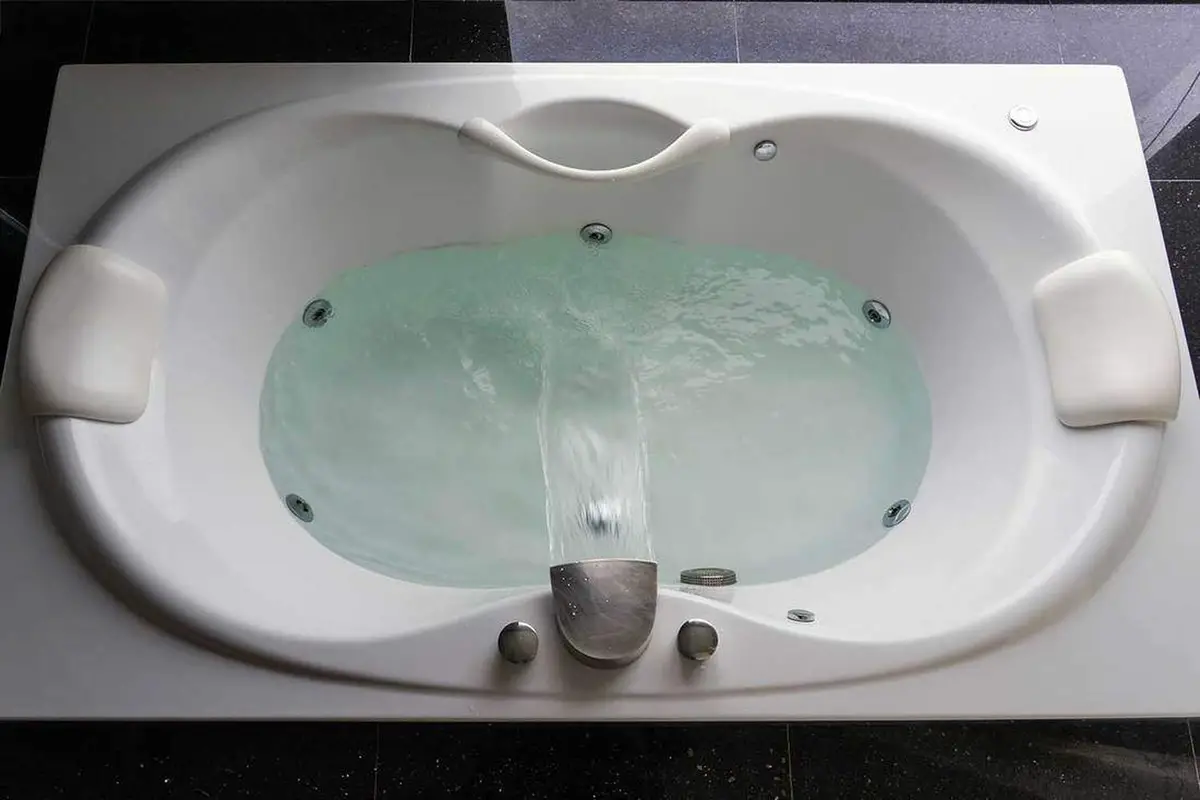
In addition to keeping the filter clean, it’s important to deep clean your jetted tub every month or so, depending on how often you use it. Over time, soap scum, body oils, and bacteria can build up in the jets, affecting both cleanliness and performance:
Steps for a thorough cleaning:
How Often Should You Clean a Jetted Tub Filter?
f you frequently enjoy soaking in your jacuzzi, aim to clean the filter every 1 to 2 weeks. For those who indulge less often, a cleaning schedule of once a month or so may suffice.
Regularly checking the condition of your filter can be beneficial; if it shows signs of discoloration, turning gray or black, it likely requires immediate attention. Additionally, cloudy water is another indicator that it's time to clean out the tub's filtration system.
Keeping an eye on these details ensures you get the best experience from your relaxing bath sessions while preserving cleanliness and efficiency.
How to Change the Filter on a Jetted Tub
Over time, filters can become too clogged or worn out to clean effectively.
Replacing them ensures your jetted tub stays in top condition.
Here’s how to remove and install a new filter the right way:
Supplies You’ll Need
Replacing a filter in your jetted hot tub is an easy task that you can accomplish without much hassle.
Here’s how to do it effectively.
Gather these items before you start:
Unscrew the Filter Cover
When it comes to replacing your tub filter, the specific steps can vary based on the make and model of your tub. Generally, you'll need a small screwdriver for screw removal; in some instances, you might even be able to twist them off by hand.
Keep in mind that positioning may play a role; if the filter is too close to the side of your tub, accessing both it and the dome cap can prove challenging. In such scenarios, proceed with caution to avoid damaging any components while trying to remove them.
A gentle nudge away from tight spots could provide better access without risking harm. For those looking for tools like screwdrivers tailored for this task, Amazon offers various options at your fingertips.
Take Out the Screws Holding the Case
Locating the screws securing the filter's dome.
In certain models, you might find two screws instead of one.
Carefully detach these fasteners and place them aside for safekeeping.
Once removed, you'll gain access to the interior components that require maintenance or inspection.
Swap Out the Old Filter for a New One
Securing the filter dome back in place and fastening the assembly screws.
Prior to that, ensure you have removed the old filter and inserted a new cartridge into its designated spot.
Sometimes, adjusting or gently moving the new filter can help it fit snugly within its canister.
Once everything is aligned correctly, finish by tightening up the screws on both the dome and filter case for a complete seal.
Wipe the Filter Casing Dry
Ensuring that you have a cleaning cloth ready for use. After replacing the filter, it’s important to thoroughly dry the canister's edges.
Often, water tends to escape from areas surrounding the filters during this process. By wiping down all sides carefully, you prevent any moisture build-up which could lead to issues later on.
Taking these extra moments not only enhances your equipment’s performance but also prolongs its lifespan significantly. Proper maintenance is crucial in keeping everything running smoothly and efficiently over time.
Run a Test to Ensure Everything Works Properly
Turning on the tub pump after you have installed the new filter.
It is essential to check for any leaks around its casing during this step.
Focus particularly on both the top and bottom areas of the casing, as these are common leak points.
If everything appears secure without any signs of leakage, you can proceed with confidence that your setup is functioning properly.
What Cleaning Products Should You Avoid in a Jetted Tub?
Avoid using items that could obstruct the jets or water lines in your tub. This means steering clear of thick soaps, shampoos, oily bath products, and strong chemicals with ammonia or acetone.
It’s wise to skip any products featuring non-biodegradable components as well since these can also lead to blockages in the jets and filters. When in doubt about which items are safe for your tub, check your user manual for specific recommendations.
Keeping it clean will help maintain optimal performance and extend the life of your equipment while ensuring a pleasant bathing experience without interruptions from clogs.
Are Jetted Tubs Hygienic?
Jetted tubs can become breeding grounds for bacteria if proper care is not taken. This concern grows in shared spaces such as hotels, spas, and fitness centers where many people use the facilities.
The level of hygiene largely hinges on how well these places manage cleaning protocols. In contrast, owning a jetted tub at home grants you total authority over its cleanliness and safety standards.
Regular maintenance allows you to ensure that your personal space remains hygienic and enjoyable for relaxation or hydrotherapy sessions. Keeping an eye on sanitation practices makes a significant difference in the overall experience with these luxurious bathing options.
How to Properly Maintain a Jetted Tub
To ensure your jetted tub remains in top condition, prioritizing water sanitation is essential. Regularly check the pH levels to maintain a balanced environment for soaking.
Clean filters are crucial; replace them when necessary to promote optimal performance. Periodic draining of the tub allows you to thoroughly clean not just the water but also the plumbing lines, jets, and surrounding areas that may accumulate debris over time.
Taking these steps keeps your bathing experience refreshing and safe while extending the lifespan of your equipment.
Final Takeaways
Maintaining the jet filter in your bathtub plays a crucial role in keeping it clean and safe. Establishing a routine for checking the filter is essential.
Inspecting the jet filter regularly to catch any debris or buildup early on. Cleaning the tub should follow, ensuring all surfaces are spotless and hygienic.
Additionally, monitoring water quality is vital; consider testing pH levels frequently to prevent issues like algae growth or unpleasant odors. By implementing this regimen consistently, you not only enhance your bathing experience but also prolong the lifespan of your tub.
A proactive approach to maintenance will keep everything running smoothly and looking great over time.
Samantha Lee
Head Cleaning Expert
Expertise
Professional Home Cleaning, Green Cleaning Techniques, Stain Removal & Fabric Care, DIY Home Maintenance & Organization, Sustainable Cleaning Products, Home Care for Busy Lifestyles
Education
University of Denver
Samantha Lee is the Head Cleaning Expert at HomeCleaningForYou.com, specializing in eco-friendly home care. She holds a Bachelor of Science in Environmental Science from the University of Denver, focusing on sustainable cleaning solutions.
With expertise in green cleaning, stain removal, and DIY home maintenance, she helps homeowners keep their spaces fresh and chemical-free. Samantha has been featured in lifestyle publications and has partnered with brands promoting natural cleaning products.
She also shares practical tips through her blog, online courses, and workshops. Passionate about sustainability, she enjoys testing new eco-friendly cleaning methods and spending time outdoors.