7 Easy Steps to Clean Window Tracks Without Hassle
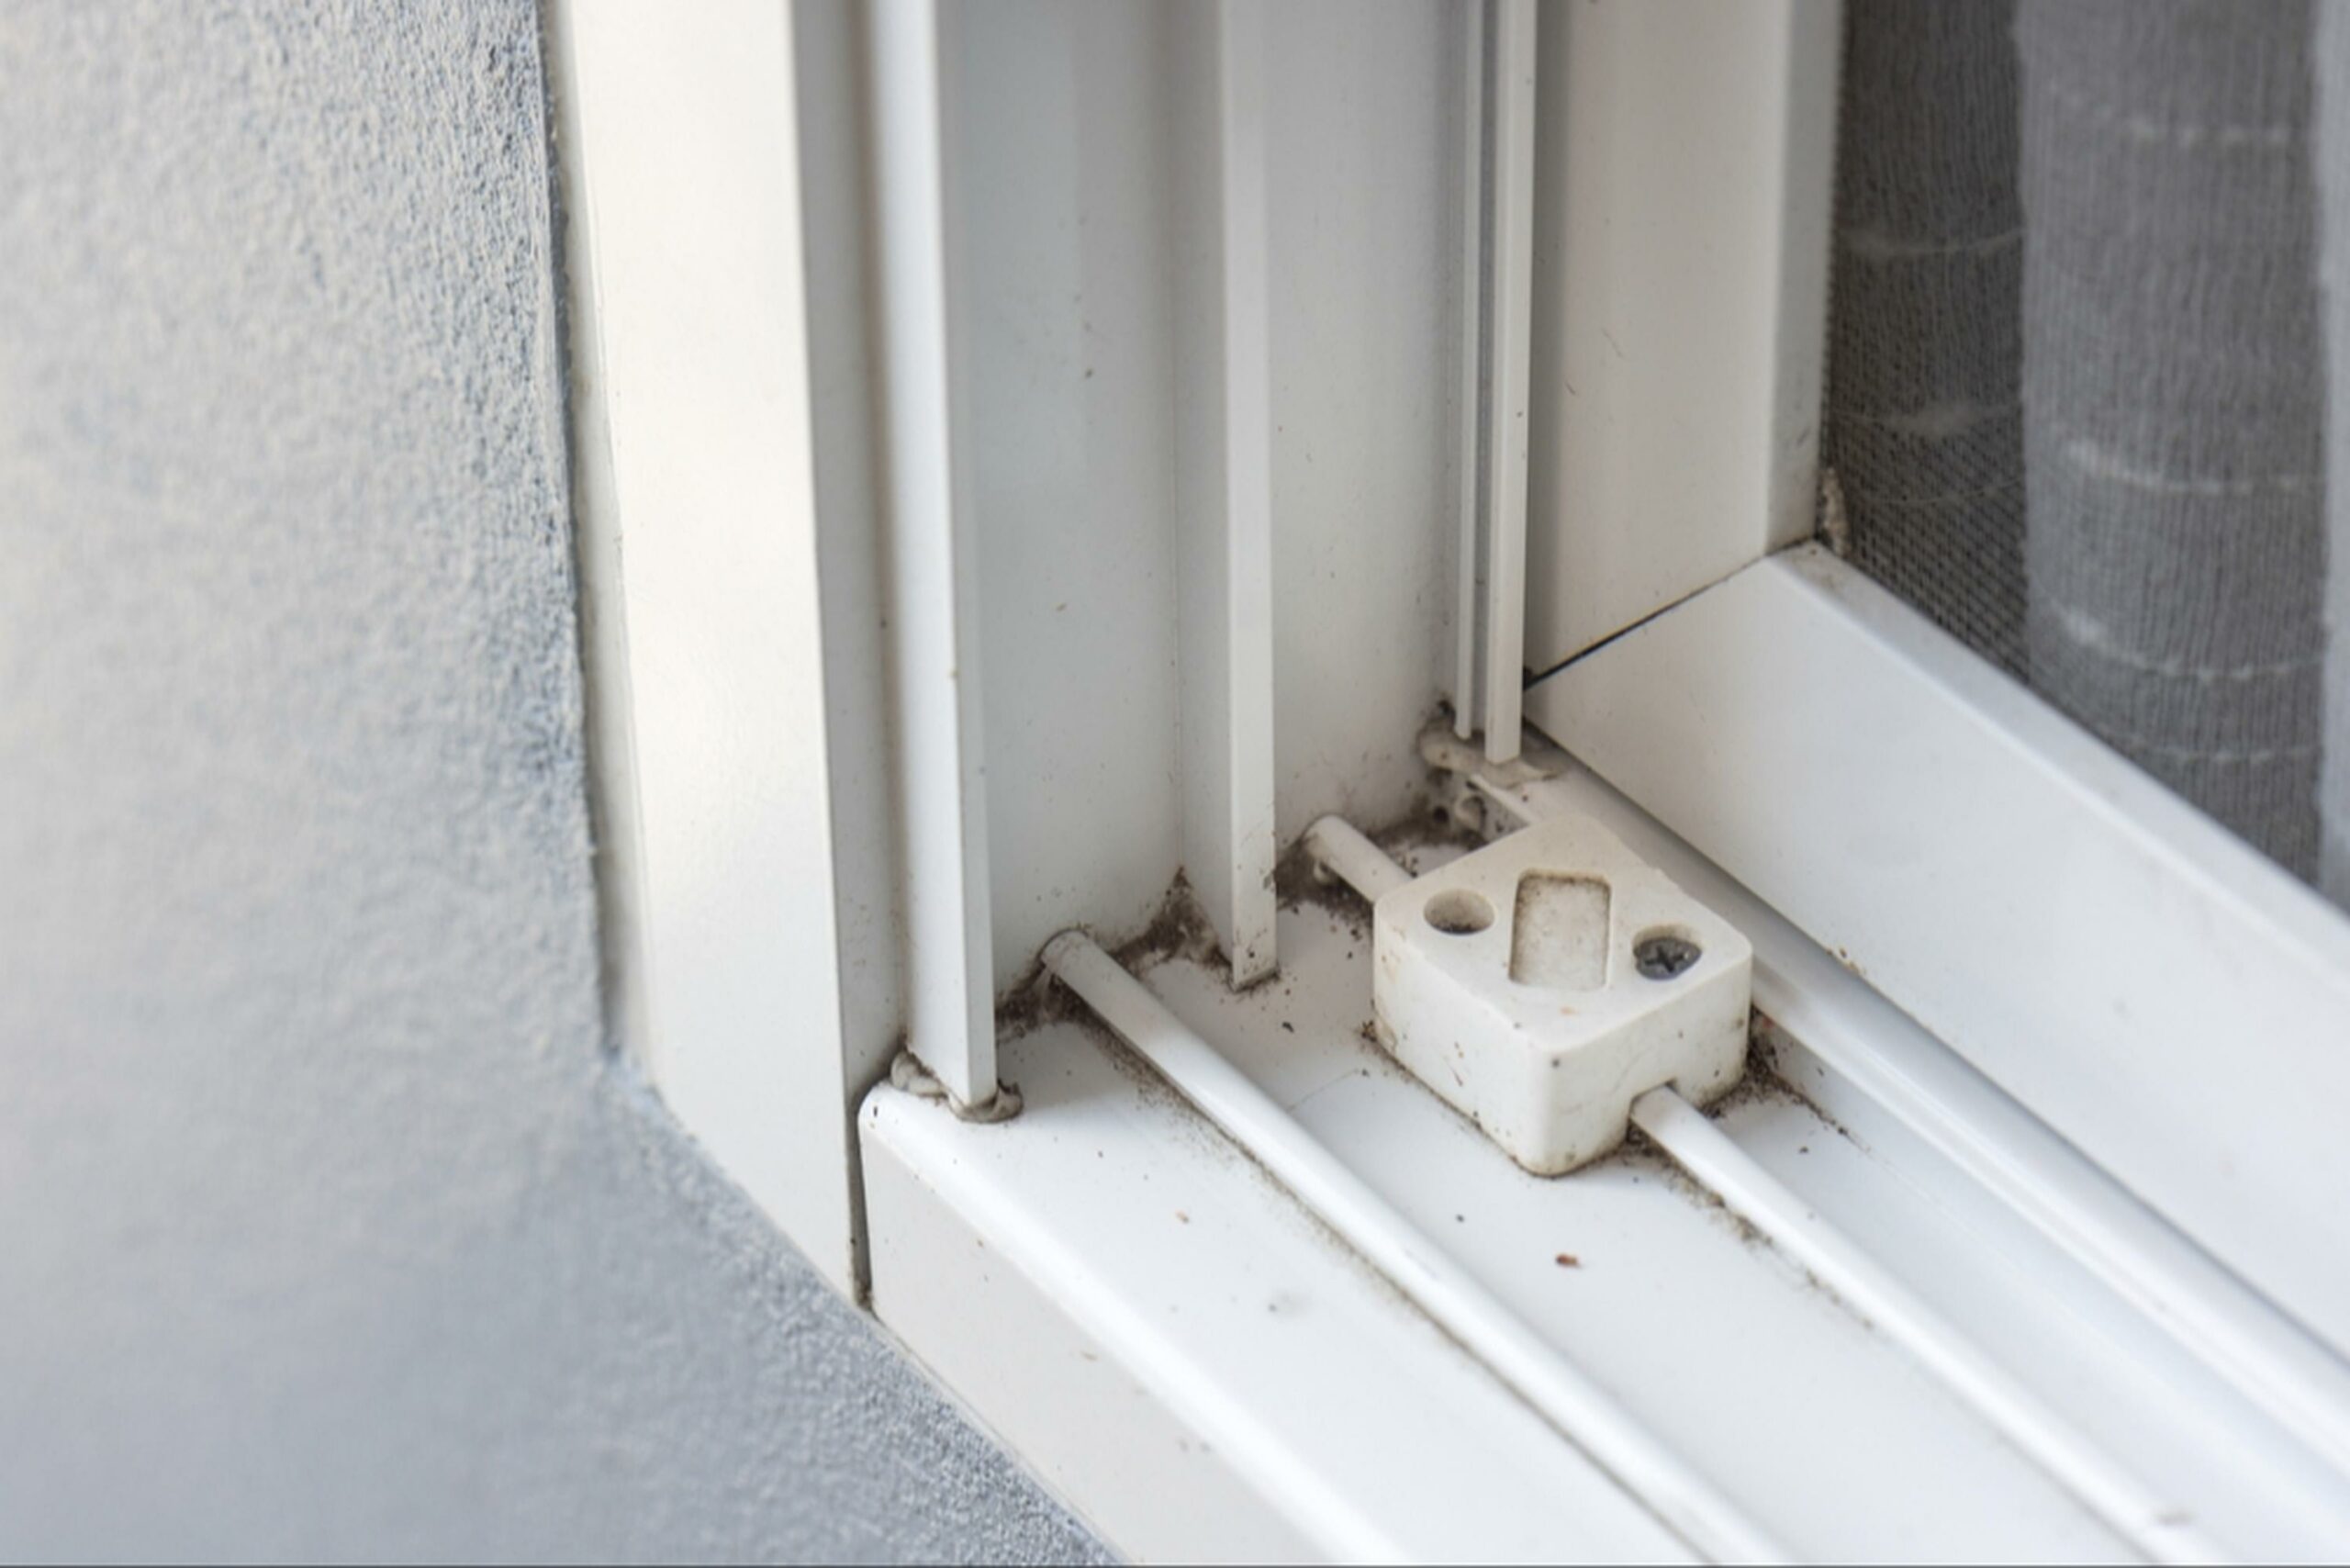
Over time, window tracks collect dust, dirt, and even dead insects, making them one of the grimiest spots in your home. Every time you open a window, you might notice built-up debris clogging the tracks, preventing smooth movement and making your windows look neglected.
While it’s easy to overlook, keeping window tracks clean not only improves their functionality but also helps maintain better indoor air quality. The good news?
It doesn’t take much effort to get them looking spotless again. Follow these 7 simple steps to deep clean your window tracks and keep them free of dust and grime:
Simple Steps to Clean Window Tracks
Dirt and debris can build up in window tracks, making them difficult to open and close.
Regular cleaning helps maintain smooth operation and improves indoor air quality.
Follow these steps to keep your window tracks spotless:
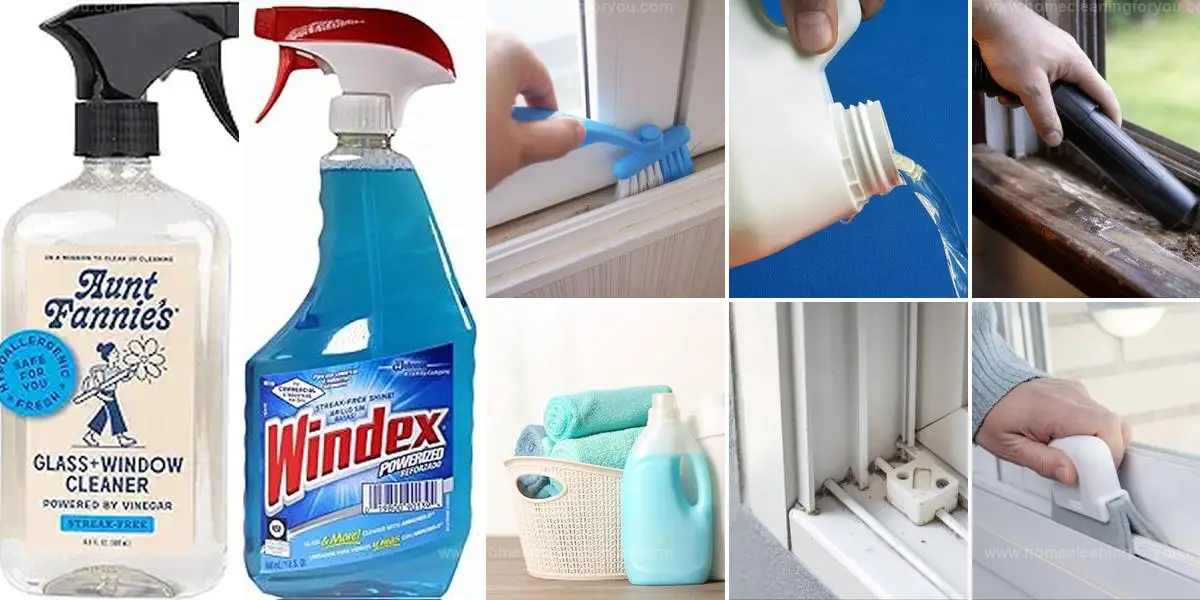
Gather What You’ll Need
Essential items for your cleaning project include:
With these tools on hand, you’ll be well-prepared to tackle various surfaces in your home.
Each item plays a crucial role in ensuring effective and efficient cleaning.
Gather everything together before starting the task so that you're fully equipped to achieve the best results possible.
The right supplies make all the difference when it comes to maintaining cleanliness and freshness in any space.
Use a Vacuum to Remove Loose Dirt
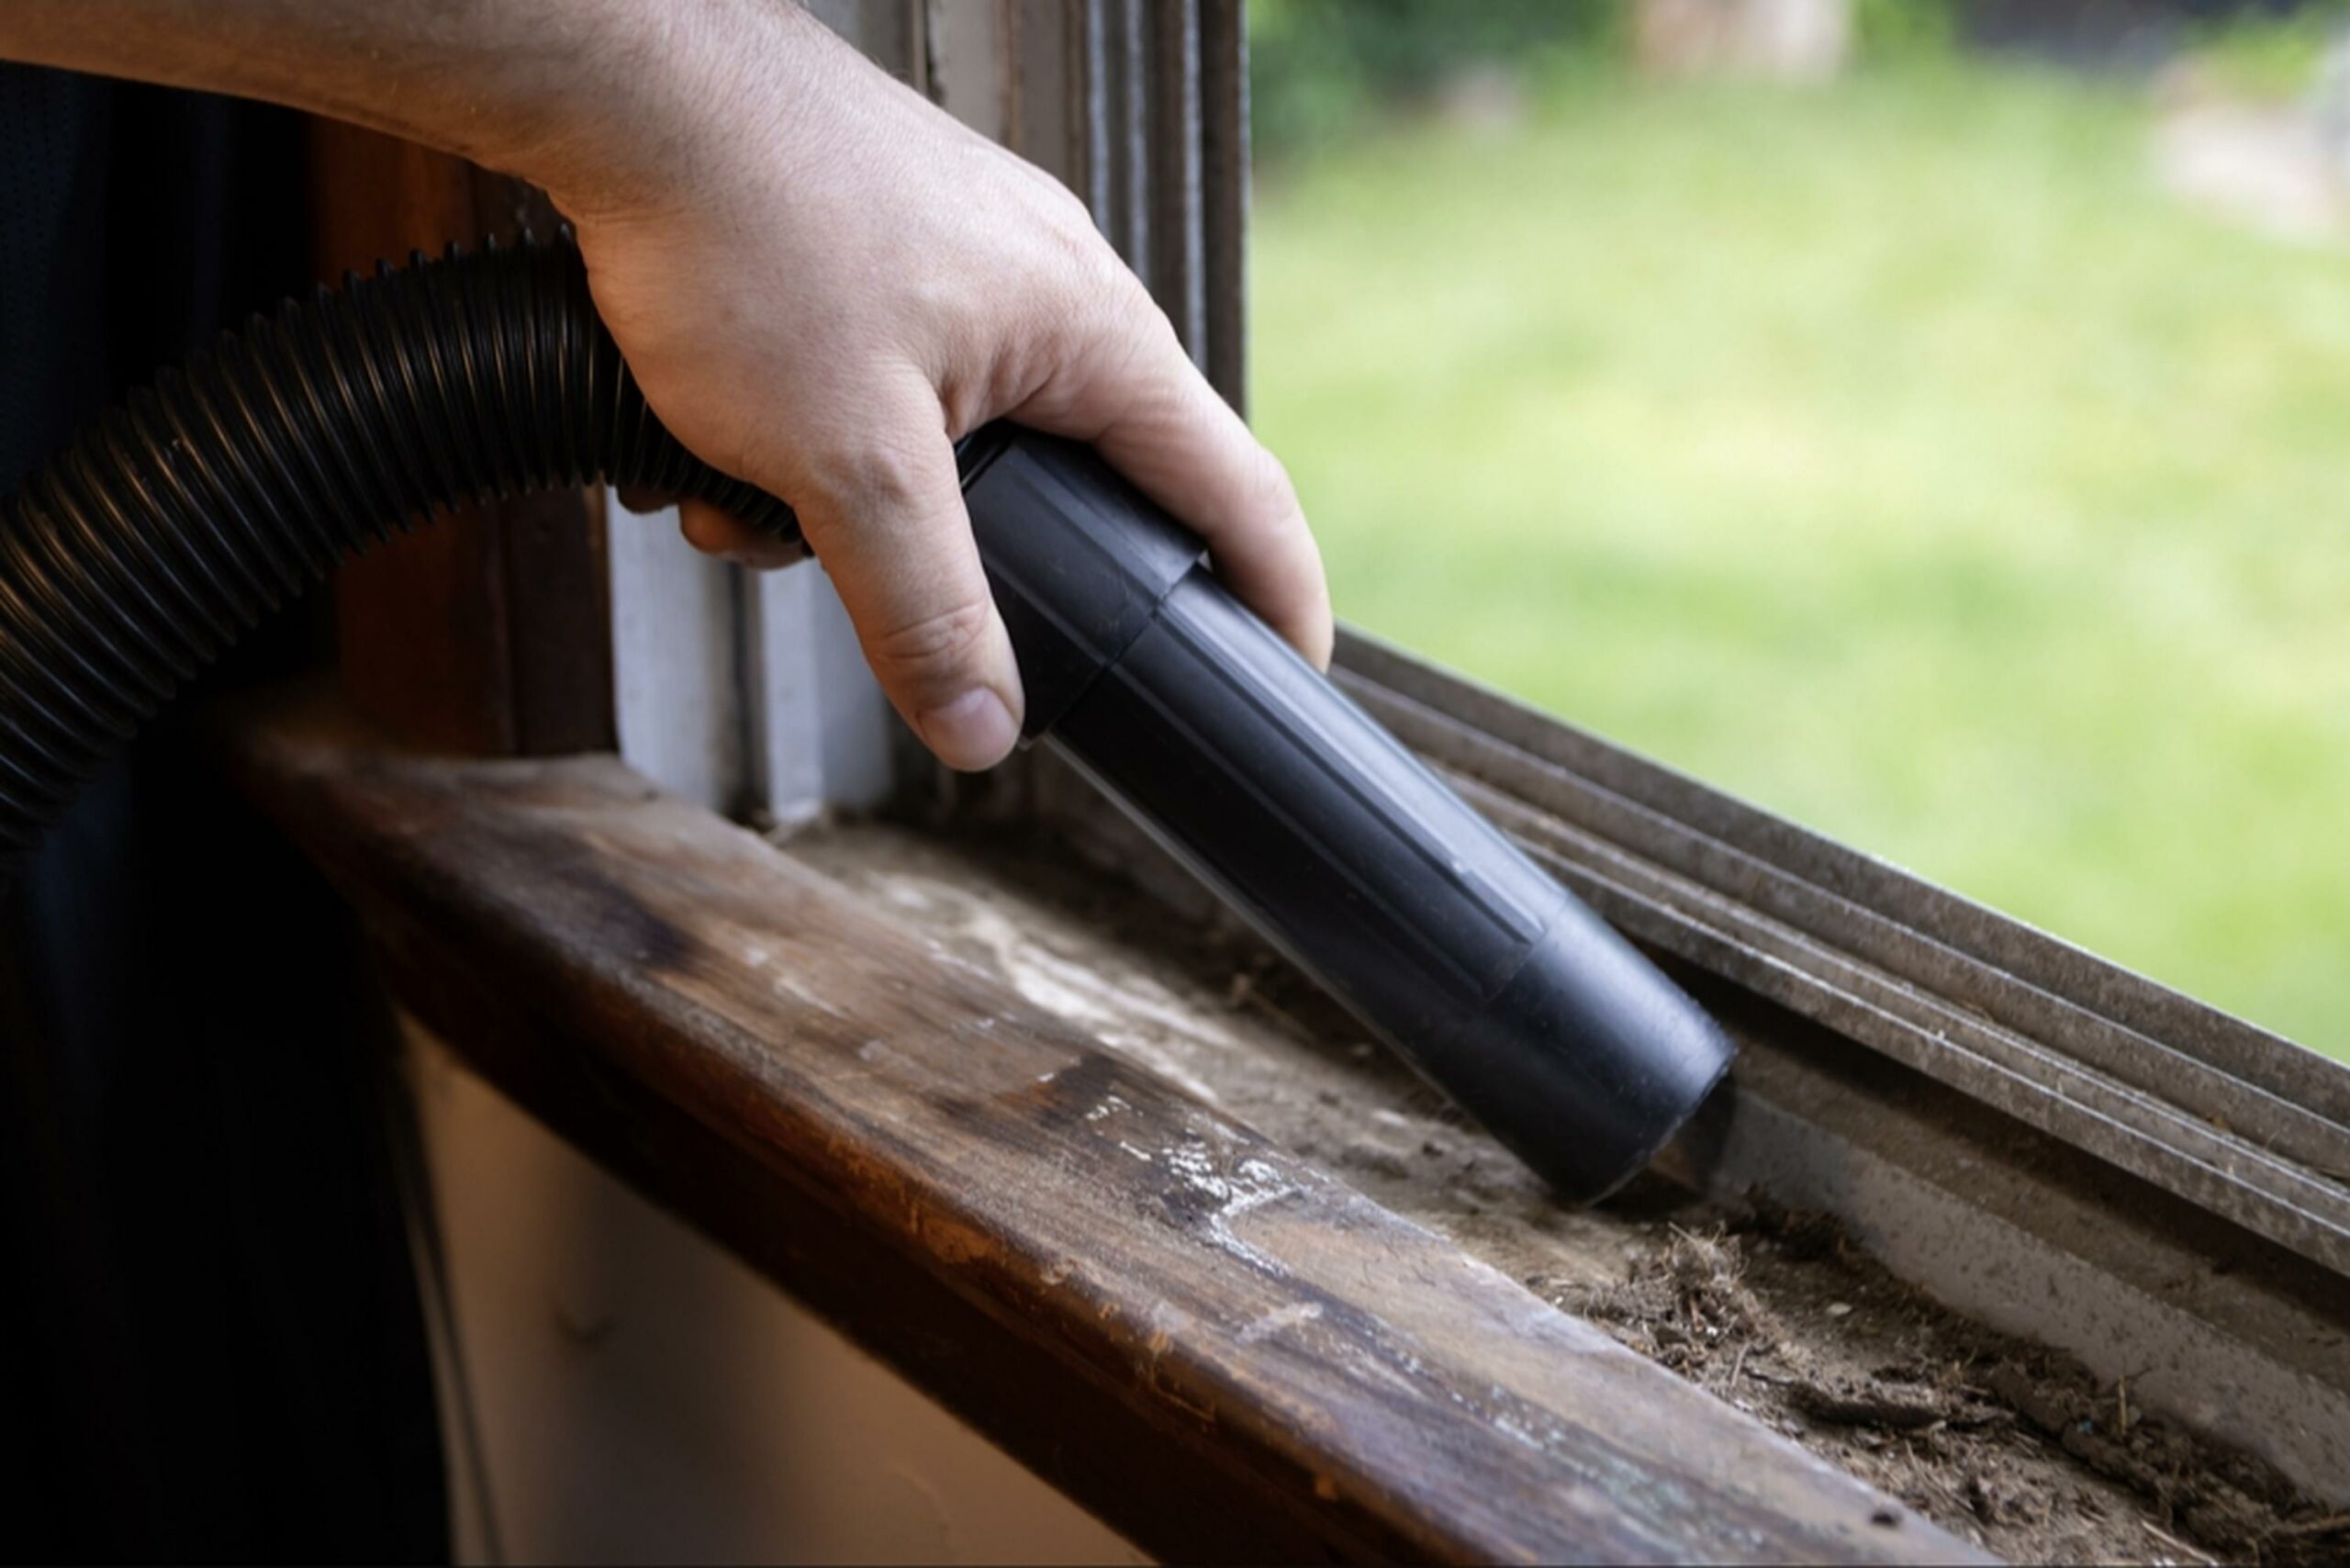
Begin by focusing on any accumulated dirt or debris; grab the attachment hose for your vacuum and carefully clean along the entire window seal, moving from one end to another. Make sure to thoroughly inspect corners and edges where dust tends to gather.
After using the vacuum, take a dry towel in hand; gently wipe away any lingering spider webs that might have escaped suction. To address stubborn grime in those tight spots, utilize a disposable toothbrush to dislodge caked-on dirt before finishing off with your vacuum again.
This thorough approach ensures every nook is spotless and contributes significantly to maintaining a tidy environment around your windows.
Tackle Stubborn Spots First
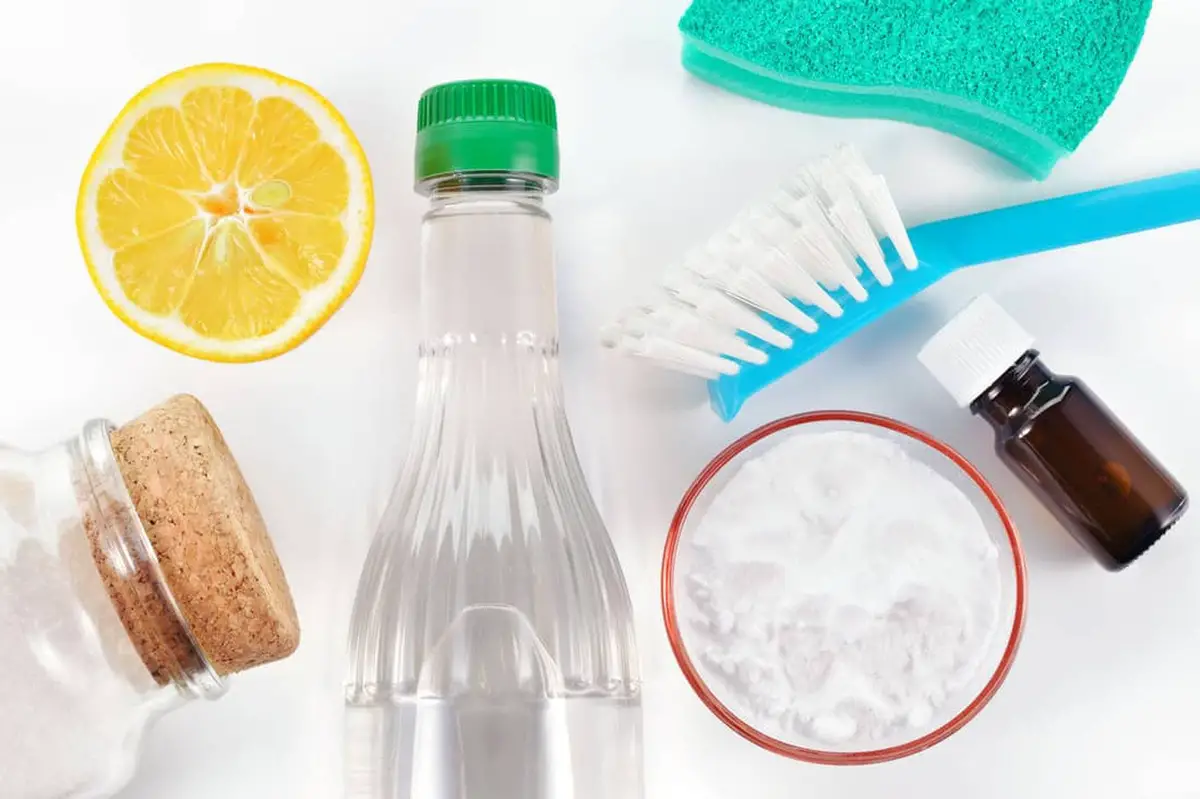
To tackle stubborn dirt effectively, consider using a mixture of baking soda and vinegar. Start by applying a sprinkle of baking soda along the window sill track; this will serve as an effective base for your cleaning solution.
Following that step, pour approximately 1/4 cup of vinegar over the sprinkled baking soda and let it fizz for about one to two minutes, this reaction helps lift grime effortlessly from surfaces. Afterward, grab a towel to wipe away the foamy blend and reveal clean tracks beneath.
Don’t forget to remove screens if necessary so you can give them some TLC separately during your cleaning session too!
Scrub the Tracks with a Toothbrush

Before diving in with scrubbing tools, lay down several paper towels around the window area to catch any debris or spills that may occur during cleaning. Now grab your disposable toothbrush and begin from one end of the track moving methodically to the other side.
Focus on each section until you feel satisfied with its cleanliness. For those tricky corners where your toothbrush cannot reach easily, use a dull kitchen knife carefully to dislodge any stubborn residue stuck there.
This process ensures every inch is clean without damaging surfaces.
Apply Soapy Water for a Deep Clean
Deep cleaning window tracks is essential when grime accumulates over time.
Start by preparing a two-gallon bucket filled with warm or hot water.
Incorporate several drops of mild dish soap like Dawn, Palmolive, or Castille into the water and mix it gently using your hand to produce some suds.
This mixture effectively tackles stubborn dirt that regular cleaning might miss.
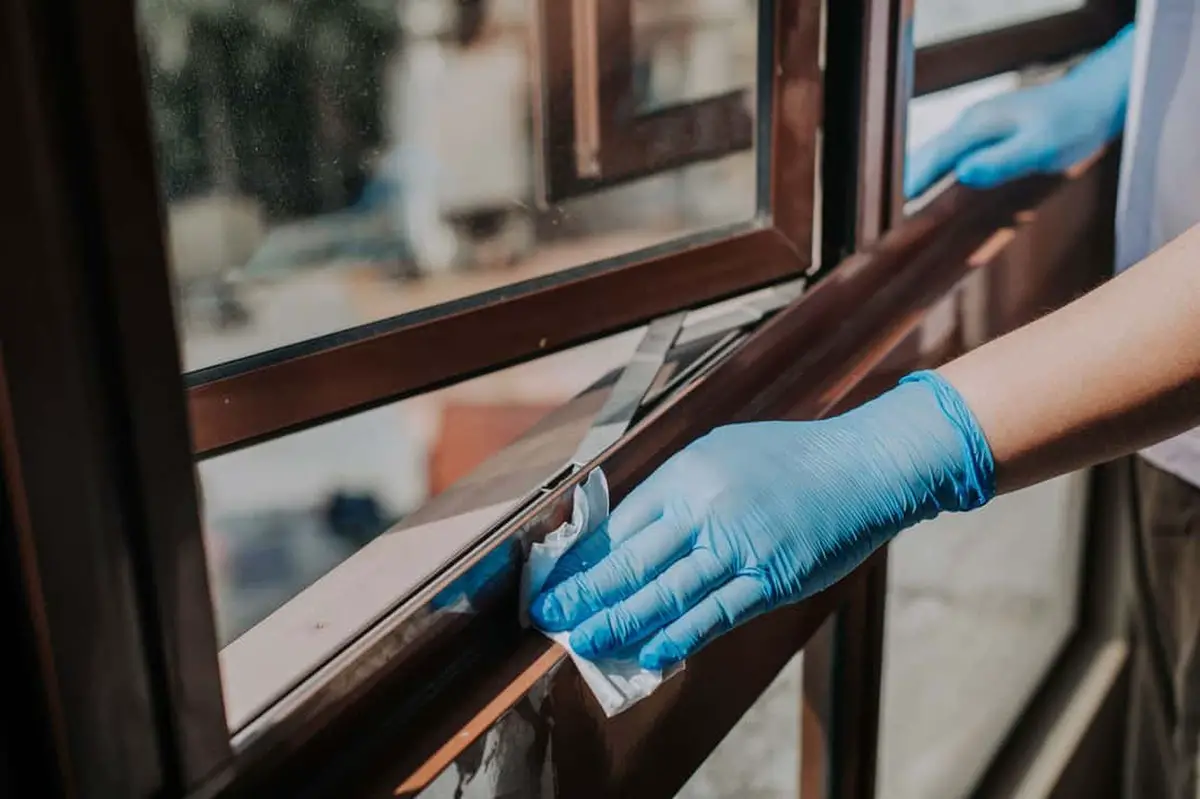
Wipe Everything Down with a Damp Cloth
Cleaning window tracks is a task that can greatly improve the overall appearance and functionality of your windows. Begin by preparing soapy water, then grab one of your towels and dip it in this solution.
Make sure to eliminate any excess moisture from the towel; you want it damp, not dripping, to prevent pooling on surfaces or running down the sides of your window. Focus first on wiping down the window tracks meticulously while also addressing the top of the sill where dirt tends to accumulate.
Pay particular attention to small spaces between both track and wall as well as along grooves within the track itself; these areas often trap hidden debris. If necessary, use an old toothbrush for precision cleaning in those tight spots, this will ensure thorough removal of dirt buildup.
Once you've cleaned every nook and cranny effectively, finish up by drying off all surfaces with another towel that’s slightly damp but dry enough not to leave streaks behind.
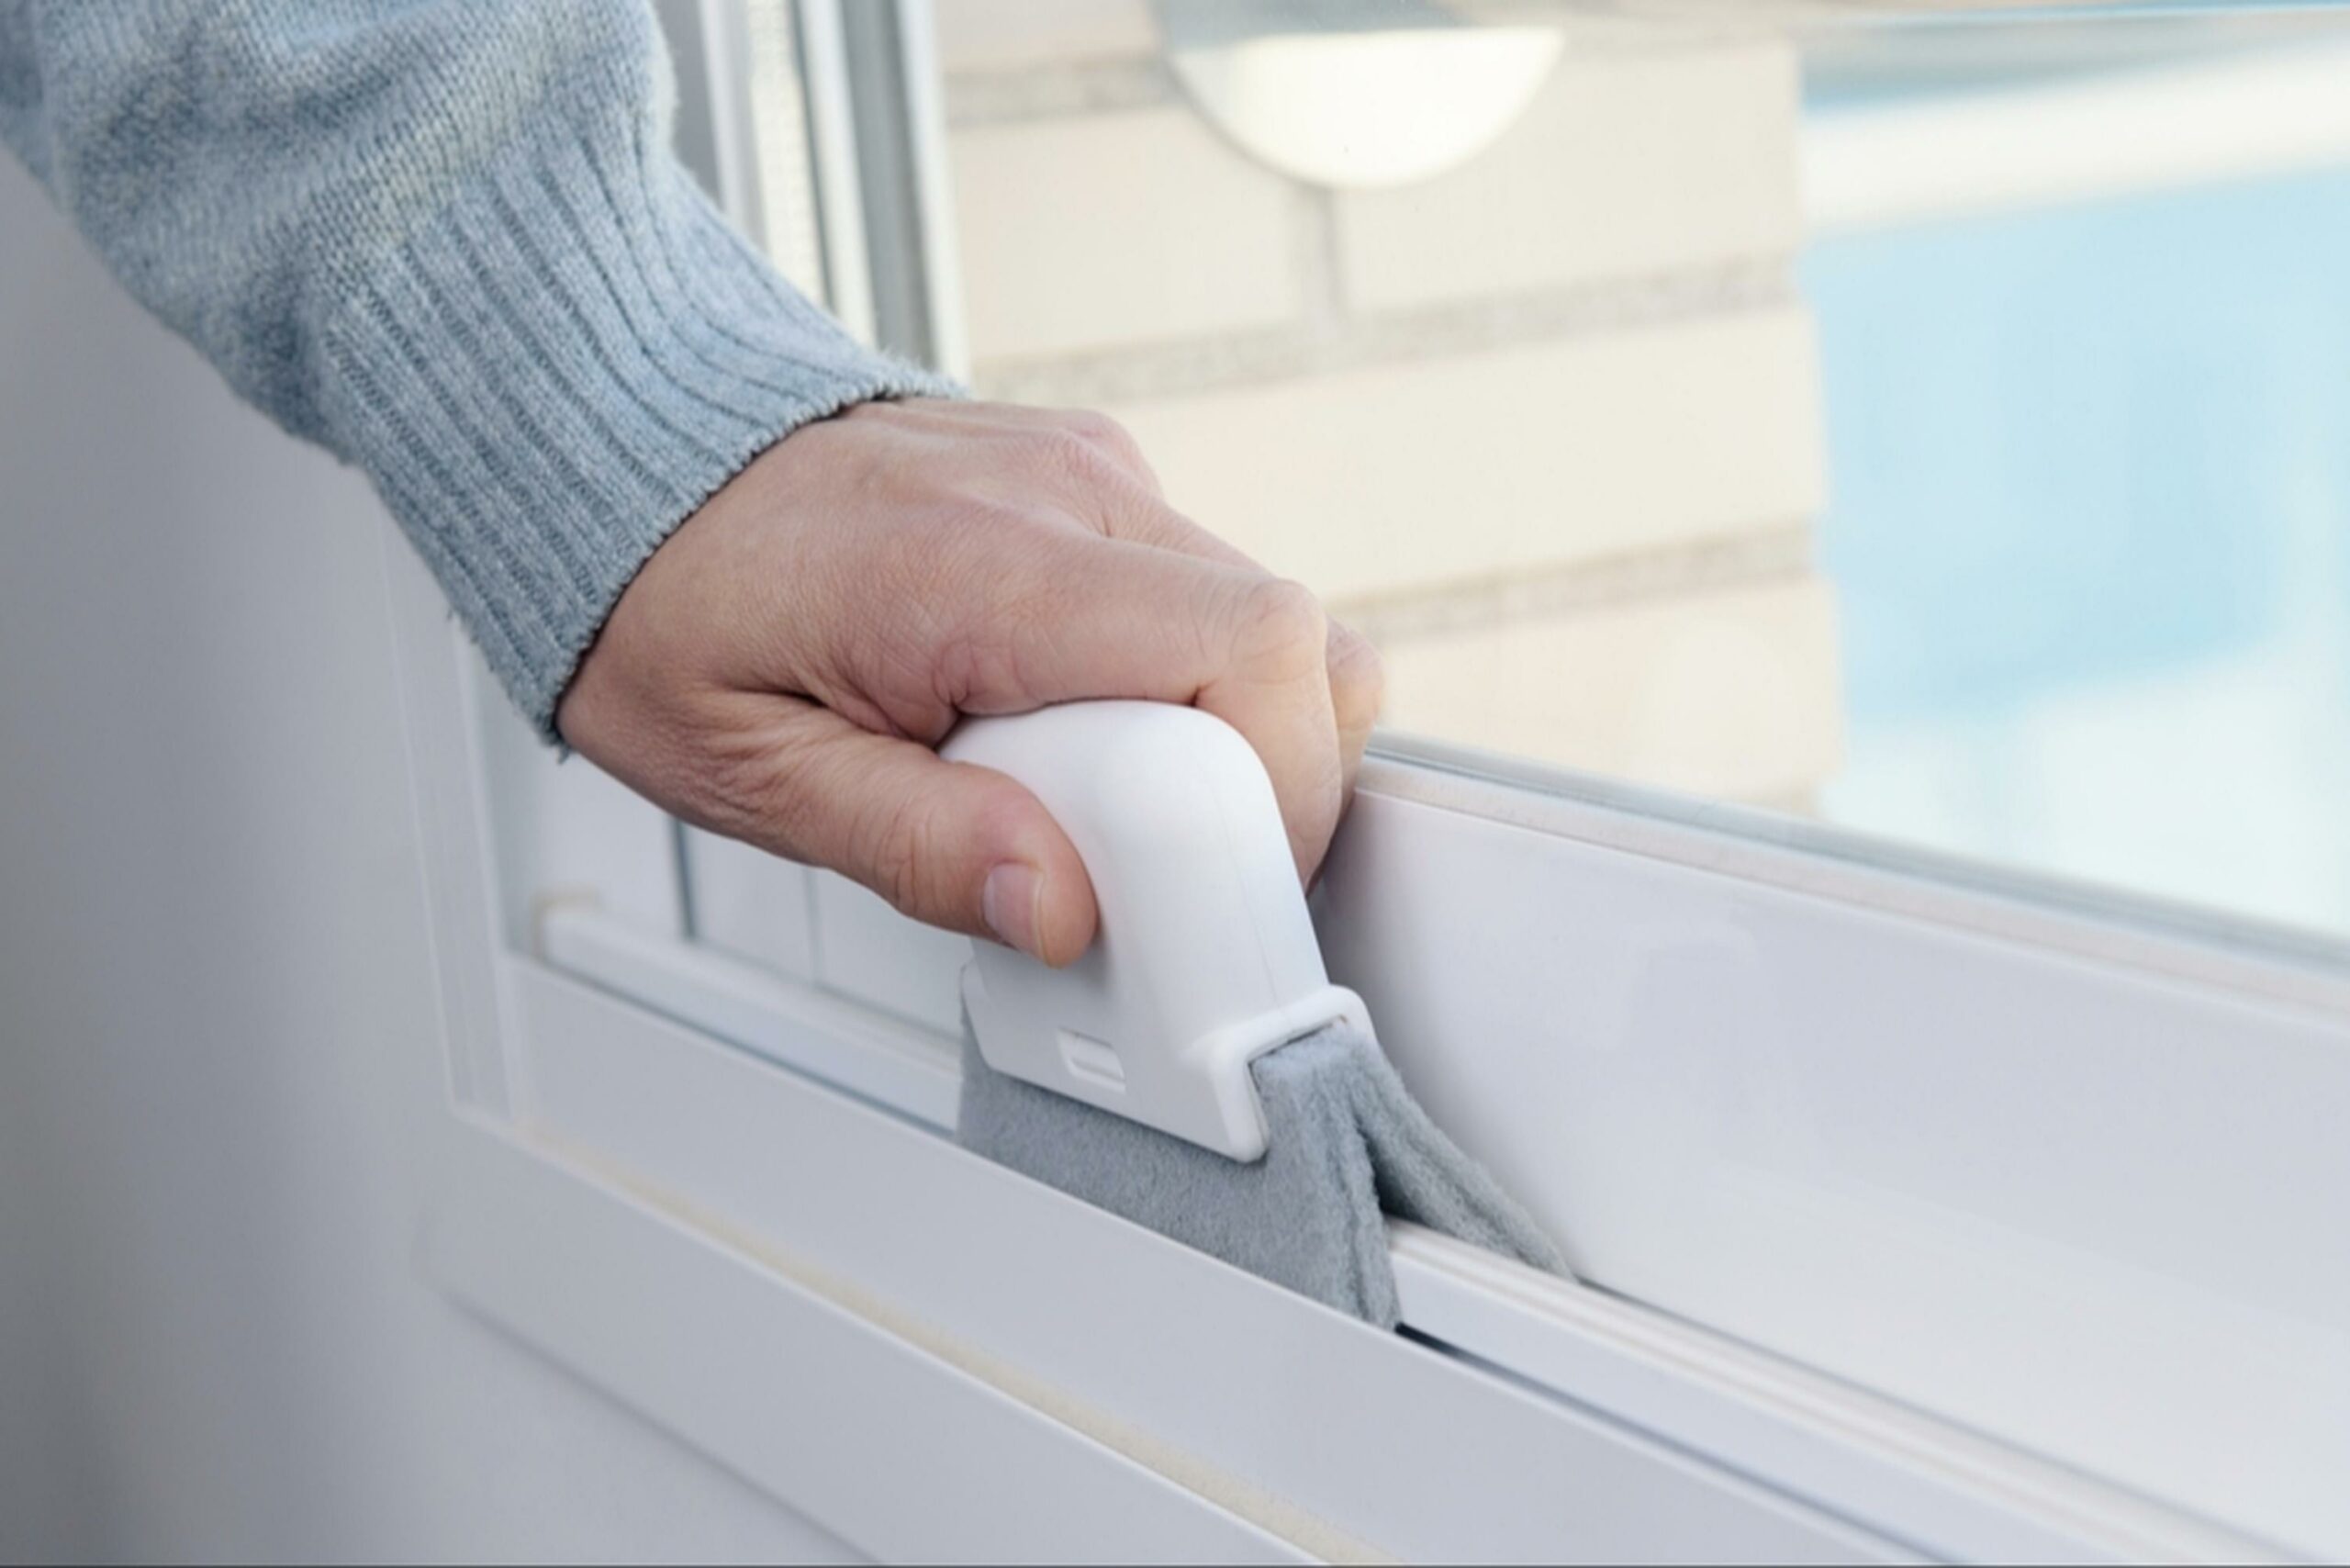
Dry the Tracks Thoroughly with a Towel
After washing, open the windows for 10 to 15 minutes to let fresh air circulate and aid in drying. Once you’ve done that, grab a microfiber cloth and wipe down the tracks as well as the window sill meticulously.
Carefully check for any lingering wet spots or water drips around the entire area of each window; neglecting this step could lead to mold growth later on. Pay special attention while running your towel along the grooves of the track and edges of the frame to achieve optimal dryness.
Prioritizing these steps will help maintain a clean environment after you finish tidying up your windows.
Work the Suds into the Tracks with a Brush
Selecting a stiff-bristle scrub brush, which is essential for tackling stubborn dirt and grime that may have accumulated over time. When you're ready, dip your brush into soapy water but make sure to let most of it drip off before approaching the window tracks.
This prevents excess moisture from making the area messy while you work. As you run the brush along each track in smooth strokes, focus on loosening any debris lodged between the sill and track edges.
Corners often trap more dirt than other areas; give these spots extra attention to ensure everything is cleaned thoroughly. If some residue remains stubbornly stuck, don’t hesitate to reach for a dull kitchen knife as an additional tool for scraping away any lingering grime.
Easy Tips for Keeping Window Tracks Clean
Keeping window tracks clean can be tricky, but with the right tools and techniques, it’s much easier. Here’s how to do it effectively:
Best Ways to Kill Mold on Window Sills
Mold on window sills can spread quickly due to moisture buildup.
Removing it properly helps prevent health issues and further growth.
Try these proven methods to eliminate mold and keep your window sills clean:
Bleach-Based Solution
Mold removal on non-porous surfaces often calls for bleach, a widely recognized solution. This powerful cleaner effectively dismantles mold spores in just minutes due to its strong chemical properties.
To prepare your cleaning mixture, combine half a cup of bleach with one gallon of water. For application, grab a microfiber cloth and wipe down the affected area thoroughly.
In cases where heavy mold presence is noted, allowing the solution to rest on the surface for about five to ten minutes can enhance effectiveness. When you're ready to tackle that stubborn mold problem, consider grabbing Clorox from Amazon!
Detergent-Based Solution
Surprisingly, many dish detergents can effectively eliminate mold from hard surfaces like metal and glass. This quality makes them an excellent choice for tackling mold on window sills and tracks.
Start by preparing your cleaning solution: combine four to five drops of dish detergent, opt for anti-microbial types if available, with 4 cups of hot water. Next, add two tablespoons of vinegar to the mixture for enhanced effectiveness.
Utilize a rag or microfiber cloth to thoroughly dampen the window sill, targeting any visible mold or mildew spots. Allow this solution some time to work its magic; letting it sit for one to two minutes often yields better results.
For stubborn patches or hard-to-reach areas, having a toothbrush or scrub brush close at hand can be quite useful in ensuring every corner is addressed properly without leaving residue behind.
What Are the Best Window Cleaners for Streak-Free Shine?
Choosing the right window cleaner can make a big difference in achieving crystal-clear glass.
Some formulas work better for tough grime, while others prevent streaks.
Here’s what to look for in an effective window cleaner:
Homemade Window Cleaner
Crafting a homemade window cleaning solution is an easy and effective way to achieve sparkling clear windows. Begin by gathering two cups of distilled vinegar and mixing it with the same amount of tap water in a spray bottle.
If grime has built up on your windows, start by wiping them down with a soapy towel to loosen any stubborn dirt. After that, apply your DIY cleaner onto the glass surfaces and let it rest for about one or two minutes to break down residue effectively.
Finally, use either newspaper or a microfiber cloth for wiping away the solution, leaving your windows gleaming without streaks. This approach not only saves money but also ensures you are using natural ingredients in your home environment.
Windex Original Glass Cleaner
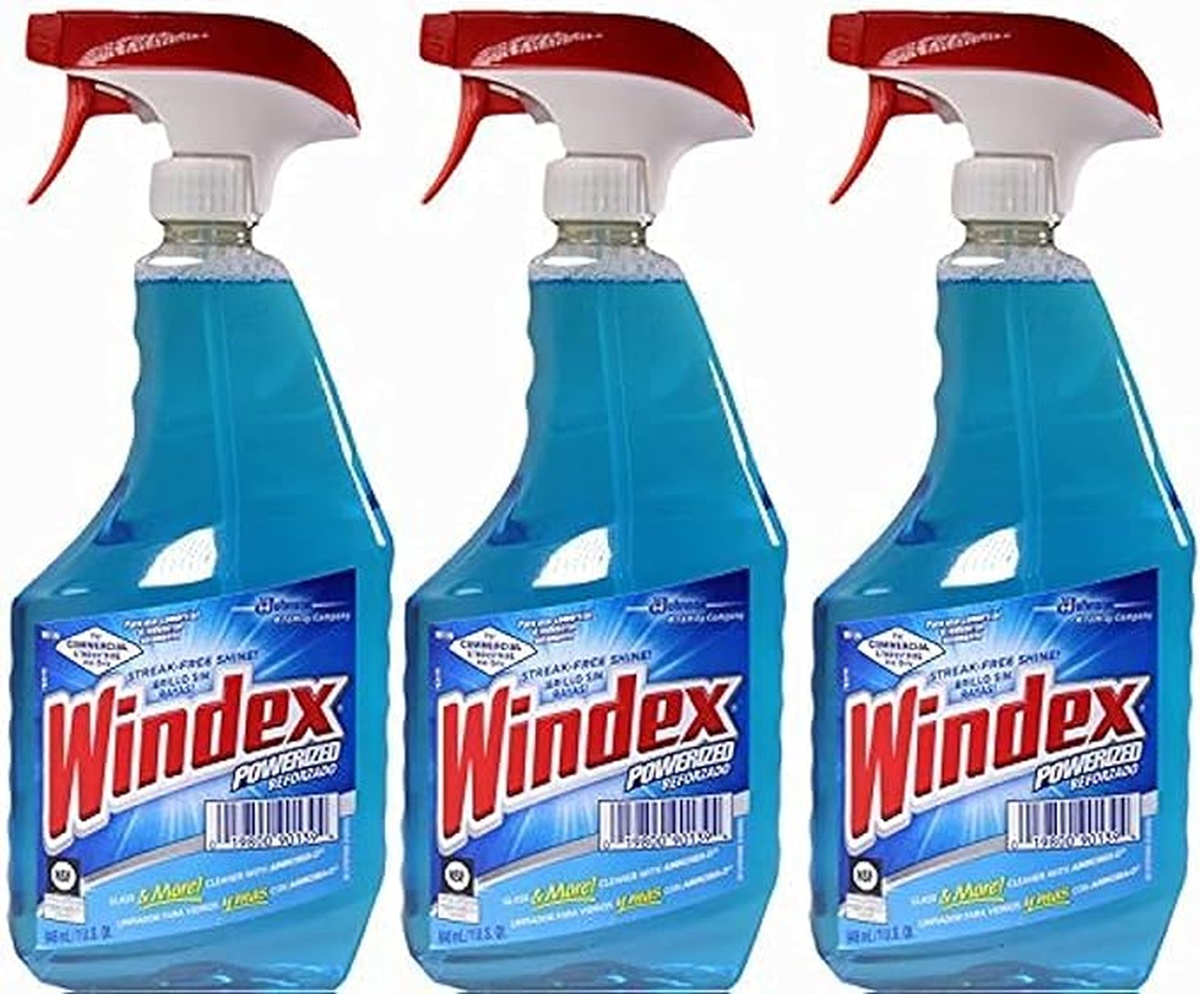
Since 1933, windex has established itself as a leading glass cleaner. Its powerful formula effortlessly tackles dirt and grime, allowing you to achieve sparkling clean surfaces without hassle.
Reviews on platforms like Amazon, Target, Walmart, and Home Depot highlight the effectiveness of this trusted product. Beyond delivering a brilliant shine, windex guarantees streak-free results that enhance your view through windows.
You can find it at an economical price between $3 and $4 per spray bottle; larger refill options are available for those who want more value along with convenient wipes for easy cleaning. Consider adding windex to your cleaning arsenal today!
Aunt Fannies Glass & Window Cleaner
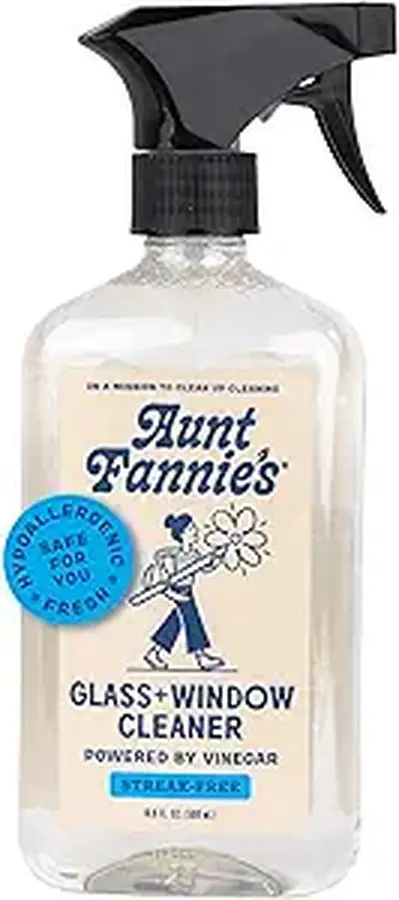
Aunt Fannie's Glass & Window Cleaner has earned its place as a trusted choice in households globally. You can rely on this all-natural cleaner, which avoids harsh chemicals while effectively tackling dirt and grime.
Featuring ingredients such as rosemary oil, vinegar, lavender oil, and orange oil, it offers an eco-friendly approach to window cleaning without compromising results. I appreciate how it guarantees a streak-free finish that makes your windows sparkle with clarity.
When you need a reliable solution for maintaining cleanliness in your home environment, look no further than this exceptional product available on Amazon!
How Often Should You Clean Your Window Tracks?
Regularly maintaining your window tracks makes future cleanings much less of a chore. Aim to give them a thorough cleaning every five to six months.
A quick wipe with disinfectant wipes or a damp microfiber cloth can do wonders. Keeping dirt and grime at bay is key; consistent upkeep prevents layers from forming, which can be tough to remove later on.
Staying proactive in this task not only keeps your windows looking their best but also enhances the overall cleanliness of your home environment.
How to Prevent Dirt Buildup in Window Tracks
Keeping your window tracks clean not only enhances the appearance of your home but also ensures smooth operation of your windows. Regular maintenance can prevent dirt buildup and potential damage.
Preventing dirt from accumulating in your window tracks is easier with consistent care:
Do Window Tracks Need to Be Lubricated After Cleaning?
Yes, lubricating window tracks after cleaning is important for maintaining their functionality:
How to Lubricate Window Tracks
Proper lubrication involves selecting the right product and applying it correctly:
Final Words
Grimy windows and dusty tracks can detract from your home’s appearance, ruining even the most stunning vistas.
By thoroughly cleaning your window tracks two to three times annually, you can stop dirt and debris from building up around the sills.
This simple task not only enhances your view but also maintains a fresh atmosphere indoors.
Keeping up with regular maintenance helps ensure that every room feels inviting.
Kevin Jones
Founder & Chief Home Organization Strategist
Expertise
Home Organization & Decluttering, Efficient Cleaning Methods & Stain Removal, Sustainable Cleaning Practices, DIY Home Maintenance & Repairs, Space Optimization & Storage Solutions, Budget-Friendly Home Care Strategies
Education
University of Texas at Austin
Kevin Jones is the Founder and Chief Home Organization Strategist at HomeCleaningForYou.com.
He earned a Bachelor of Science in Interior Design from the University of Texas at Austin, focusing on space planning and sustainable design. Specializing in home organization, decluttering, and budget-friendly home care, he helps homeowners create functional and stylish spaces.
Kevin has been featured in lifestyle publications and has collaborated with eco-friendly brands on home organization solutions. He shares his expertise through DIY guides, workshops, and online tutorials. Passionate about minimalism, he enjoys testing new organization methods and exploring sustainable living ideas.