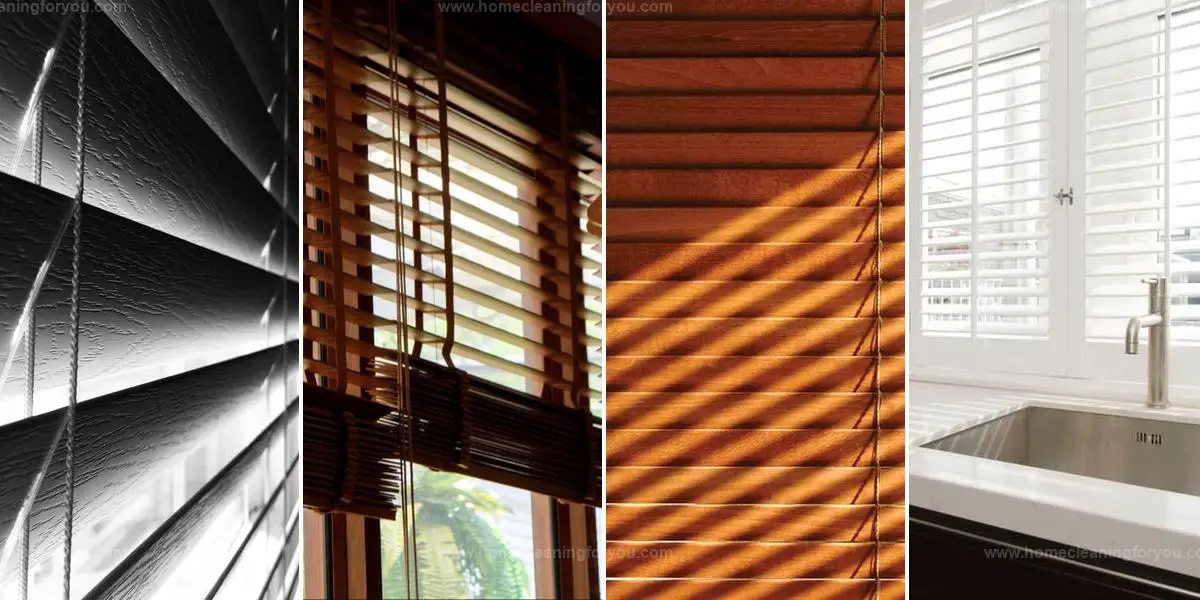
4 Easy Steps to Clean Wood Blinds Without Damage
You open the blinds to let in some sunshine, only to realize they’re covered in a layer of dust and grime. It’s easy to overlook wood blinds when cleaning, but over time, they collect dirt that dulls their natural beauty.
Unlike other materials, wood requires special care to prevent damage while restoring its warm, polished look. Luckily, cleaning them doesn’t have to be a hassle.
With the right tools and techniques, you can get them looking fresh again in just 4 simple steps. Here’s how to clean wood blinds properly and bring back their natural shine:
Why Is Regular Cleaning Important for Wood Blinds?
Regular cleaning of wood blinds is essential to maintain their beauty and functionality. Dust and dirt can accumulate on the slats, leading to discoloration and potential damage over time.
By incorporating routine cleaning into your maintenance schedule, you can preserve the natural appearance of the wood and ensure the blinds operate smoothly.
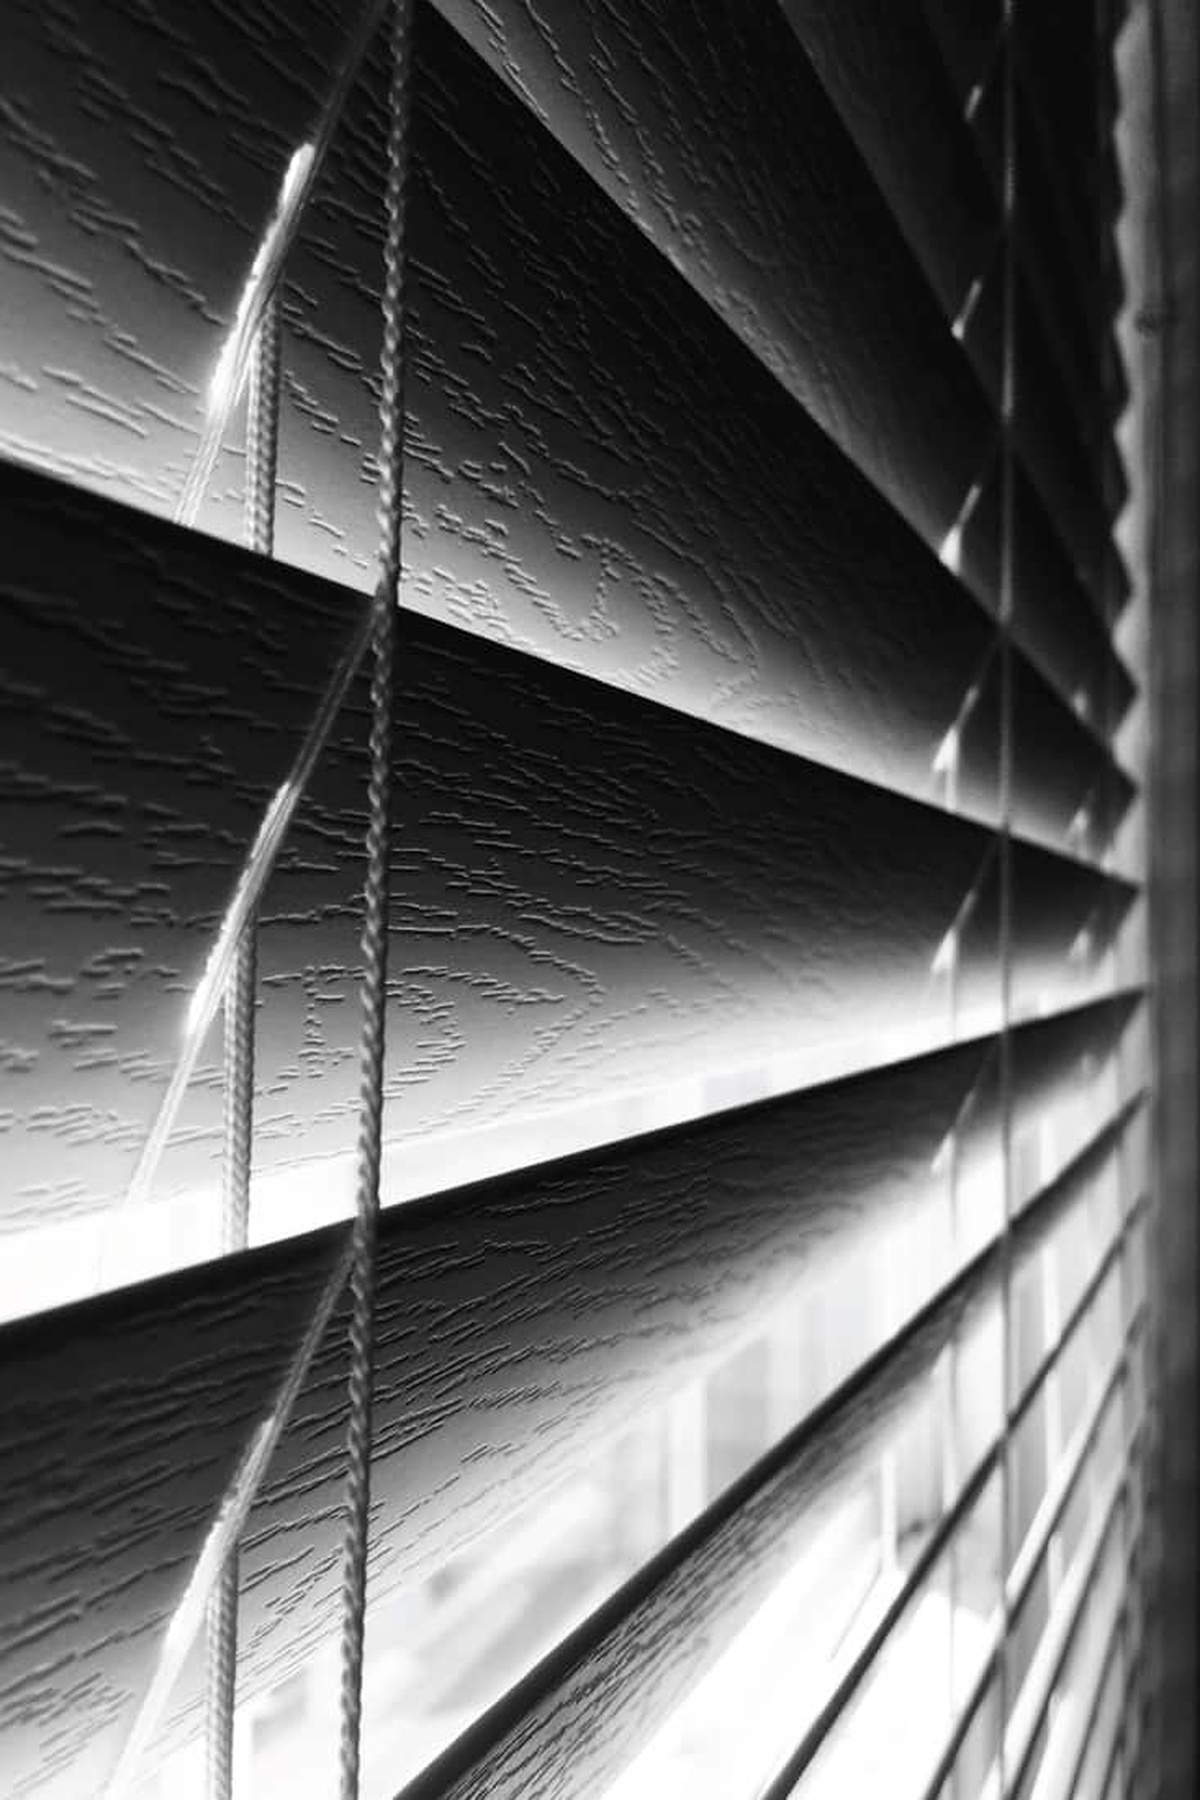
How to Identify Real Wooden Blinds
Before stepping into your living area, den, or bedroom armed with lemon oil and a microfiber cloth for cleaning, it's essential to understand the materials you're dealing with. Cleaning solutions designed for wood are suitable solely for genuine wood surfaces; using them on faux wood can lead to damage that you certainly want to avoid.
How do you differentiate between real and fake blinds? If you've made the purchase yourself, recalling what you bought should be straightforward.
Yet if they were a gift or if memory fails, inspecting them closely is necessary. Focus especially on the grain pattern, real wooden blinds will exhibit unique variations across their slats due to natural growth patterns.
In contrast, faux wood options often feature uniform designs created by manufacturers. Still unsure about your blinds?
Removing them offers clarity while also allowing you to clean effectively. Pay attention to their weight as well: faux wood typically uses polyvinyl chloride (PVC), making it feel lightweight like plastic shades found around your home.
Genuine wooden blinds tend to weigh more due to solid construction materials used in their design.
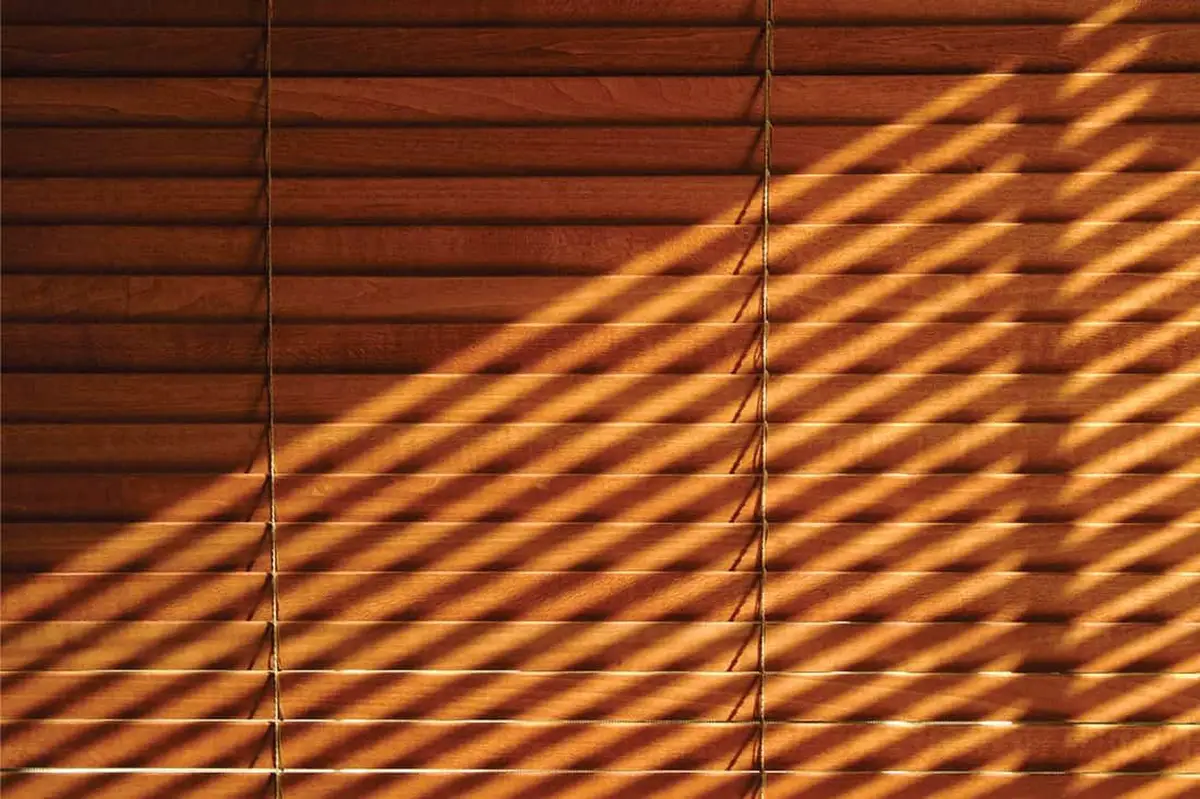
Best Way to Clean Wood Blinds
Dust and grime can build up on wood blinds over time, making them look dull.
Regular cleaning helps maintain their beauty and extend their lifespan.
Follow these simple steps to keep them looking their best:
Gather Your Supplies
If your blinds are made of genuine wood, the cleaning methods mentioned earlier will work perfectly for you.
Let's delve deeper into those steps along with a detailed list of necessary materials.
To tackle this task effectively, ensure you have the following items ready:
Step 1: Take Down the Blinds and Lay Them Out
Cleaning your blinds effectively requires careful attention to detail. If removing them isn’t an option, ensure the slats are completely flat by opening them wide.
For those high-up areas, grabbing a step ladder can make all the difference as you reach for the top of your blinds. Dusting both sides is crucial for optimal cleanliness; gently lift and clean each side thoroughly.
If it feels like too much to handle alone, don’t hesitate to enlist help from someone nearby, teamwork often leads to better results in tasks like these!
Step 2: Gently Dust Each Blind with a Feather Duster
Cleaning your wood blinds requires careful attention to detail. Begin by using a microfiber duster or feather duster, ensuring you cover every surface thoroughly.
It’s important to remember the backside of the blinds as well; neglecting this area can lead to dust buildup that impacts overall cleanliness. Taking the time for this extra step is crucial since any remaining dust can mix with cleaning products and potentially scratch your beautiful woodgrain when you apply them later on.
Prioritizing a meticulous approach not only enhances appearance but also preserves the quality of your blinds over time.
Step 3: Wipe with Wood Cleaner for a Deep Clean
Cleaning wooden blinds can be a breeze with the right products. A dedicated wood cleaner designed for floors or furniture works wonders on your blinds too.
One standout option is Weimans Wood Cleaner and Furniture Polish Spray, which not only refreshes your blinds but is also safe for baseboards and cabinets, giving you peace of mind while cleaning. Before diving into a full clean, testing a small section of the blind helps ensure there are no negative reactions from the product.
Once you're sure it’s safe, start at the top and move downwards using a microfiber cloth to wipe away moisture between each slat; this prevents any excess product from lingering too long. On your initial cleaning attempt, focusing on one side first can simplify things before flipping them over for complete care later on.
For more information about this effective cleaner, check out its listing online.
Step 4: Apply a Wood Conditioner for a Fresh Look
Maintaining the appearance of wood blinds can be a challenge as time passes. A good solution when they start to look dull is using a quality wood conditioner.
One highly recommended option is Rust-Oleum's CopperCoat Green Wood Preservative, which has earned an Amazon Choice badge for its effectiveness in restoring that sought-after shine to your wooden fixtures. If you find yourself without traditional wood conditioner, try lemon oil; it serves as an excellent alternative and can help revive their luster quickly.
Discover more about these products on Amazon and keep your blinds looking fresh!
How Do You Clean Faux Wood Blinds?

Faux wood blinds are durable, but they still need proper care to stay fresh and dust-free.
Using the right cleaning method prevents damage and keeps them in great condition.
Here’s how to clean them effectively:
Get Your Cleaning Tools Ready
What materials are used to create faux blinds? Faux blinds consist of several components including composite, PVC, and vinyl.
These alternatives mimic the appearance of real wood but do not have its porous characteristics. They also resist moisture, making maintenance a breeze!
You can skip the wood-specific cleaners since they won't benefit these synthetic options at all. Instead, gather these cleaning essentials:
Now you’re ready for the next steps in maintaining your faux blinds!
Step 1: Take Down the Blinds and Lay Them Flat
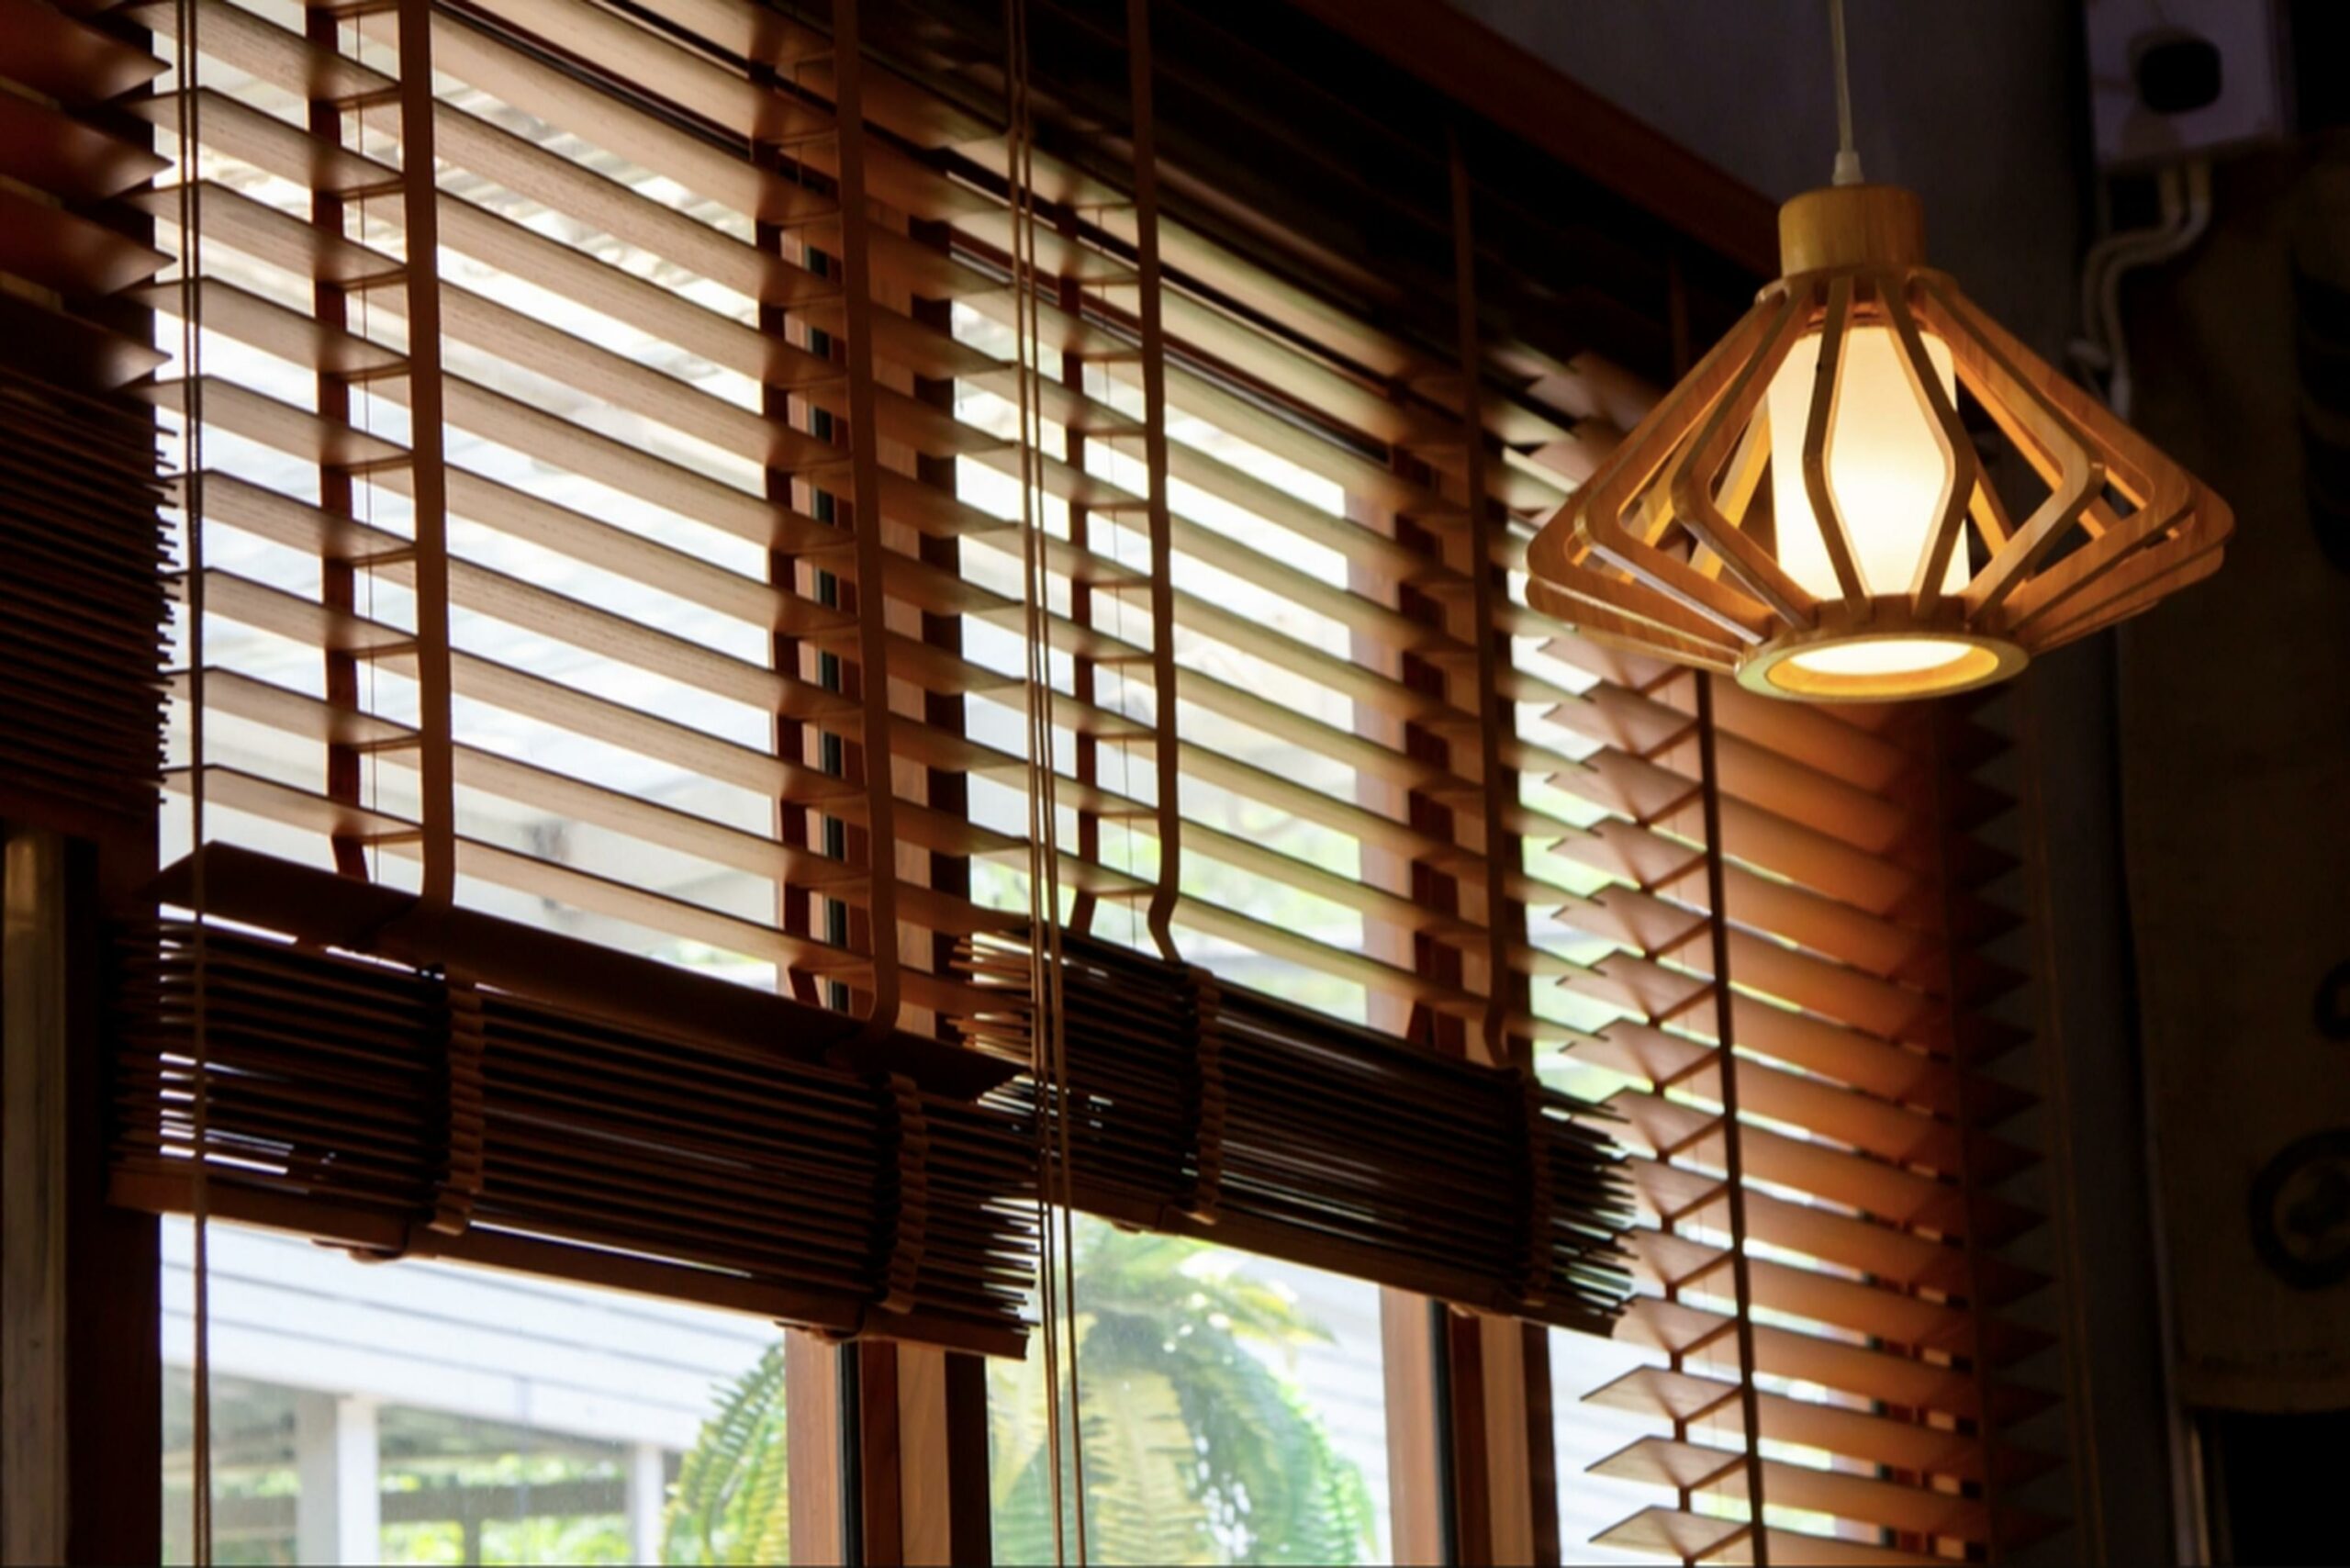
To achieve the best lighting effect in your space, start by adjusting or removing any blinds. If they don’t come down easily, try to open the slats as flat as possible.
This simple action can significantly enhance how natural light floods into your room. Adequate sunlight creates a welcoming ambiance and makes colors appear more vibrant.
Natural light not only brightens up an area but also improves mood and energy levels throughout the day. By allowing this illumination in, you transform ordinary spaces into warm environments that invite relaxation and comfort without much effort on your part.
Step 2: Remove Dust Using a Feather Duster
Focus on both sides of each slat to remove any accumulated dirt and allergens. Use a soft cloth or duster for effective cleaning, ensuring you reach every corner.
After that, prepare a gentle cleaning solution using warm water mixed with mild soap. Dampen another clean cloth in this mixture and wipe down the slats carefully, being cautious not to soak them excessively as moisture can damage the material over time.
For stubborn spots, consider using an old toothbrush to gently scrub without scratching the surface. Once you've finished wiping away any grime, use a dry microfiber cloth to ensure everything is left spotless and streak-free.
Regular maintenance will keep your blinds looking fresh while enhancing their lifespan significantly.
Step 3: Wash with Vinegar or Mild Soap
Consider using a gentle cleaning agent, such as white vinegar or a mild detergent like Dawn. If you opt for the detergent route, just add one or two dollops into a bucket filled with warm water.
On the other hand, if you choose vinegar, there's no need to dilute it with water; simply use it straight from the bottle for effective cleaning. Ready to stock up?
Check out Amazon for your preferred products and supplies that will make maintaining those blinds easy and efficient.
Step 4: Dry Completely Before Rehanging
Ensuring you have a microfiber cloth handy, as it works effectively with detergent or white vinegar for thorough cleaning.
Once you've wiped down the slats, it's essential to use a separate clean cloth to gently pat each one dry.
This prevents moisture buildup and keeps your blinds in top condition.
What’s the Best Way to Clean White Wood Blinds?
White wood blinds can brighten up any space, but they easily show dust and stains.
Keeping them clean helps maintain their crisp, fresh appearance.
Use these easy techniques to remove dirt without harming the finish:
Gather Your Cleaning Supplies
White wood blinds often show signs of yellowing over time, a common issue that can affect both real and faux wood varieties.
Understanding the reasons behind this discoloration is essential, but let's focus on how to remedy it right now.
To clean your blinds effectively, gather these items:
With these supplies at hand, you’ll be prepared to tackle any unsightly stains and restore their original appearance efficiently.
This simple process helps maintain the aesthetic charm of your space while extending the life of your window coverings.
Step 1: Remove the Blinds from the Window
Start by removing the blinds from their brackets, ensuring you handle them carefully to avoid damage. Once they're down, use a gentle cleaning solution suitable for wood surfaces; this will help lift any discoloration and grime that has built up over time.
A soft cloth or sponge works well to apply the cleaner evenly across each slat. After thoroughly cleansing, let them dry completely before reinstallation for optimal results.
Keeping your window treatments looking pristine not only enhances your space but also prolongs their lifespan significantly.
Step 2: Soak in a Bleach Solution for Deep Cleaning
Cleaning your blinds can be a straightforward task, especially when you use your bathtub as the cleaning station.
Begin by filling the tub with cold water and ensure that the drain is plugged to prevent any leaks.
Depending on how large your tub is, add two to three cups of bleach into the water for an effective clean.
After mixing it well, immerse your blinds into this solution and allow them to soak for a minimum of 10 minutes.
Step 3: Let the Blinds Air Dry
To maintain the freshness of your blinds after a thorough cleaning, start with a clean microfiber cloth. Tackle each slat individually to ensure they are completely dried following their soak in the tub.
This meticulous approach prevents moisture buildup and keeps your blinds looking pristine. Using this technique not only enhances their appearance but also prolongs their lifespan by reducing potential damage from water exposure.
A little effort now pays off later, ensuring that every detail is taken care of for optimal results in maintaining those window treatments you value so much.
Step 4: Hang Them Back Up Once Dry
After ensuring your blinds are spotless and completely dry, you can confidently rehang them. This step not only enhances the aesthetic appeal of your space but also allows natural light to filter in beautifully.
Clean blinds contribute significantly to a brighter atmosphere, creating a refreshing environment within your home or office. A tidy window treatment promotes an inviting vibe while maintaining privacy when needed.
By taking this simple action, I invite you to appreciate how freshly cleaned blinds can transform any room instantly. Remember that even small changes like these have the power to uplift our living spaces remarkably well.
Is Vinegar Safe for Cleaning Wooden Blinds?
We talked about using vinegar to clean faux wood blinds, but what’s the story with natural wooden blinds? Cleaning them with vinegar isn't a great idea.
While this common household item doesn’t warp wood, its acidic nature can lead to corrosion in materials like stone and wood. Additionally, vinegar's abrasive qualities might scratch the fine grain of your wooden blinds.
For maintaining real wood surfaces, it is wise to opt for cleaning products specifically designed for that purpose instead of vinegar. They will keep your wooden blinds looking pristine without risking damage.
Do Faux Wood Blinds Turn Yellow Over Time?
Let's explore the reasons behind wood blinds turning yellow. The primary culprit is sunlight.
When sunbeams pour into your living spaces, the ultraviolet rays can lead to a noticeable discoloration of your blinds over time, leaving them with an undesirable yellow tint. Your habits at home also play a role in this issue.
For example, if you smoke indoors or have various pollutants present, these factors can accelerate the yellowing process significantly. Fortunately, restoring your wooden blinds to their original shade isn’t as complicated as it might seem; especially those white ones are easier to clean up than you'd expect.
After you've successfully revitalized your wood blinds and removed that unwanted yellowness, you may find yourself pondering about color coordination throughout your home décor.
How Often Should You Clean Wood Blinds?
Maintaining the cleanliness of your wood blinds not only enhances their appearance but also extends their lifespan. Regular dusting and periodic deep cleaning are essential to prevent the buildup of dust and grime:
Final Remarks
To maintain the beauty of your wood blinds, grab a feather duster and gently wipe away dust. For deeper cleaning, use a dedicated wood cleaner followed by a touch of polish to restore shine.
If your blinds are made from faux wood, you can opt for vinegar or a gentle dish soap mixed with water for an effective clean. Keeping your blinds spotless not only enhances their appearance but also contributes to the overall ambiance of your space.
Regular maintenance keeps them looking fresh longer.
Samantha Lee
Head Cleaning Expert
Expertise
Professional Home Cleaning, Green Cleaning Techniques, Stain Removal & Fabric Care, DIY Home Maintenance & Organization, Sustainable Cleaning Products, Home Care for Busy Lifestyles
Education
University of Denver
Samantha Lee is the Head Cleaning Expert at HomeCleaningForYou.com, specializing in eco-friendly home care. She holds a Bachelor of Science in Environmental Science from the University of Denver, focusing on sustainable cleaning solutions.
With expertise in green cleaning, stain removal, and DIY home maintenance, she helps homeowners keep their spaces fresh and chemical-free. Samantha has been featured in lifestyle publications and has partnered with brands promoting natural cleaning products.
She also shares practical tips through her blog, online courses, and workshops. Passionate about sustainability, she enjoys testing new eco-friendly cleaning methods and spending time outdoors.